
Bodywork part 2
We painted the body and other parts Ocean Foam Green base coat followed by clear coat. Finally, we buffed and polished the body.
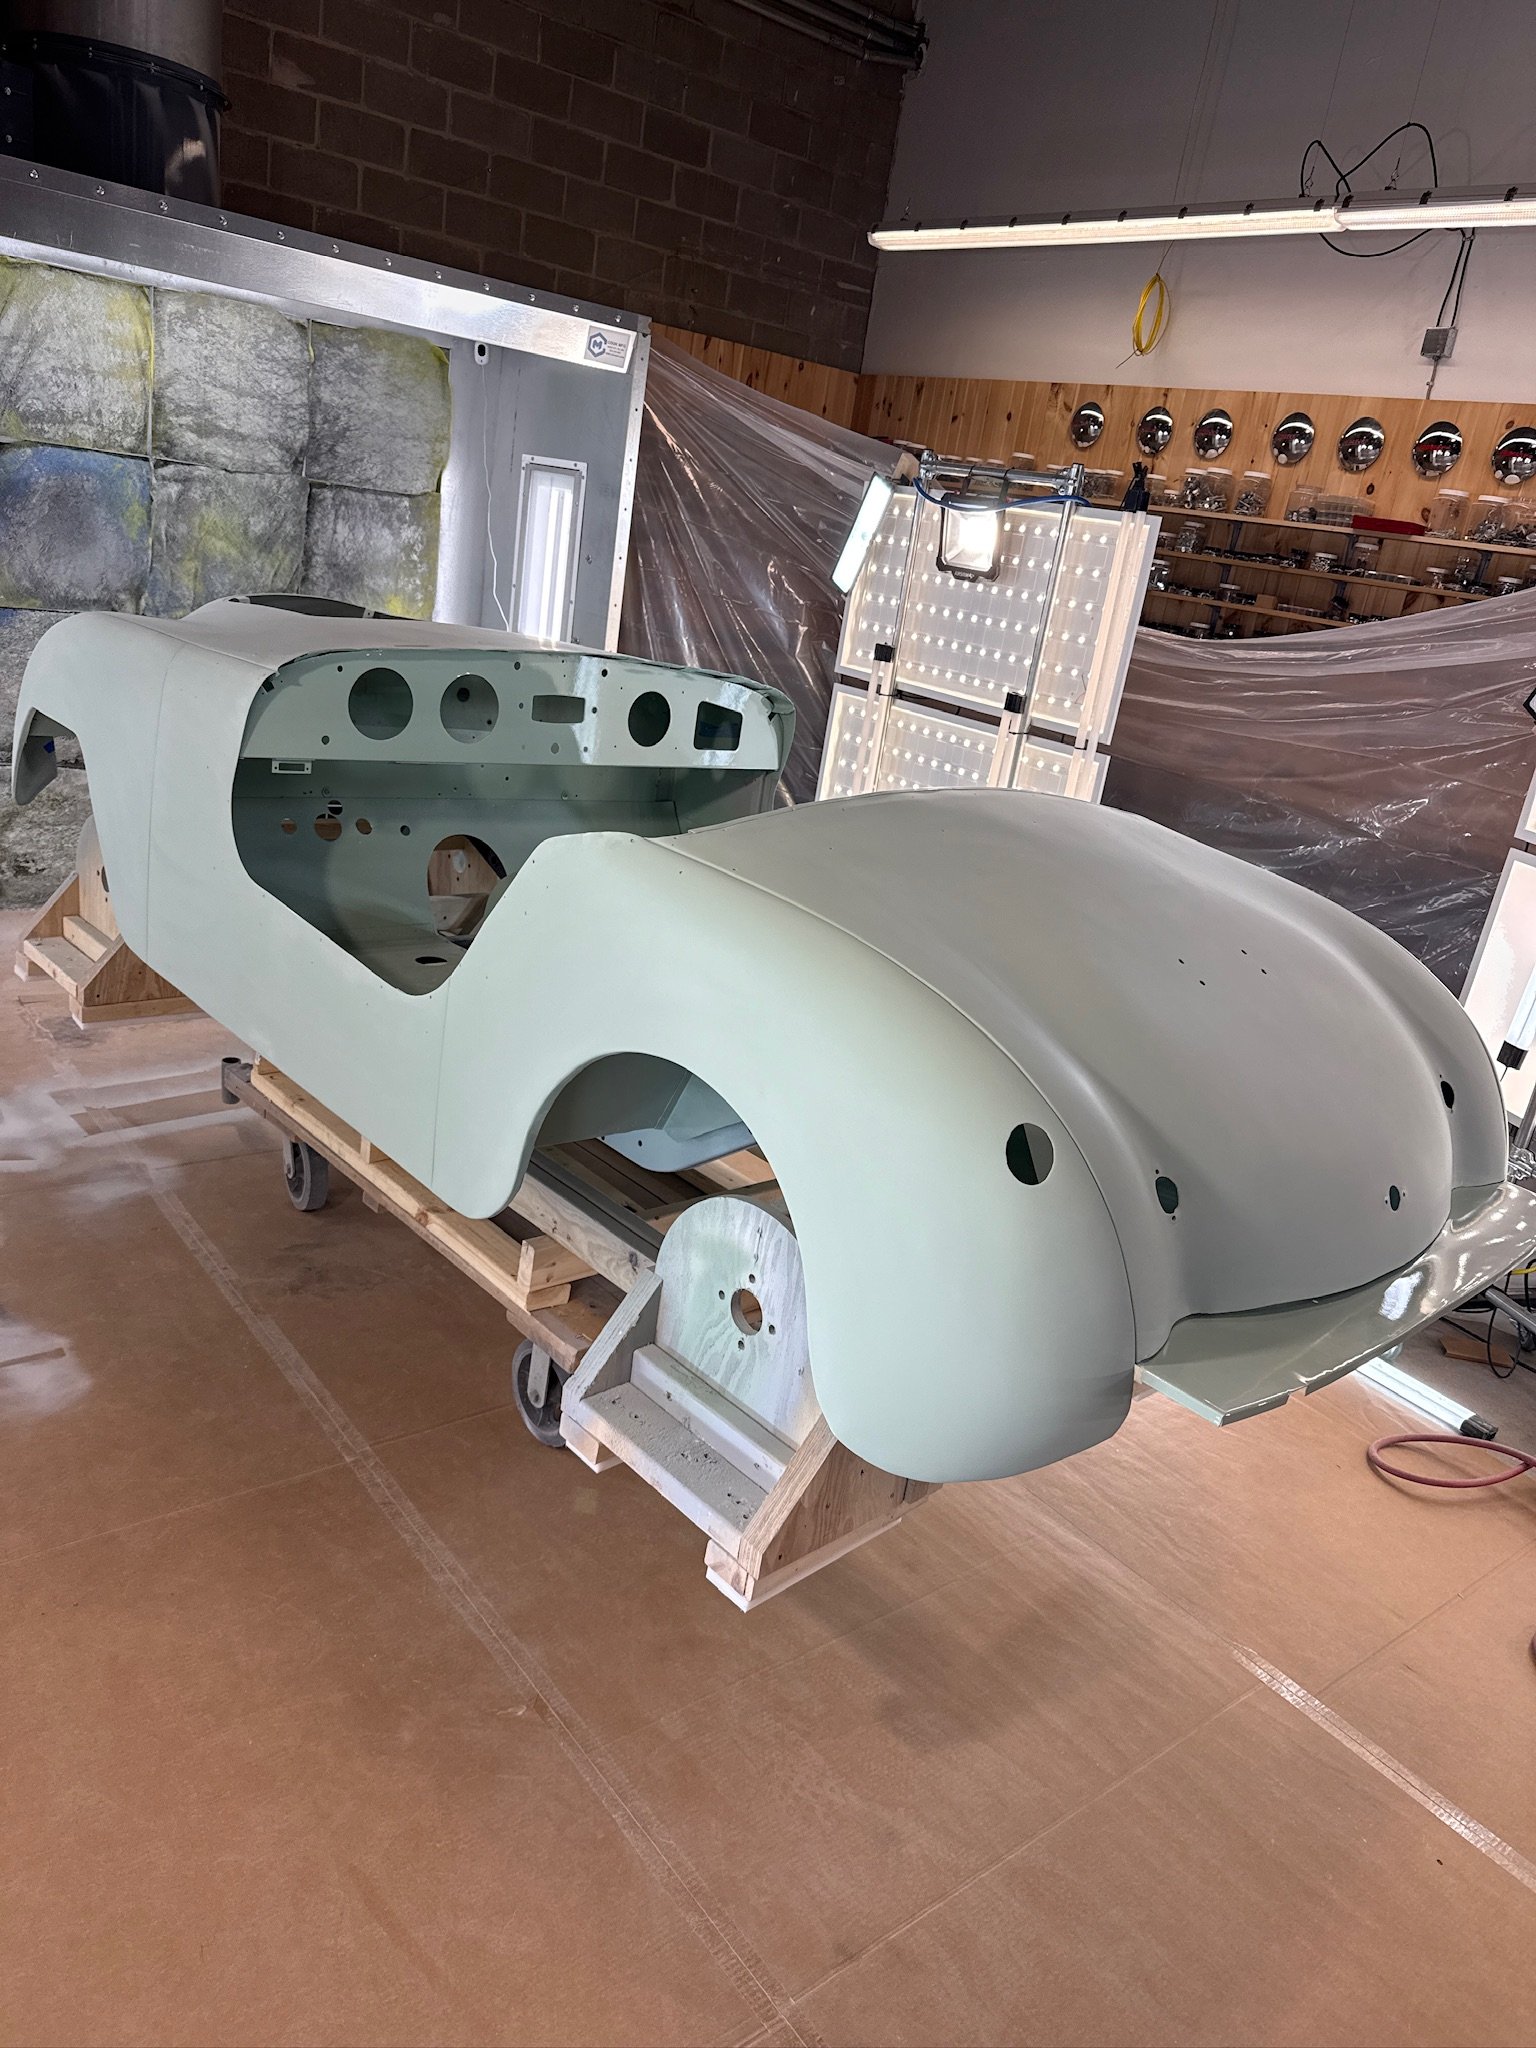
We started with sanding the sealer primer, then painted two coats of base coat.

We followed the base coat with several coats of clear coat. It took several times of sanding and reshooting to get it just right, but we finally did!

End result - super shiny! We made it even shinier by sanding with 3000 grit DA and then polishing the whole body, which eliminated minor imperfections and removed some of the orange peel texture.

The trunk lid became even shiner after polishing!
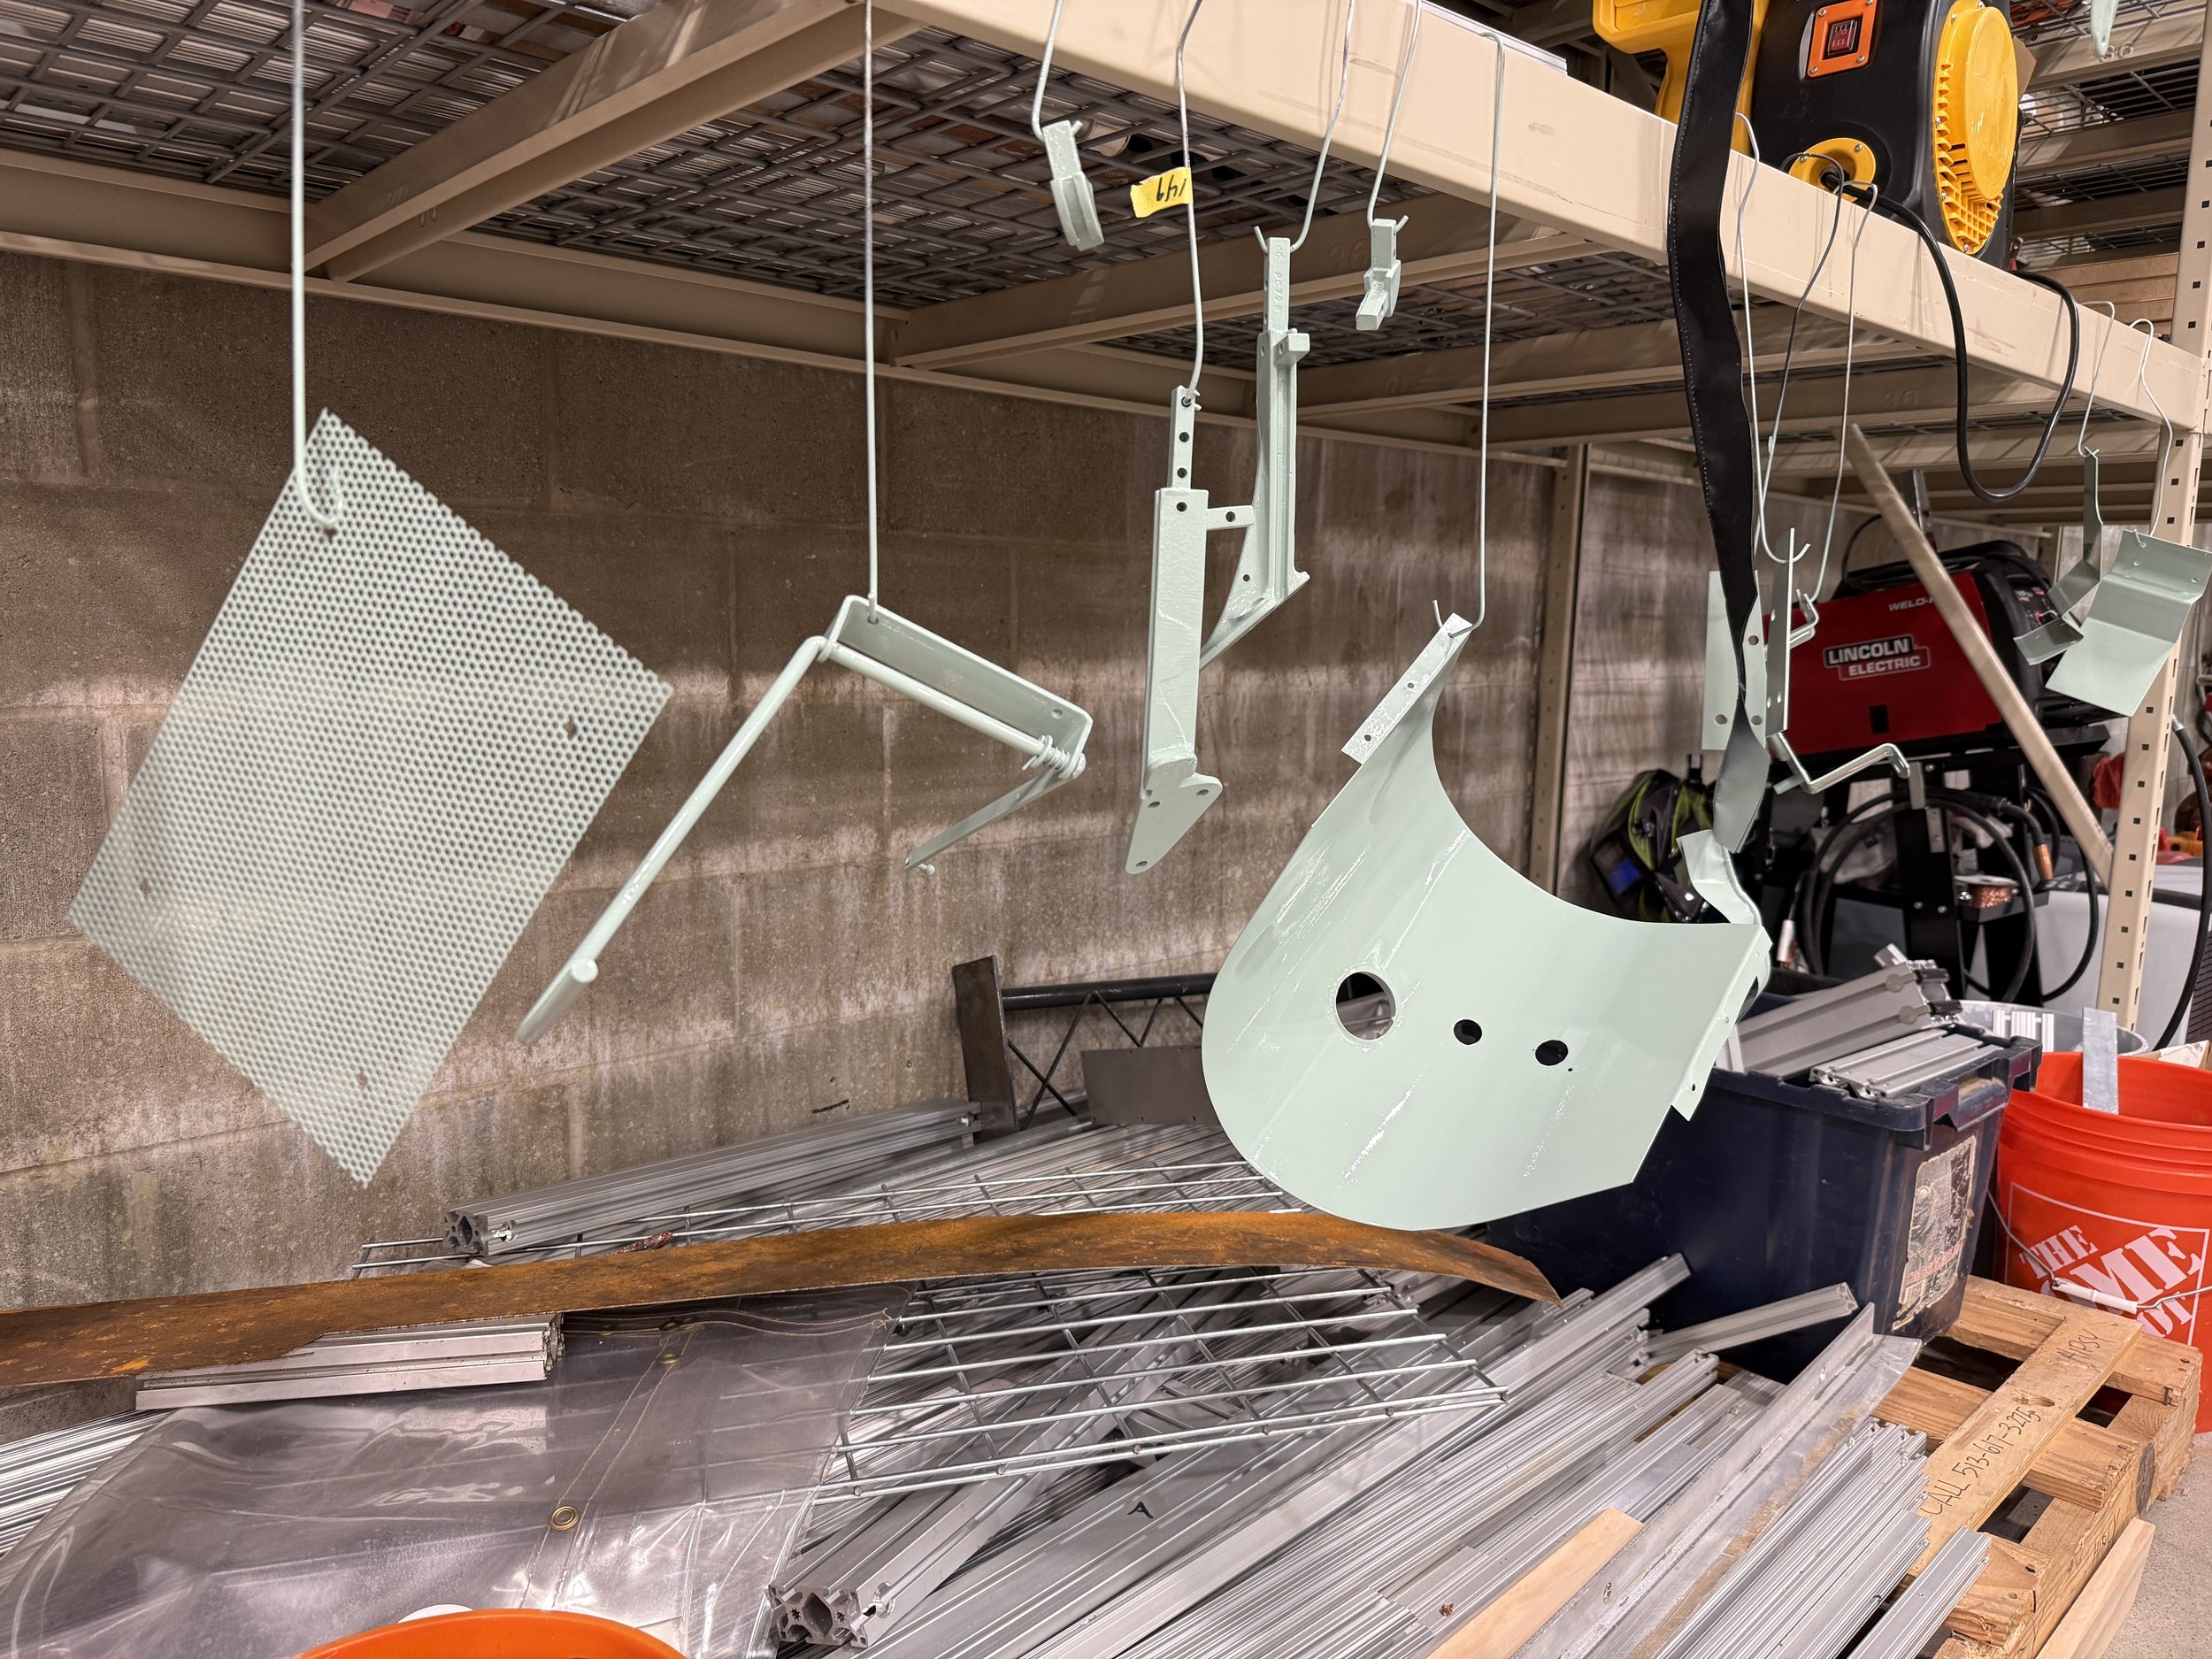
We also painted all of the other body color parts, including dash parts, windshield frame parts, and more.
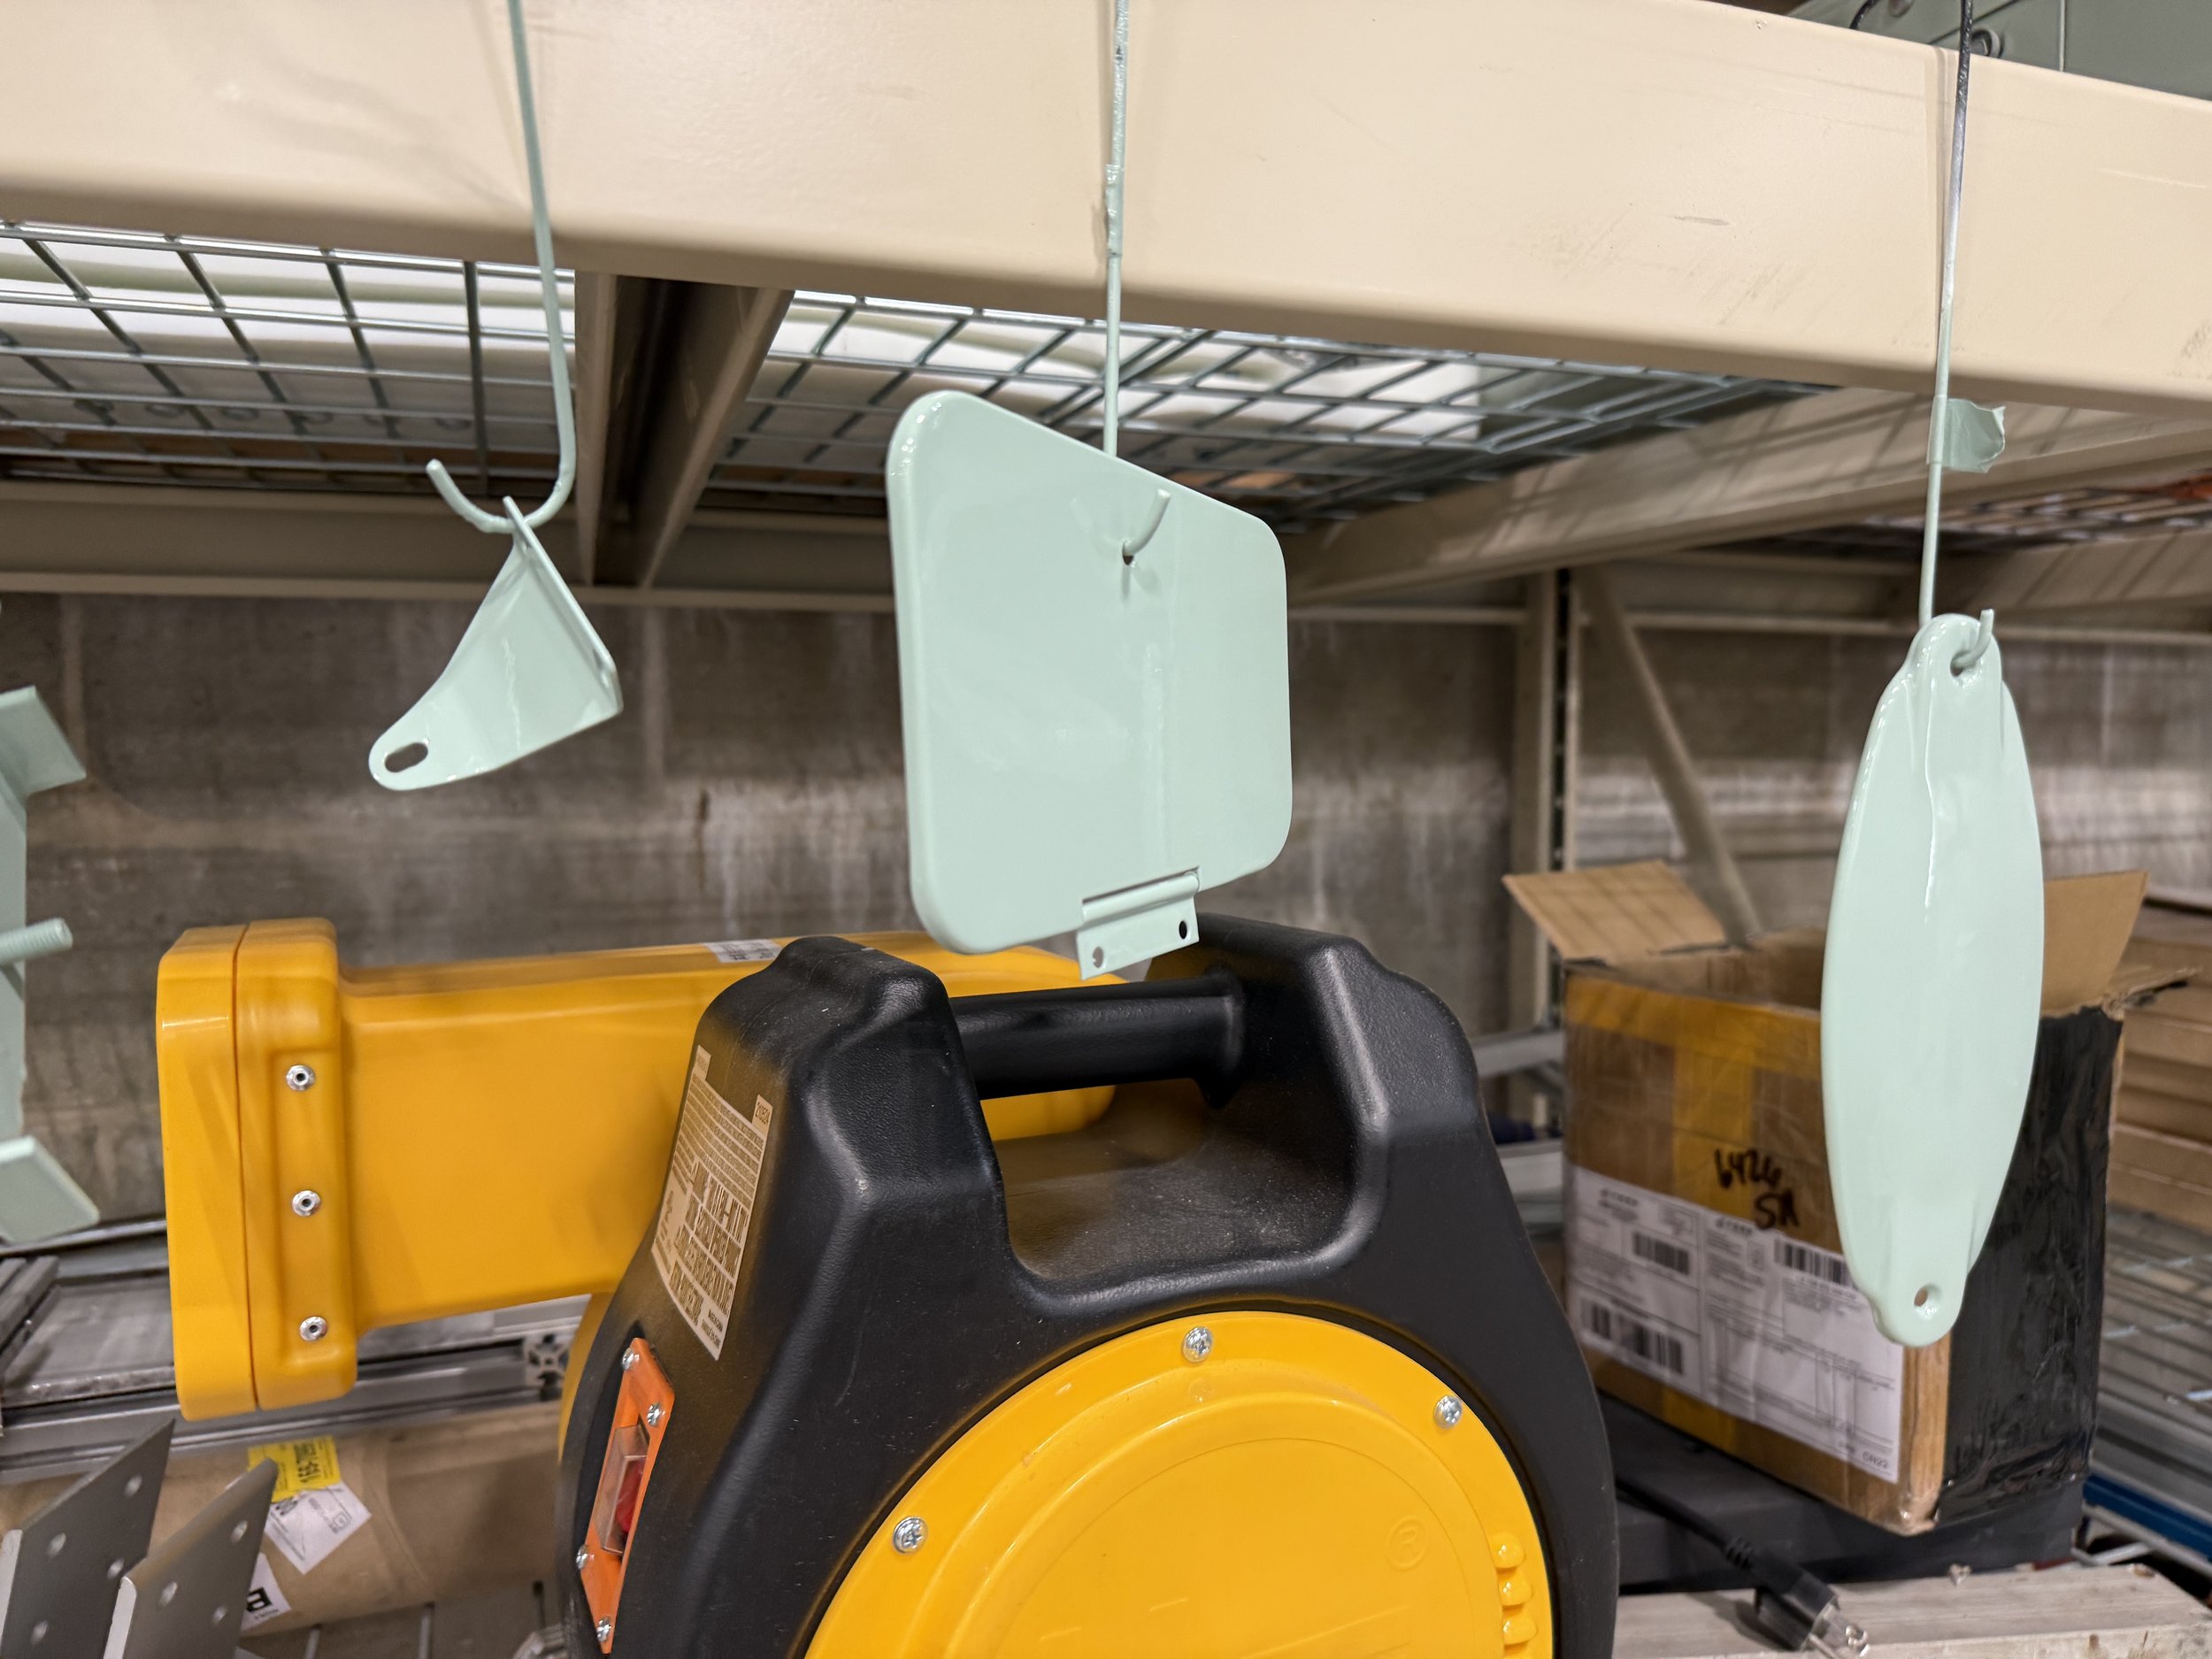

We also painted lots of screws and bolts that were originally body color separate from the body, so we could install parts like the gravel pan and headlight brackets after painting the rest of the body.

Reviewing factory photos revealed that the front body welting was originally painted with the body. Because we did not want to paint the body and gravel pan as one, which could result in cracking paint on the welting, we replaced the cardboard tube in the welting with a metal bar, which we then formed around the gravel pan and body to fit perfectly. Finally, we painted the welting with the rest of the body color parts. We also painted the screws used to hold the gravel pan on, and then carefully installed it. The paint has not cracked yet!

In this photo of a Hotshot with 1948 NY dealer plates, the front welting appears to be painted.

This period photo of a 1950 Crosmobile in Japan also shows painted welting and screws, painted in original Mariner Blue.

This brand new Super Sports at the 1951 New York Auto Show also appears to have painted welting and screws.

Although we found overwhelming evidence of the front welting being painted, all reference photos we had showed black rear welting, so we decided to leave it unpainted.
Bodywork part 1
Lots of filler primer, seam sealer, and a little body filler made our body smooth as new!

We started with a coat of filler primer over the first coat of epoxy primer.

We then filled in the body seams (not completely) with panel adhesive to eliminate any gaps or leaks.
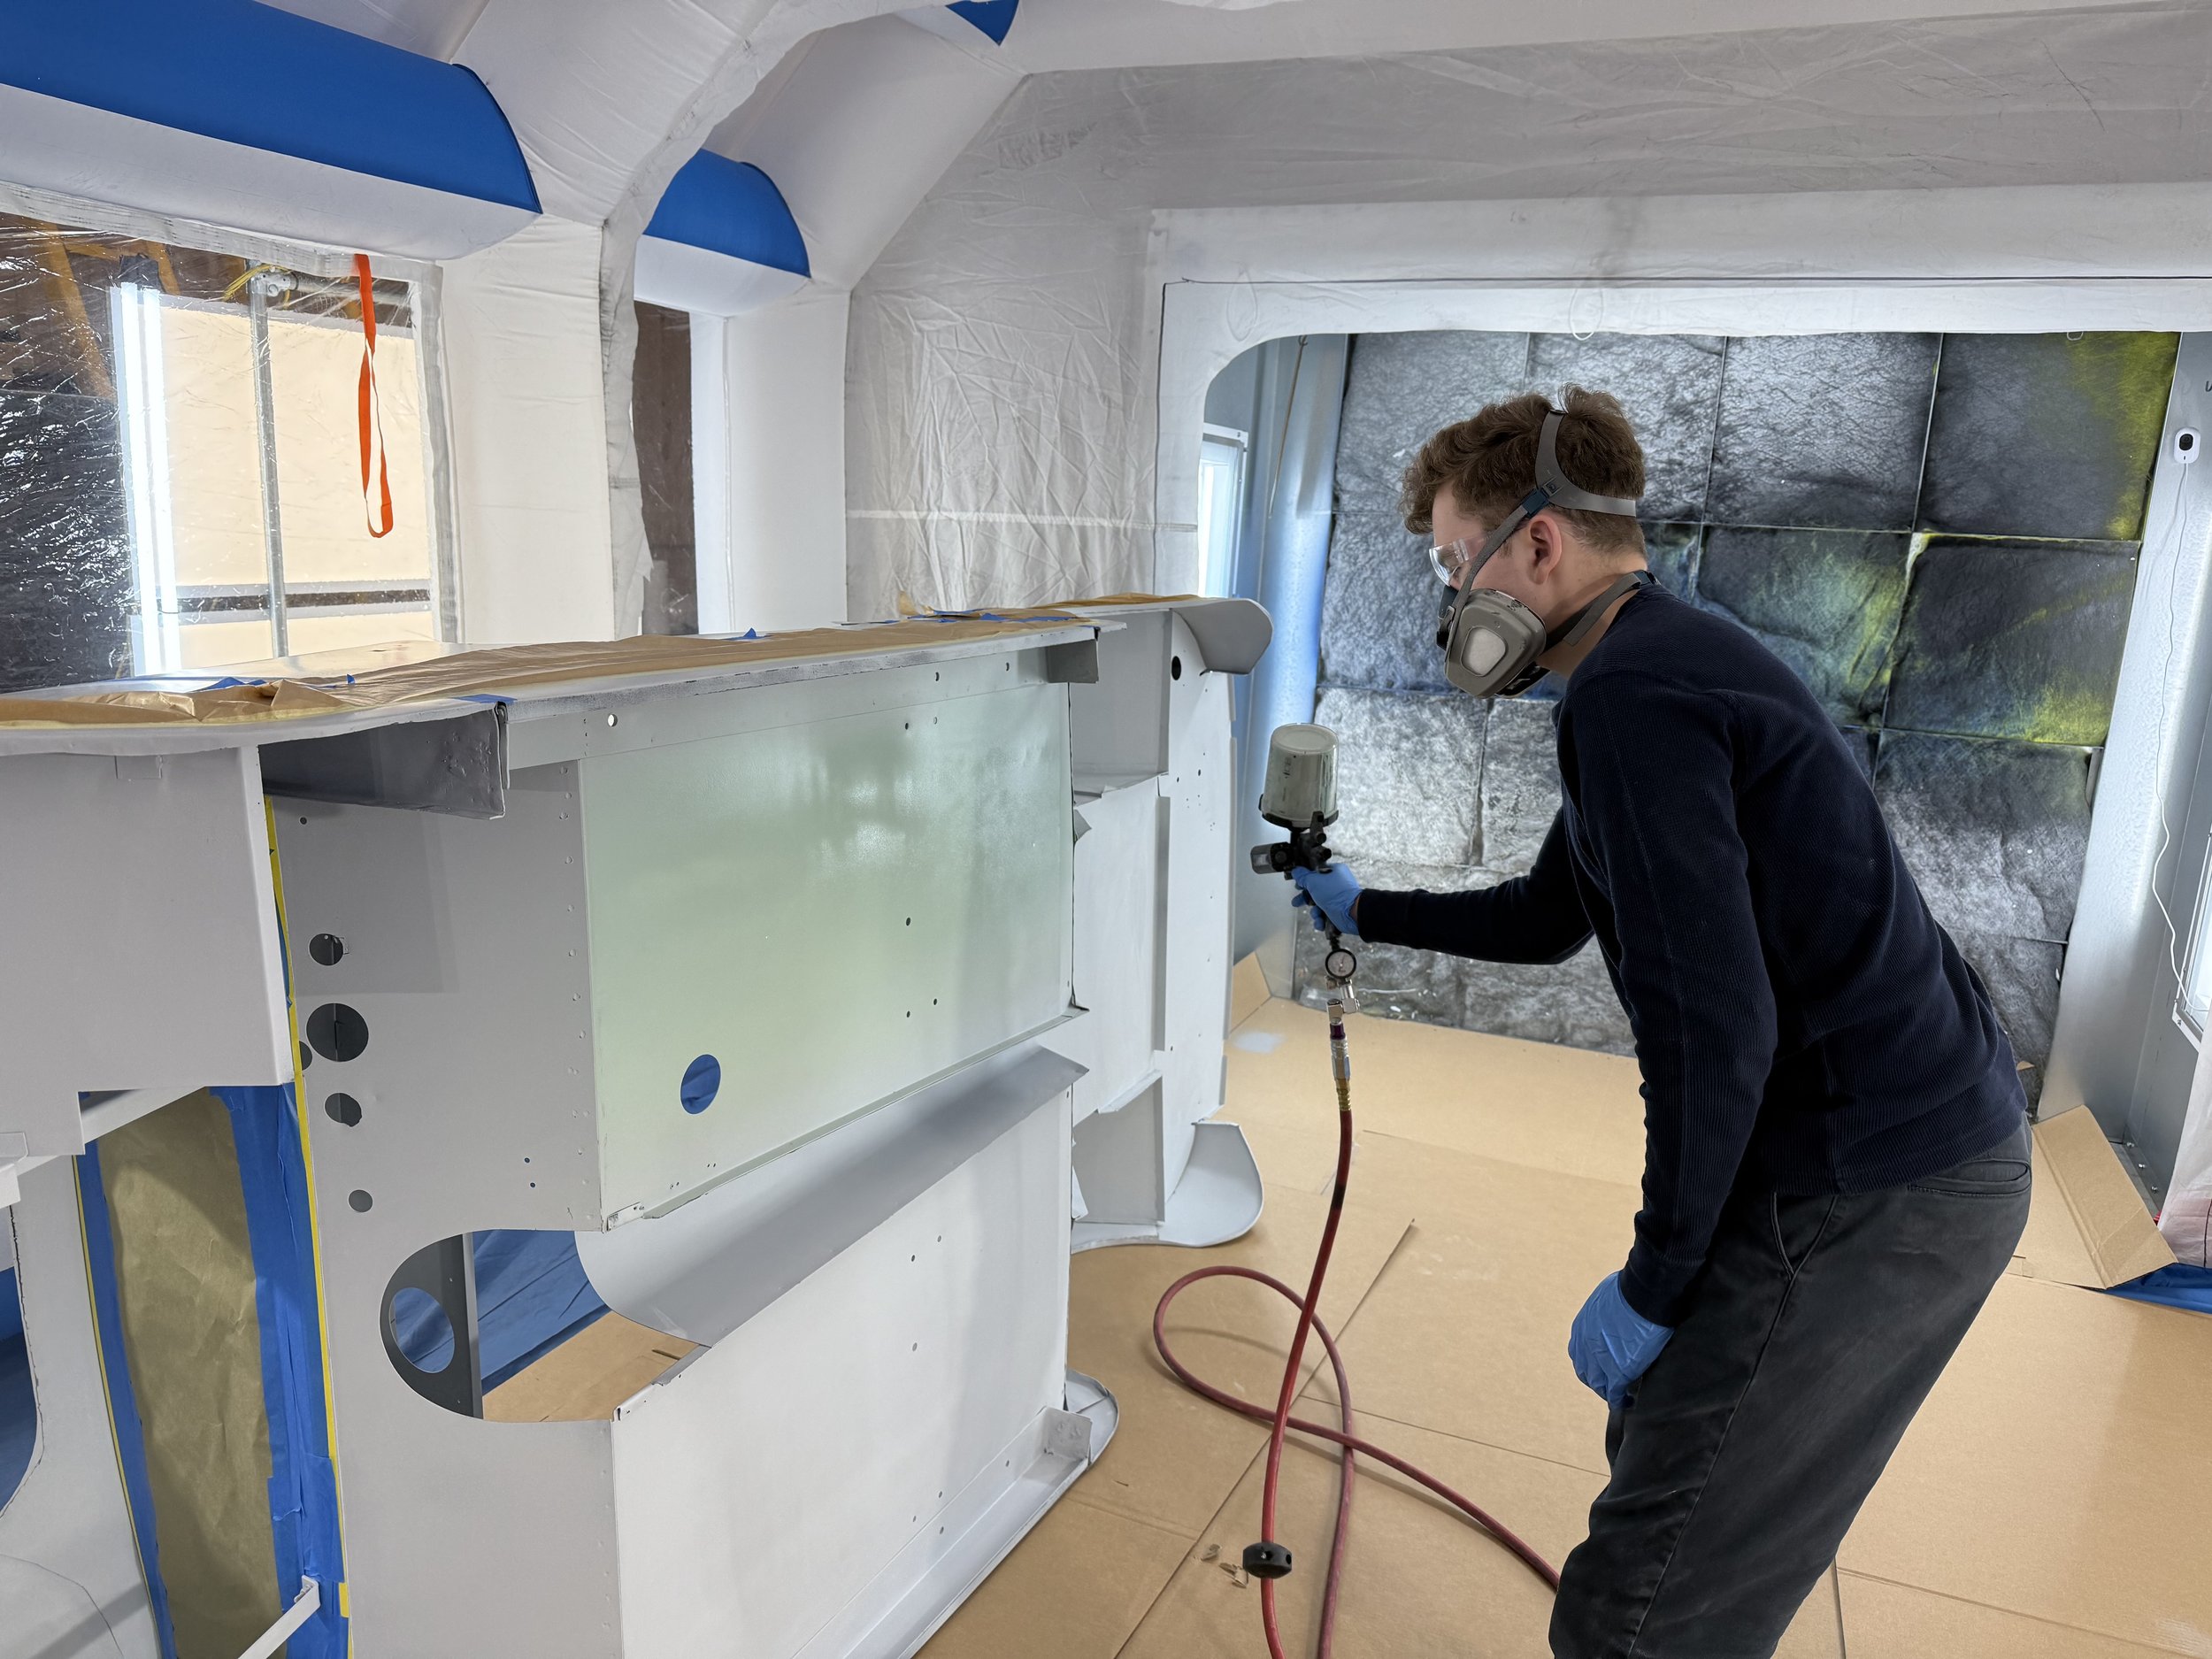
Practicing laying down a nice coat of color.

We painted the engine bay, bottom of the car, and the interior before moving on to the exterior.

Shiny engine bay after clear coat!

Shiny interior too! We later decided to repaint the dash due to some small imperfections.

Lots of sanding, and a little body filler later, we painted the exterior with sealer primer. Now it is ready for body color!
Carburetor
We rebuilt our original Tillotson carburetor using Service Motors’ rebuild kit. Hopefully it will work!


Our carburetor appeared to be in very good condition, apart from some minor surface rust on the smaller parts.
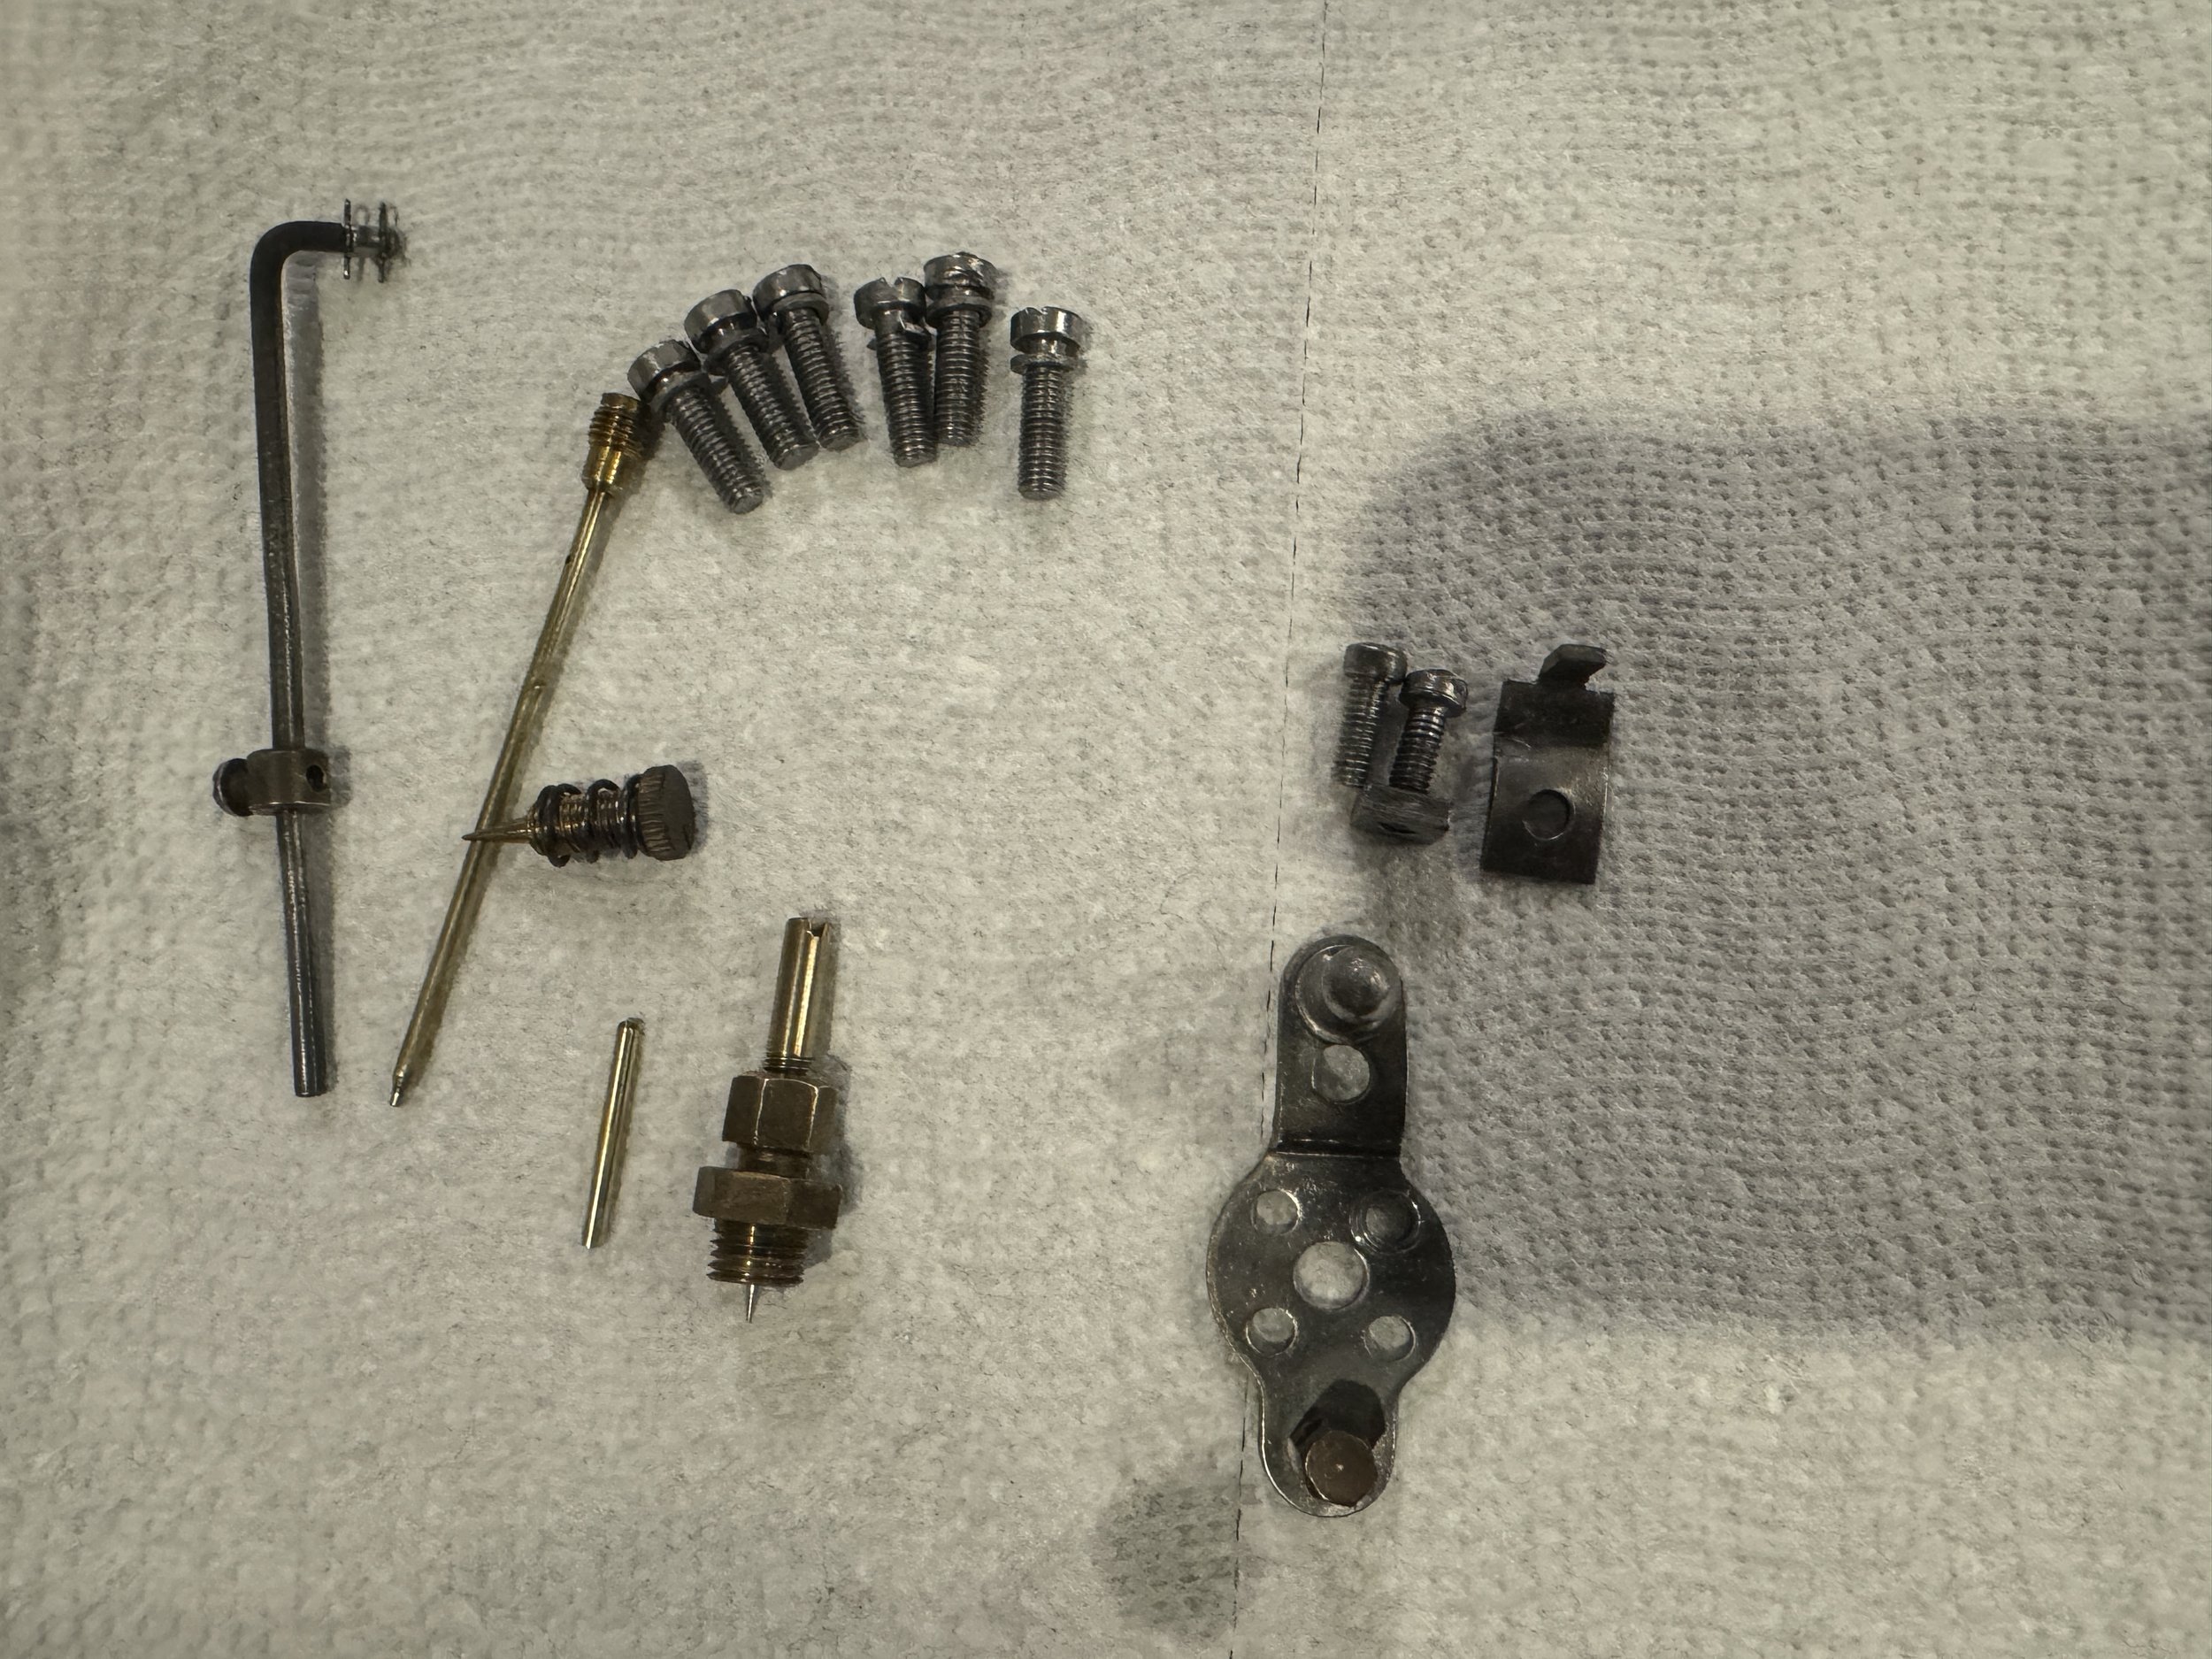
We used carburetor cleaner to clean everything (large parts not shown here) and the minor rust was gone!

We unfortunately had to replace the bowl of our carburetor with that of another one we had lying around - there was a void in the casting, which resulted in stripped threads. Of course we discovered this after we were almost done!

All done! The other bowl cleaned up nice with some carburetor cleaner, polishing, and steel wool. Our original carb was marked a DY9C, while the replacement was marked a DY9B. There appeared to be no functional differences in the casting itself, so we decided there would be no harm in swapping just the bowl.
Framing
We pressure washed the frame, then covered it in epoxy primer followed by filler primer. Finally, we gave it a healthy dose of wet sanding and black frame paint!

Before painting, we fitted our new gas tank and drilled its mounting holes.

Epoxy primer!
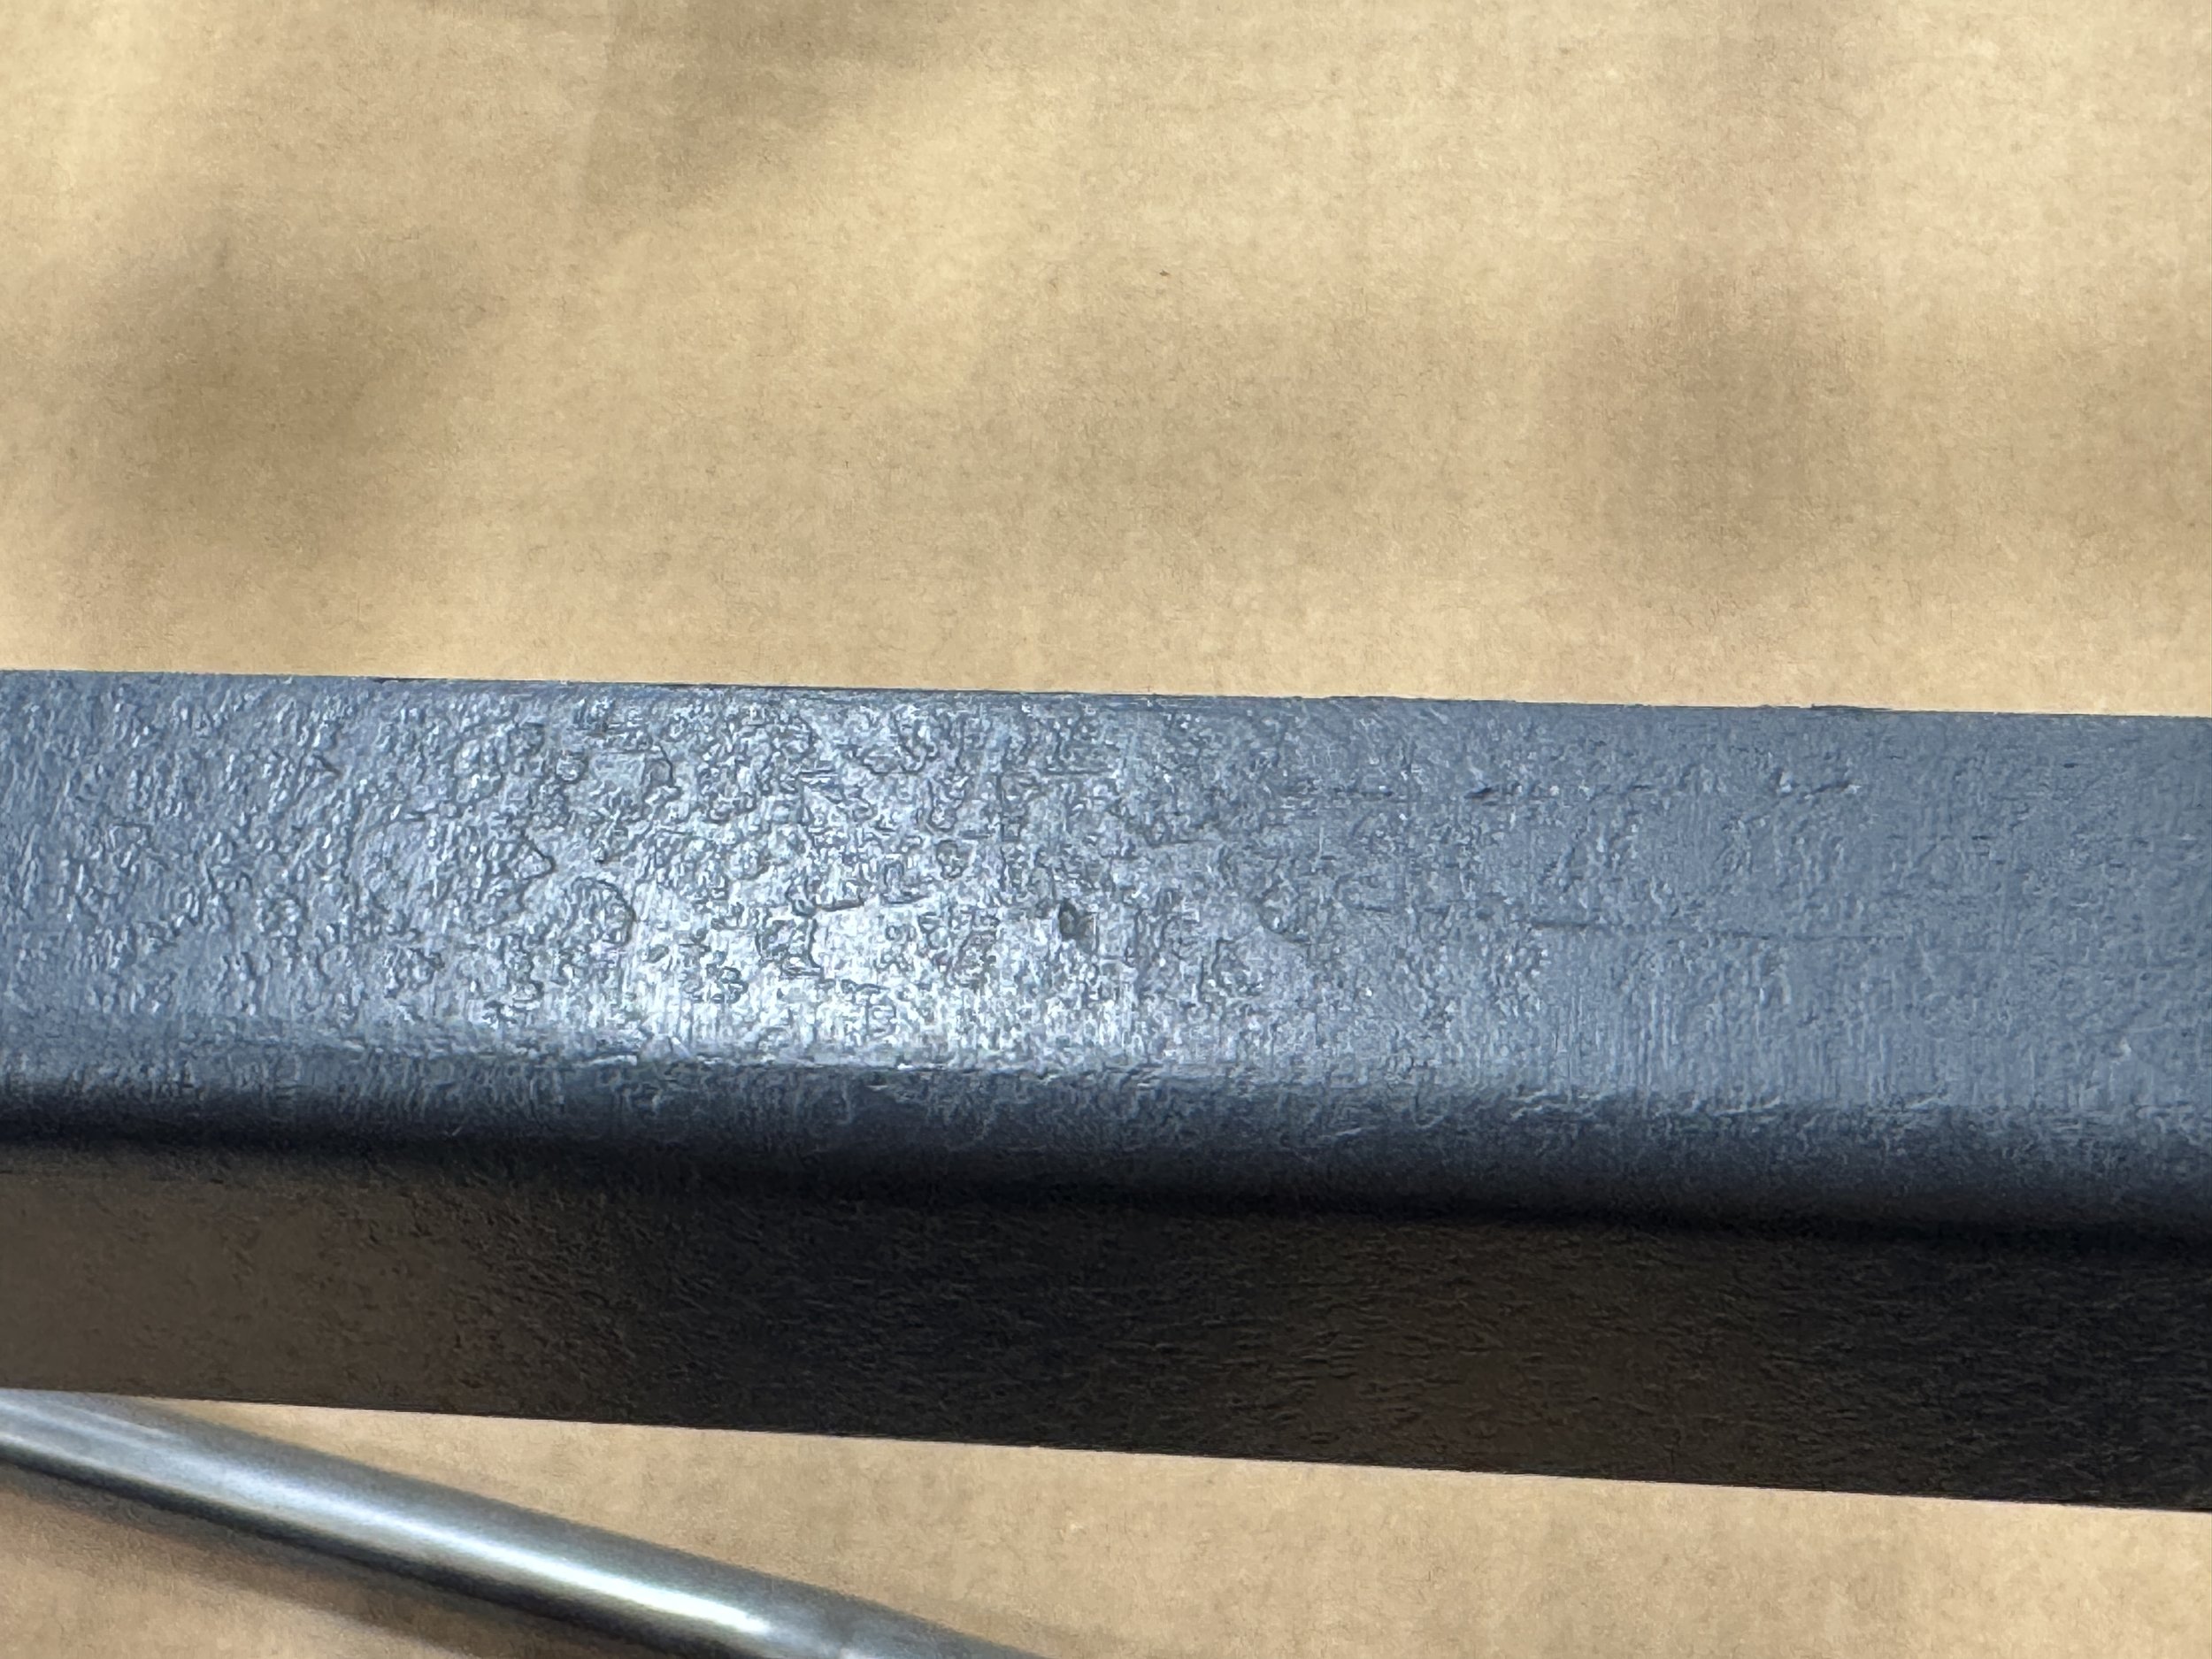
We decided to go over the frame with filler primer to remove this rough texture from the steel.

Lots of wet sanding required!

Ready for black paint! We tested the black paint by the gas tank mounting rails before spraying the whole frame.
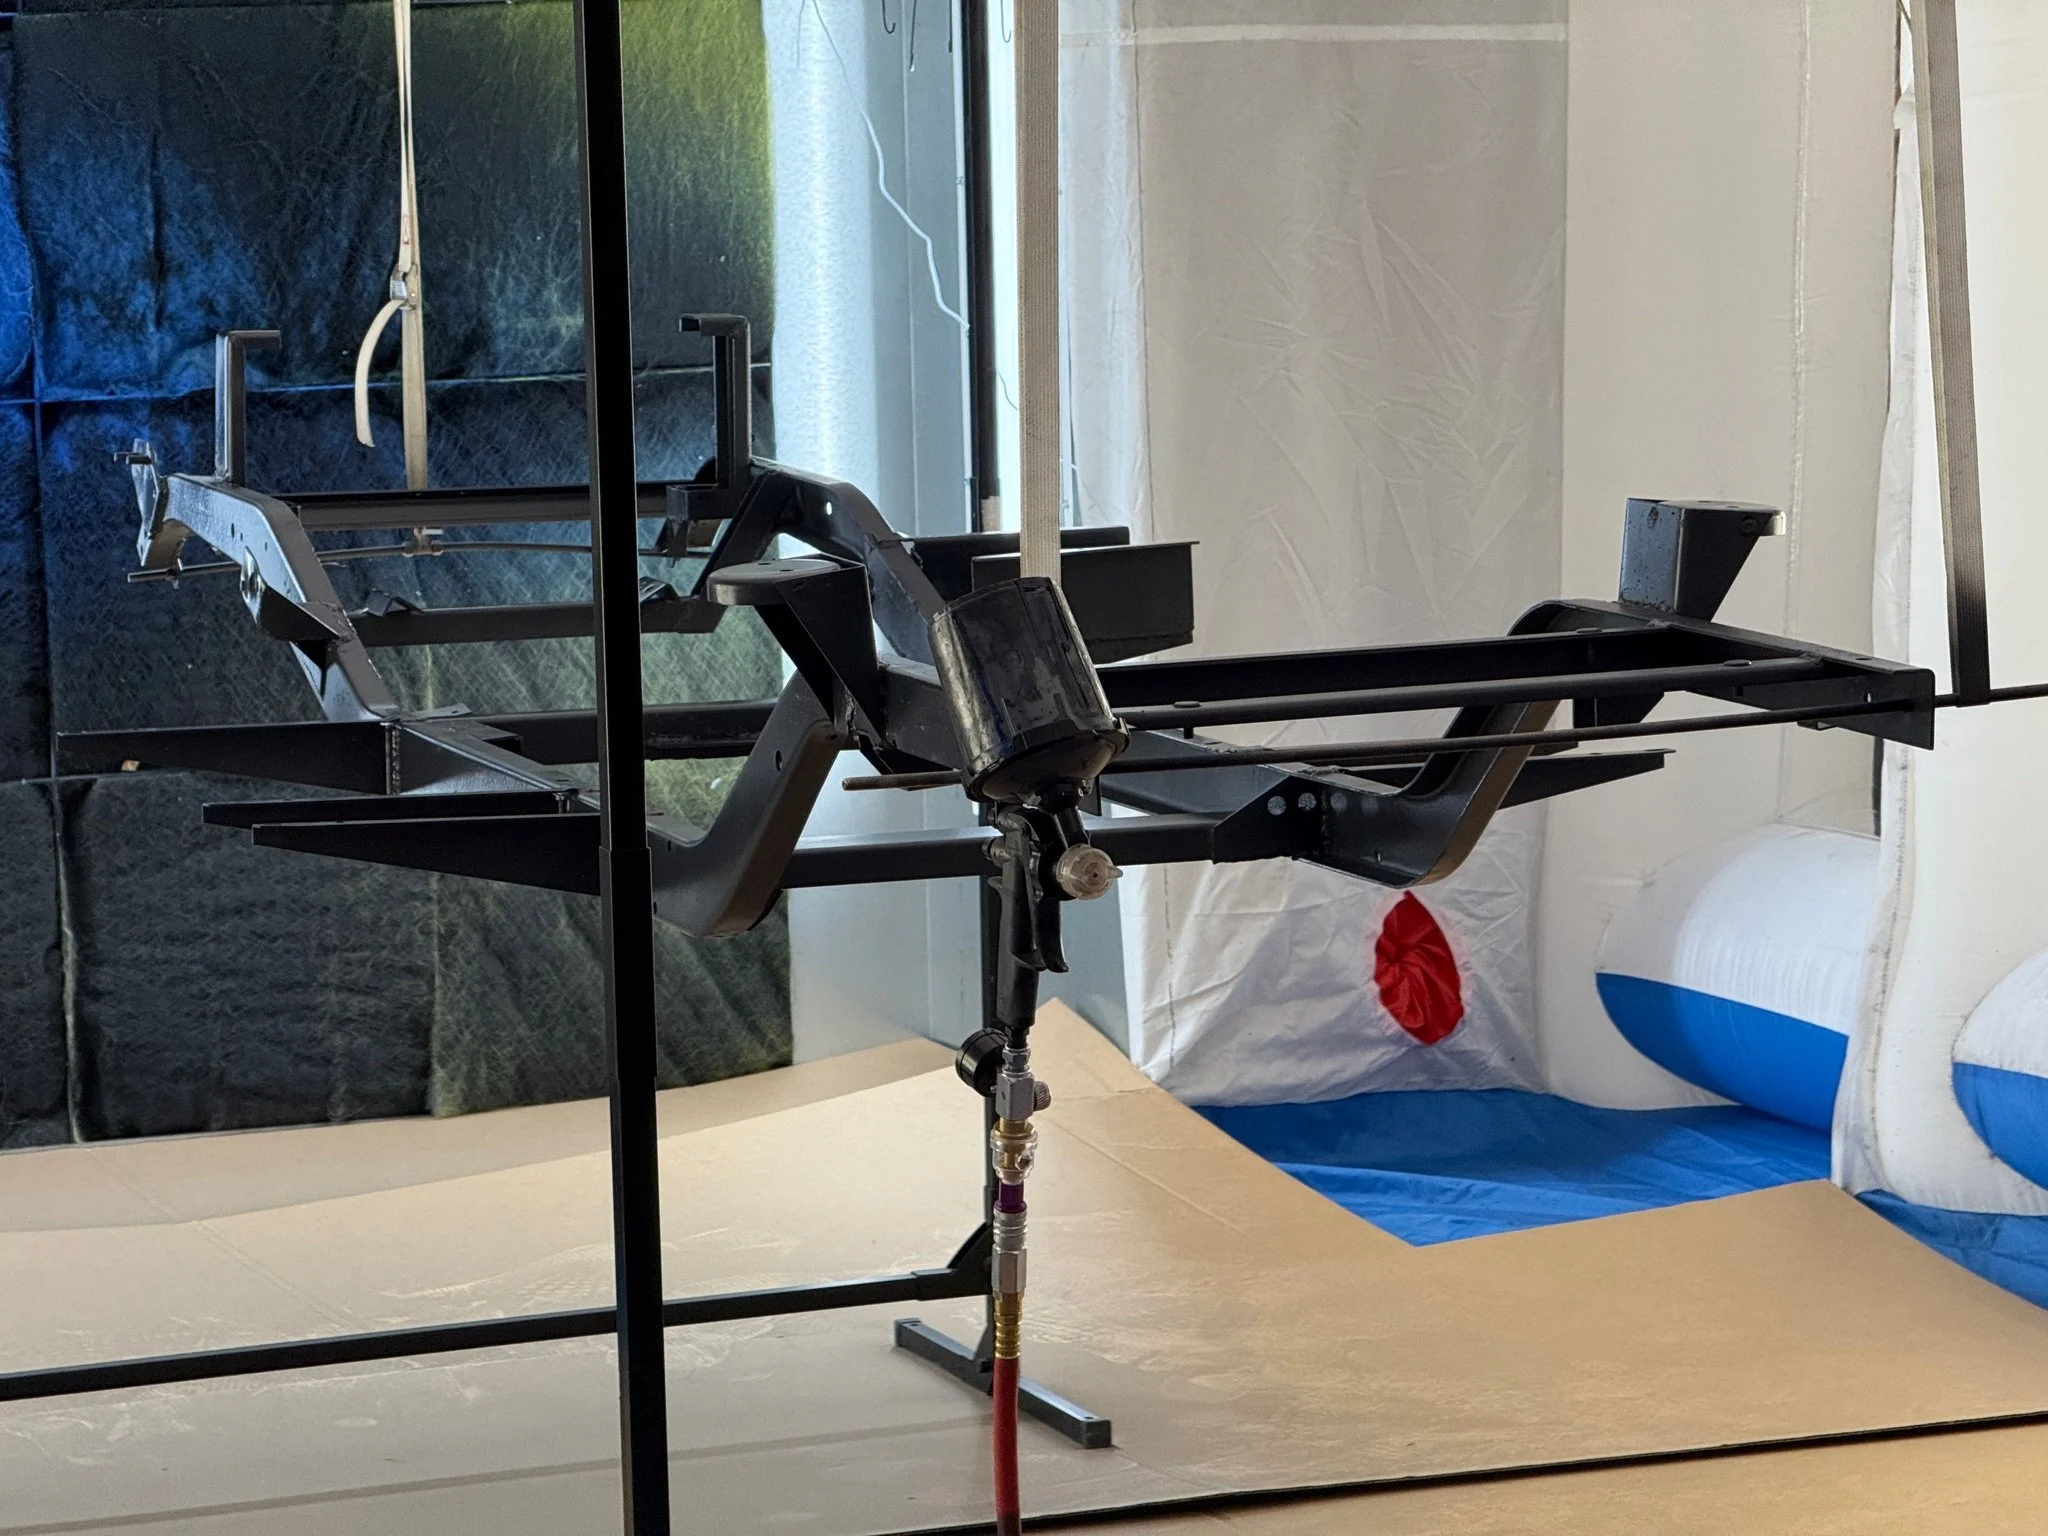
Black paint! We are going to give it one more coat for durability and to repair several small imperfections.
Paint store
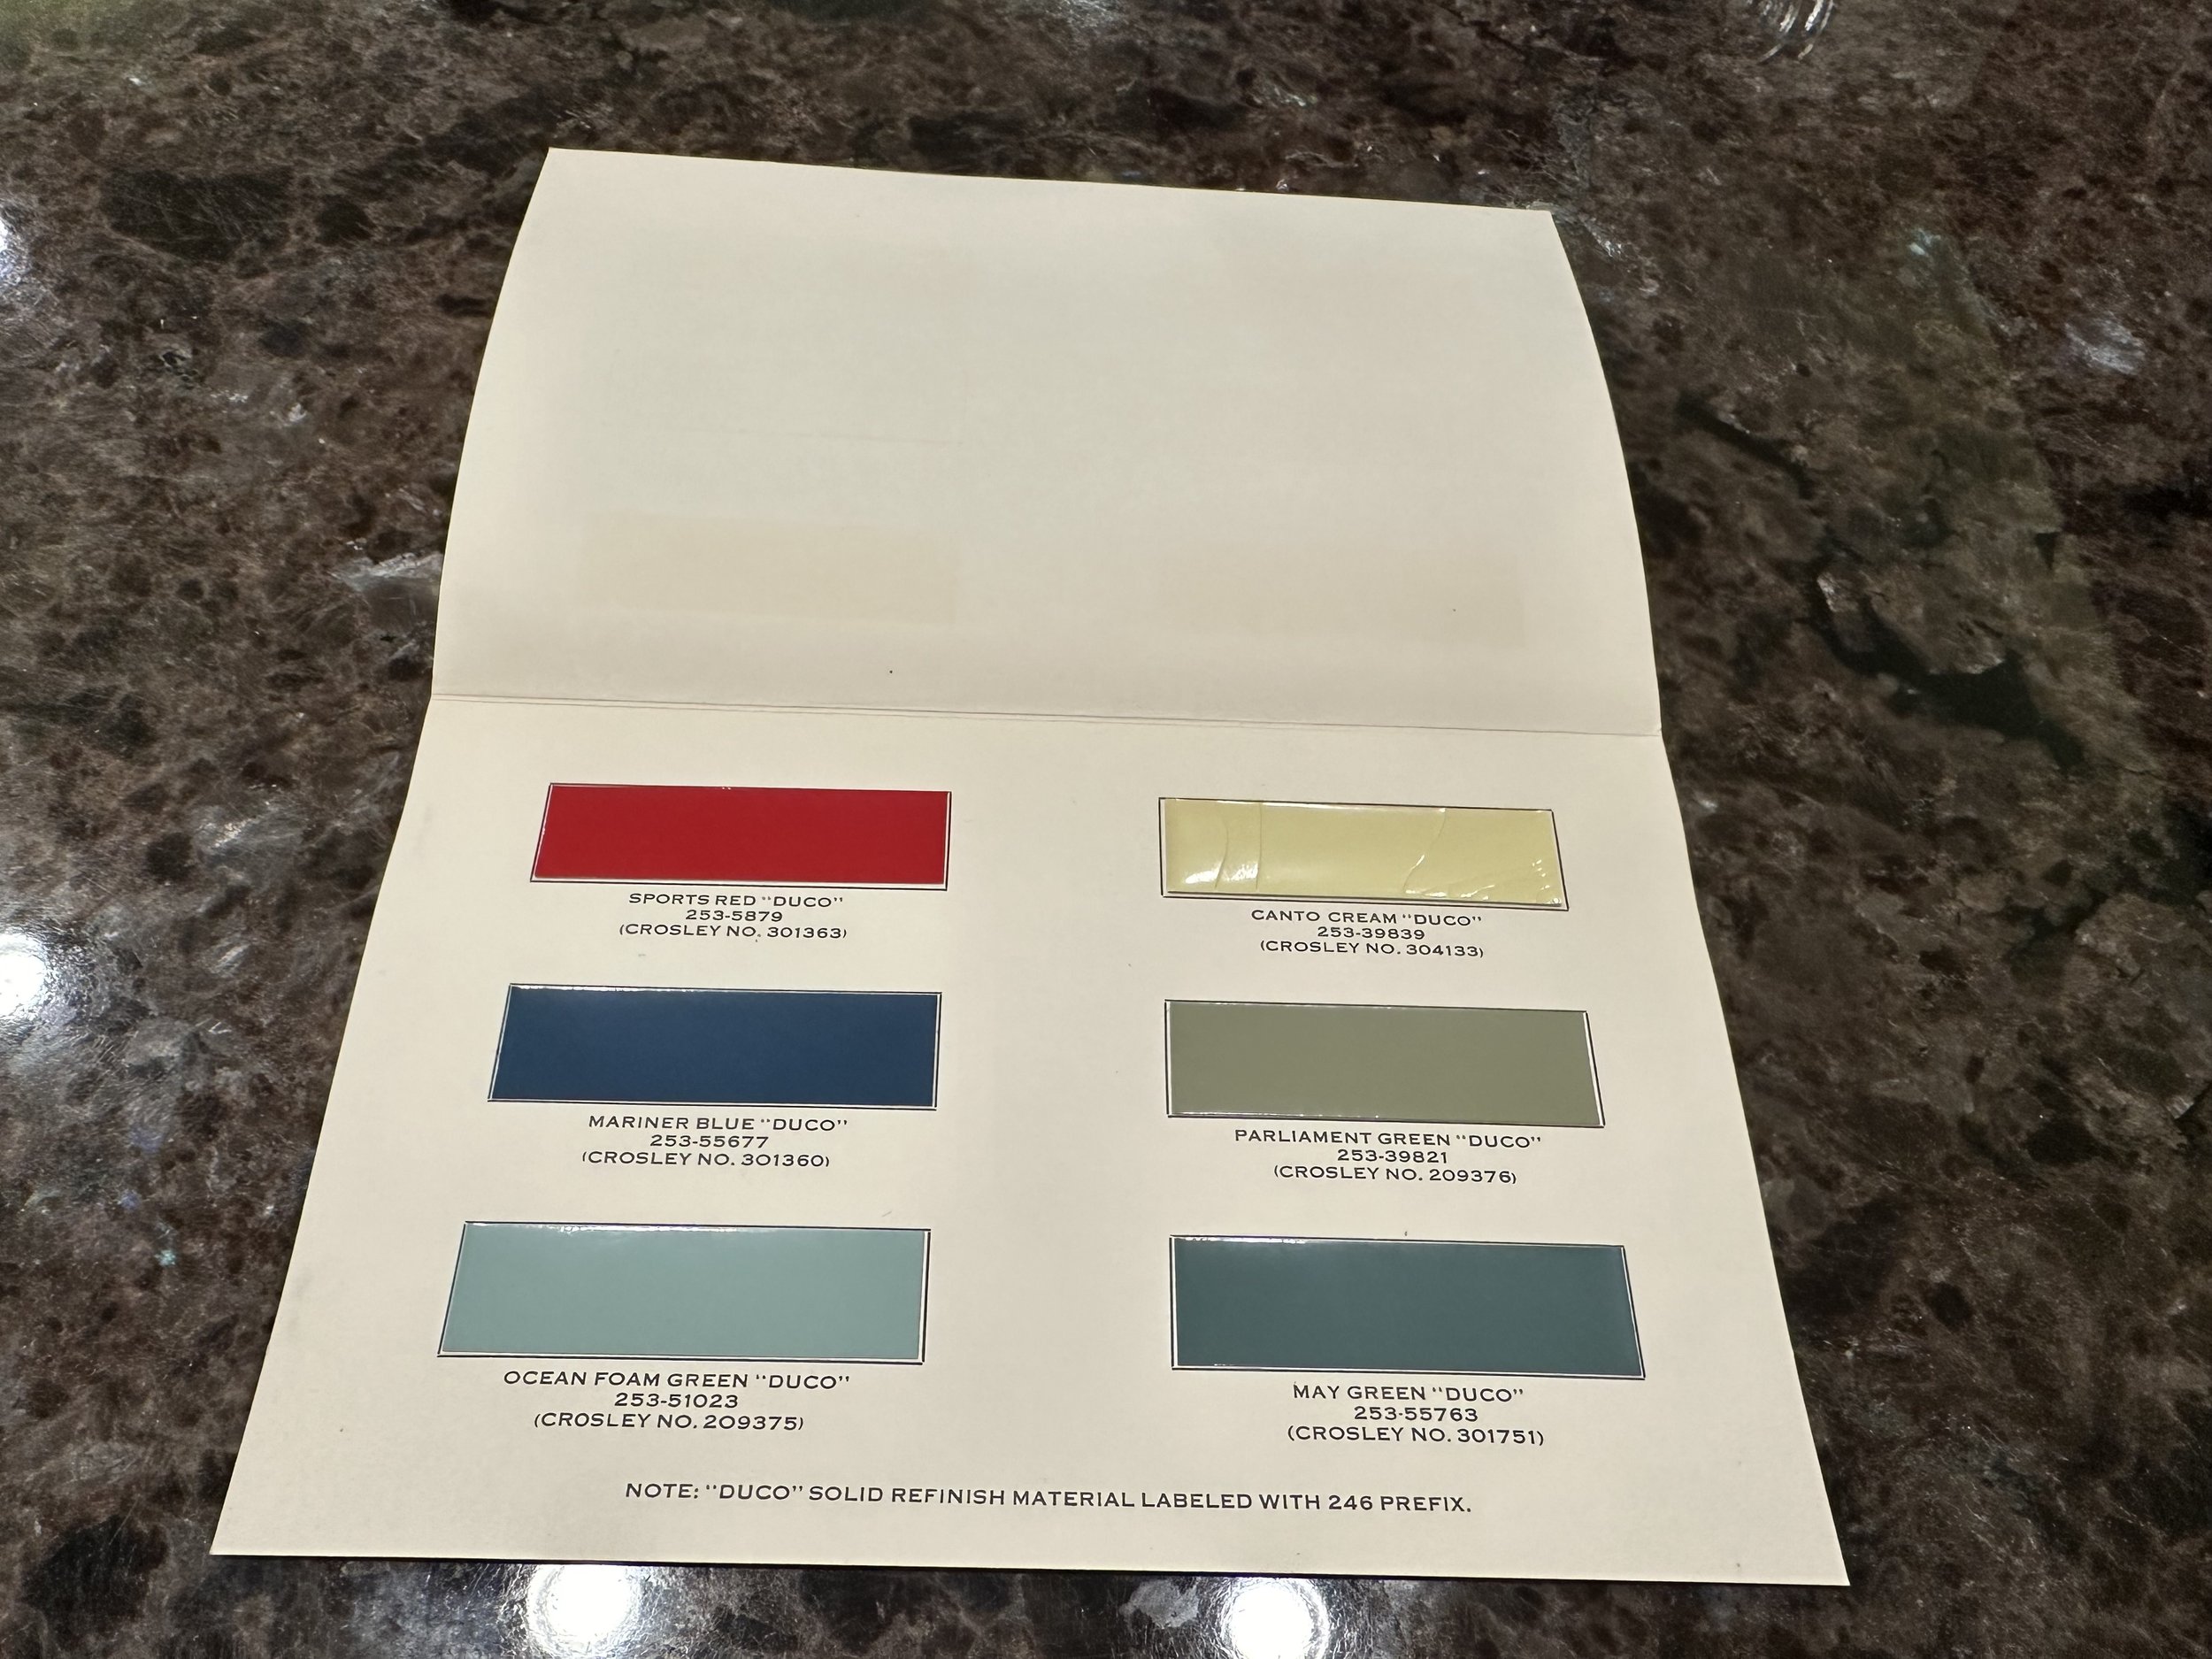
We took our original hood and our paint chips to the paint store to get an accurate color match.

We started with the color of the hood and added white to reach the color of our best paint chip.

Prime time
We picked up the freshly cleaned body of our Super Sports on short notice and painted it with epoxy primer to inhibit immediate corrosion. The body looked like brand new metal, thanks again to American Metal Cleaning!

At the metal cleaners…

…look at the shiny metal!

We placed the body on a cart for easy movement.

We were able to tip the car on its side to sand and paint the bottom!

After lightly sanding the whole car, we welded some holes in the rear left fender and fixed some bent metal (the flange on the front left seam was bent back slightly). After vacuuming the dust away and removing our tools from the area, it was time to paint!

It seems like the pitting in the floor was caused by water trapped under the original floor mats.


We will lightly sand this coat and then use filler primer and Bondo to smooth out the imperfections.
Engine-ering
We disassembled our 1950 Super Hotshot’s engine and painted it. After our new gaskets arrive, we can put it back together!

Painted engine block (red paint on letters will be done later)

First, we turned the engine upside down to remove the crankshaft and pistons (after removing the oil pan and oil pump).

This engine appears to have been repainted at some point, as evidenced by the dark bluish-gray color, painted crankcase, and overspray on the flywheel. While stripping the block, we found the original gray color paint underneath - thanks to Barry Seel for telling us the right paint color to use!
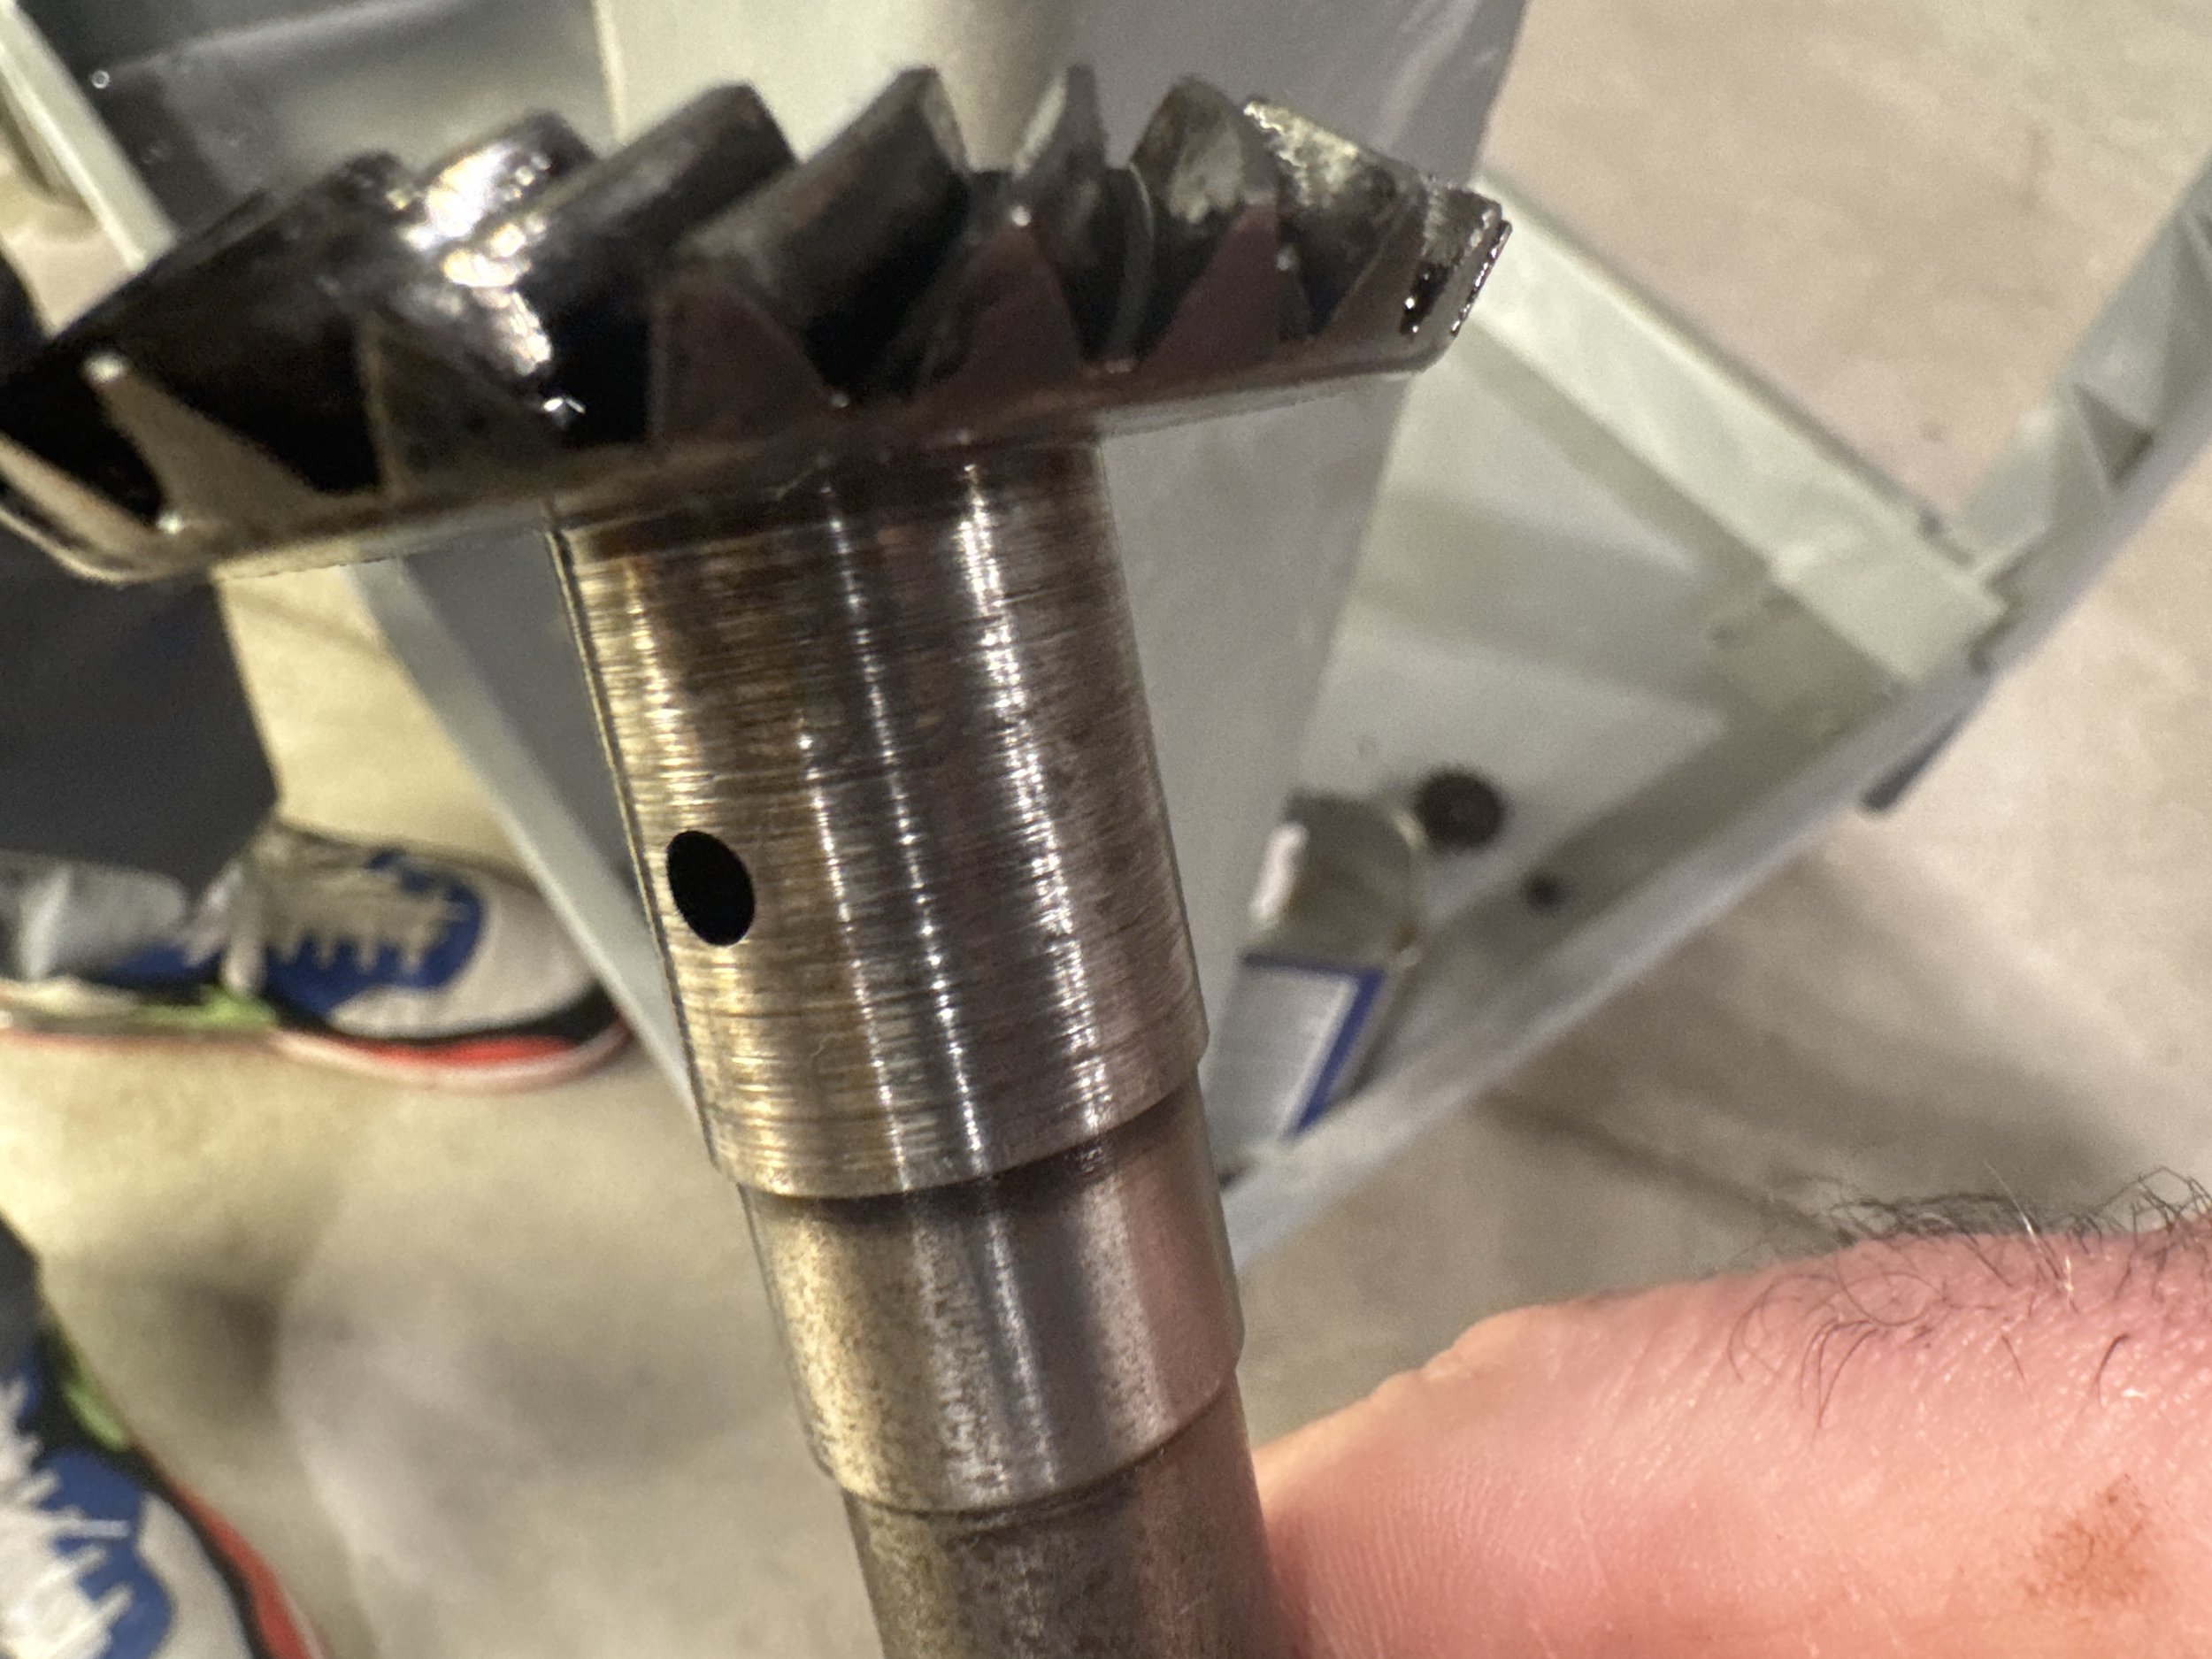
Every part in the engine looked brand-new, apart from the tower shaft gear, which has lots of deep grooves and will need replacing.

Engine block fully stripped and ready for paint!

We used masking tape for the large areas and earplugs to fill the smaller holes… they worked surprisingly well!
Preparing for the dipper again!
We prepared the body of our 1950 Super Hotshot for metal cleaning by transferring it onto the wooden frame we created for our 1951 Super Sports.
VIDEO
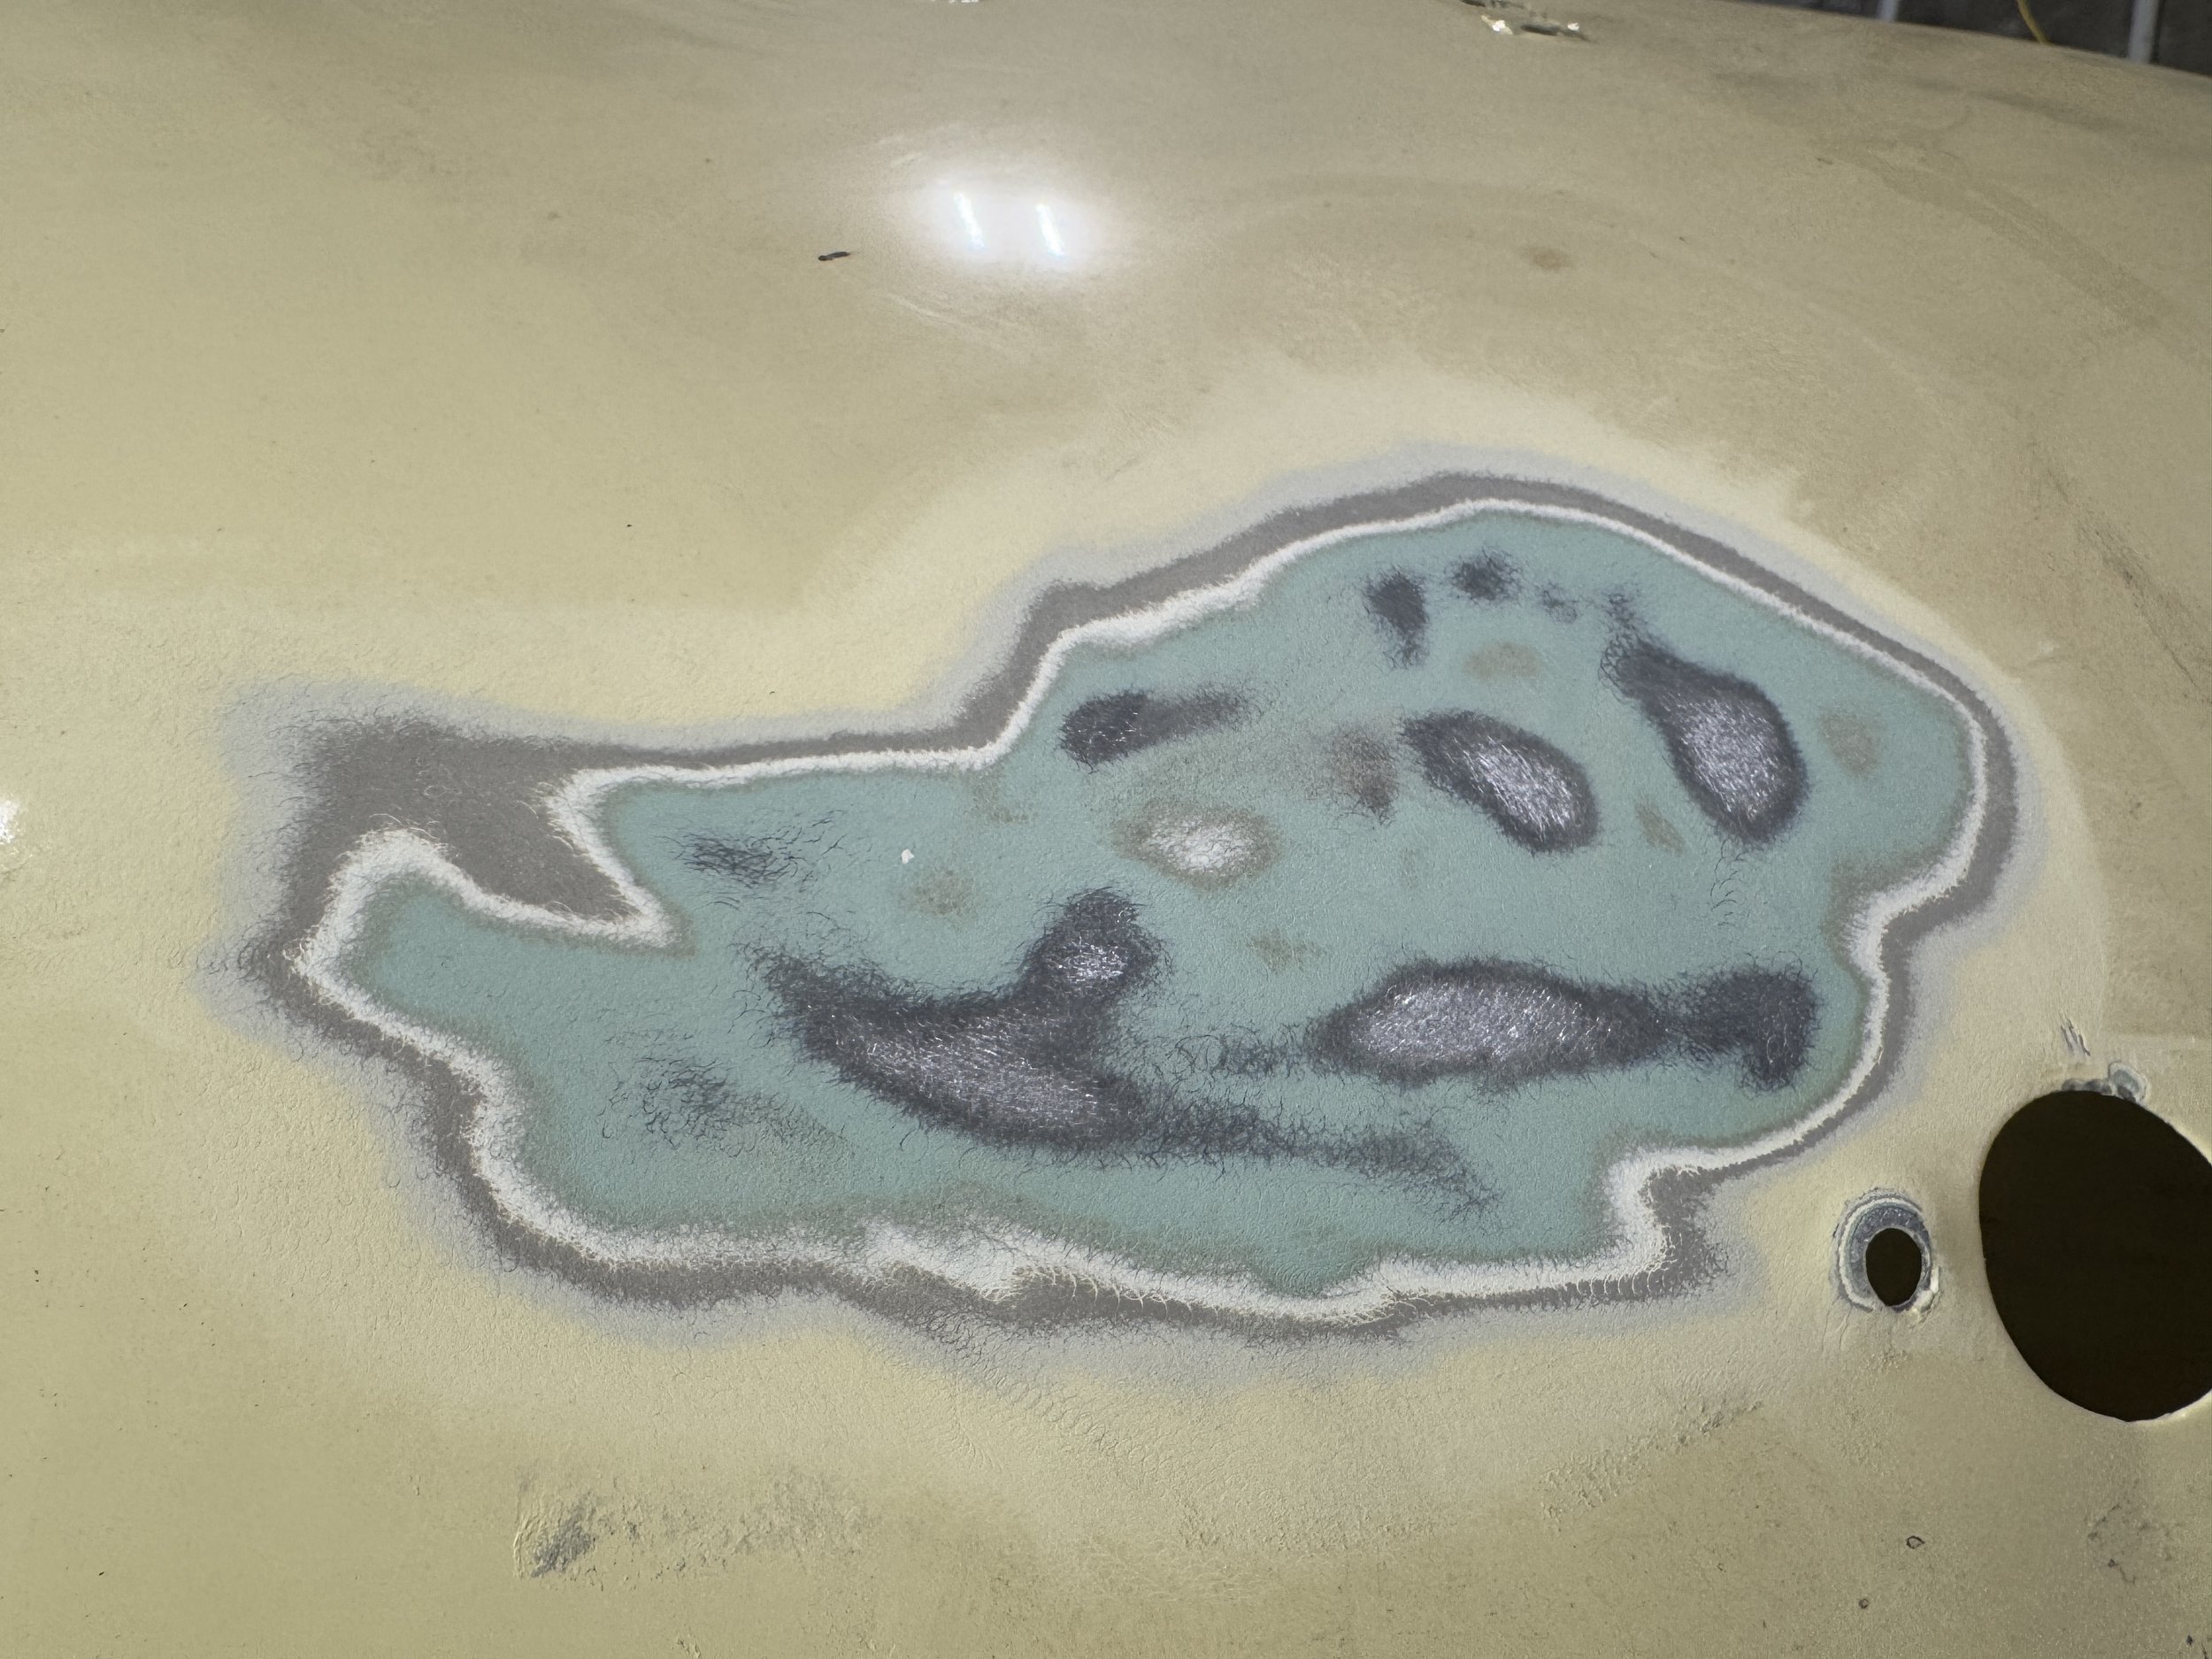
Sanding the body reveals the original Ocean Foam Green paint.

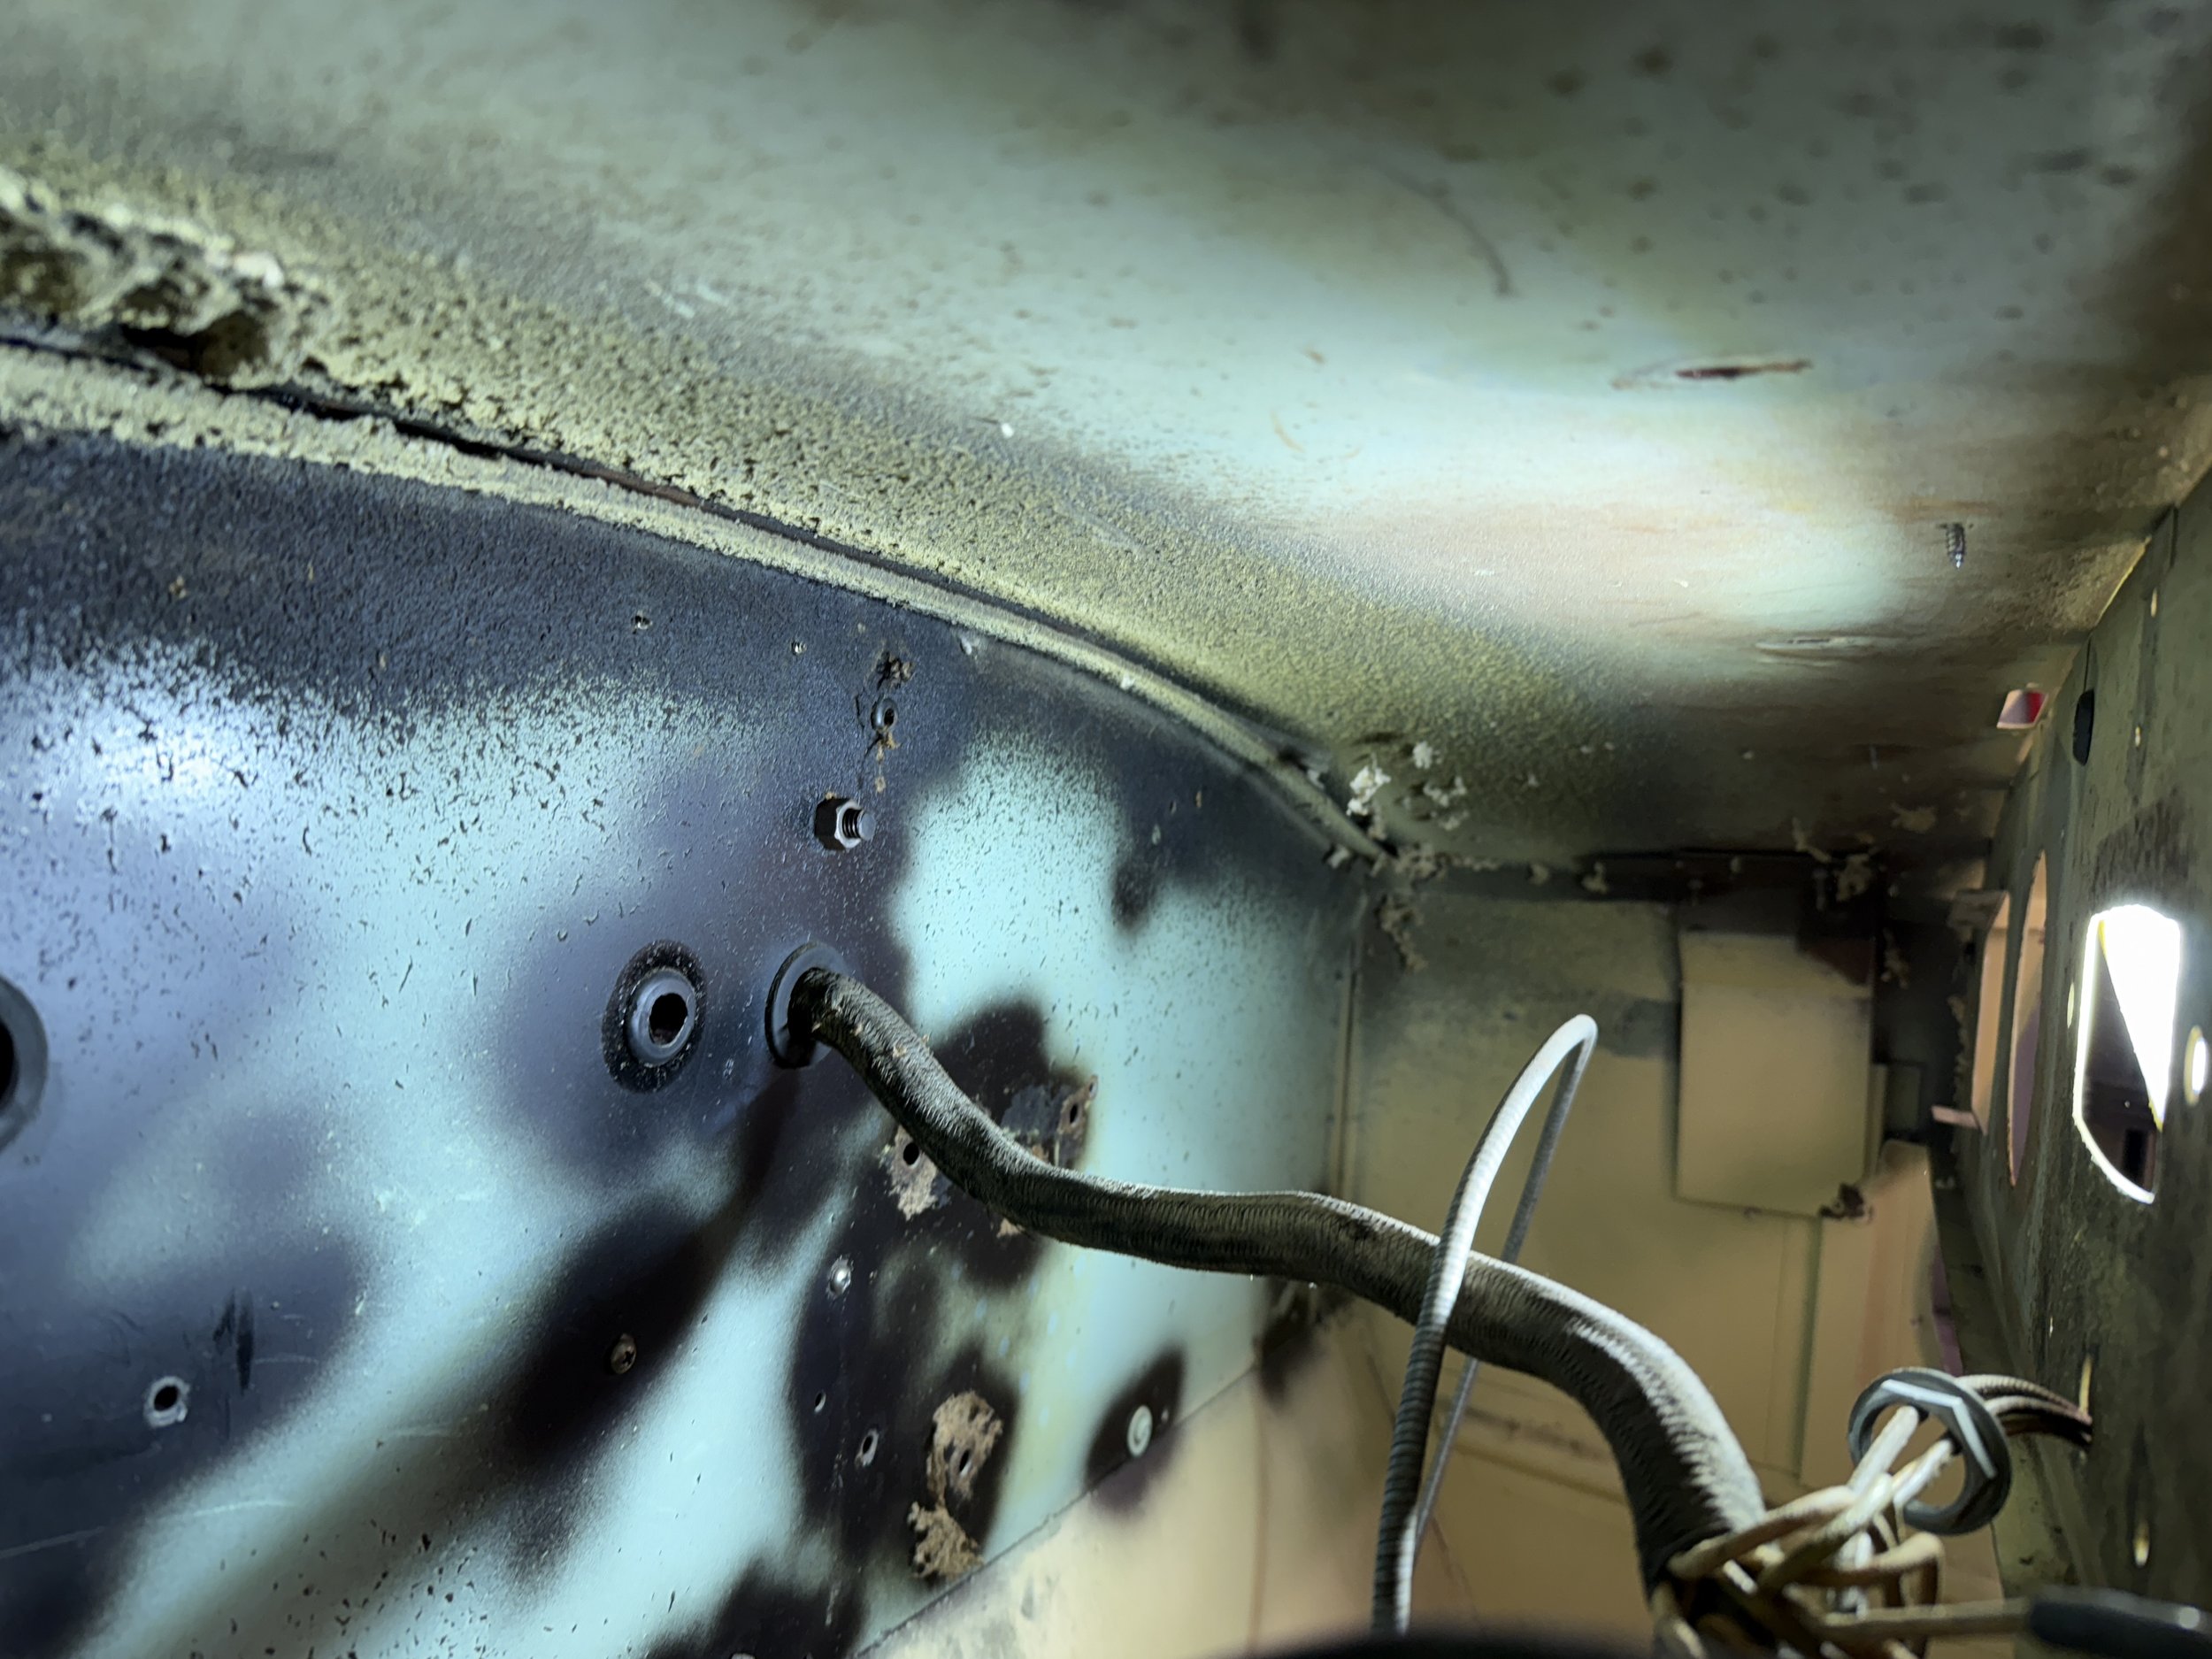

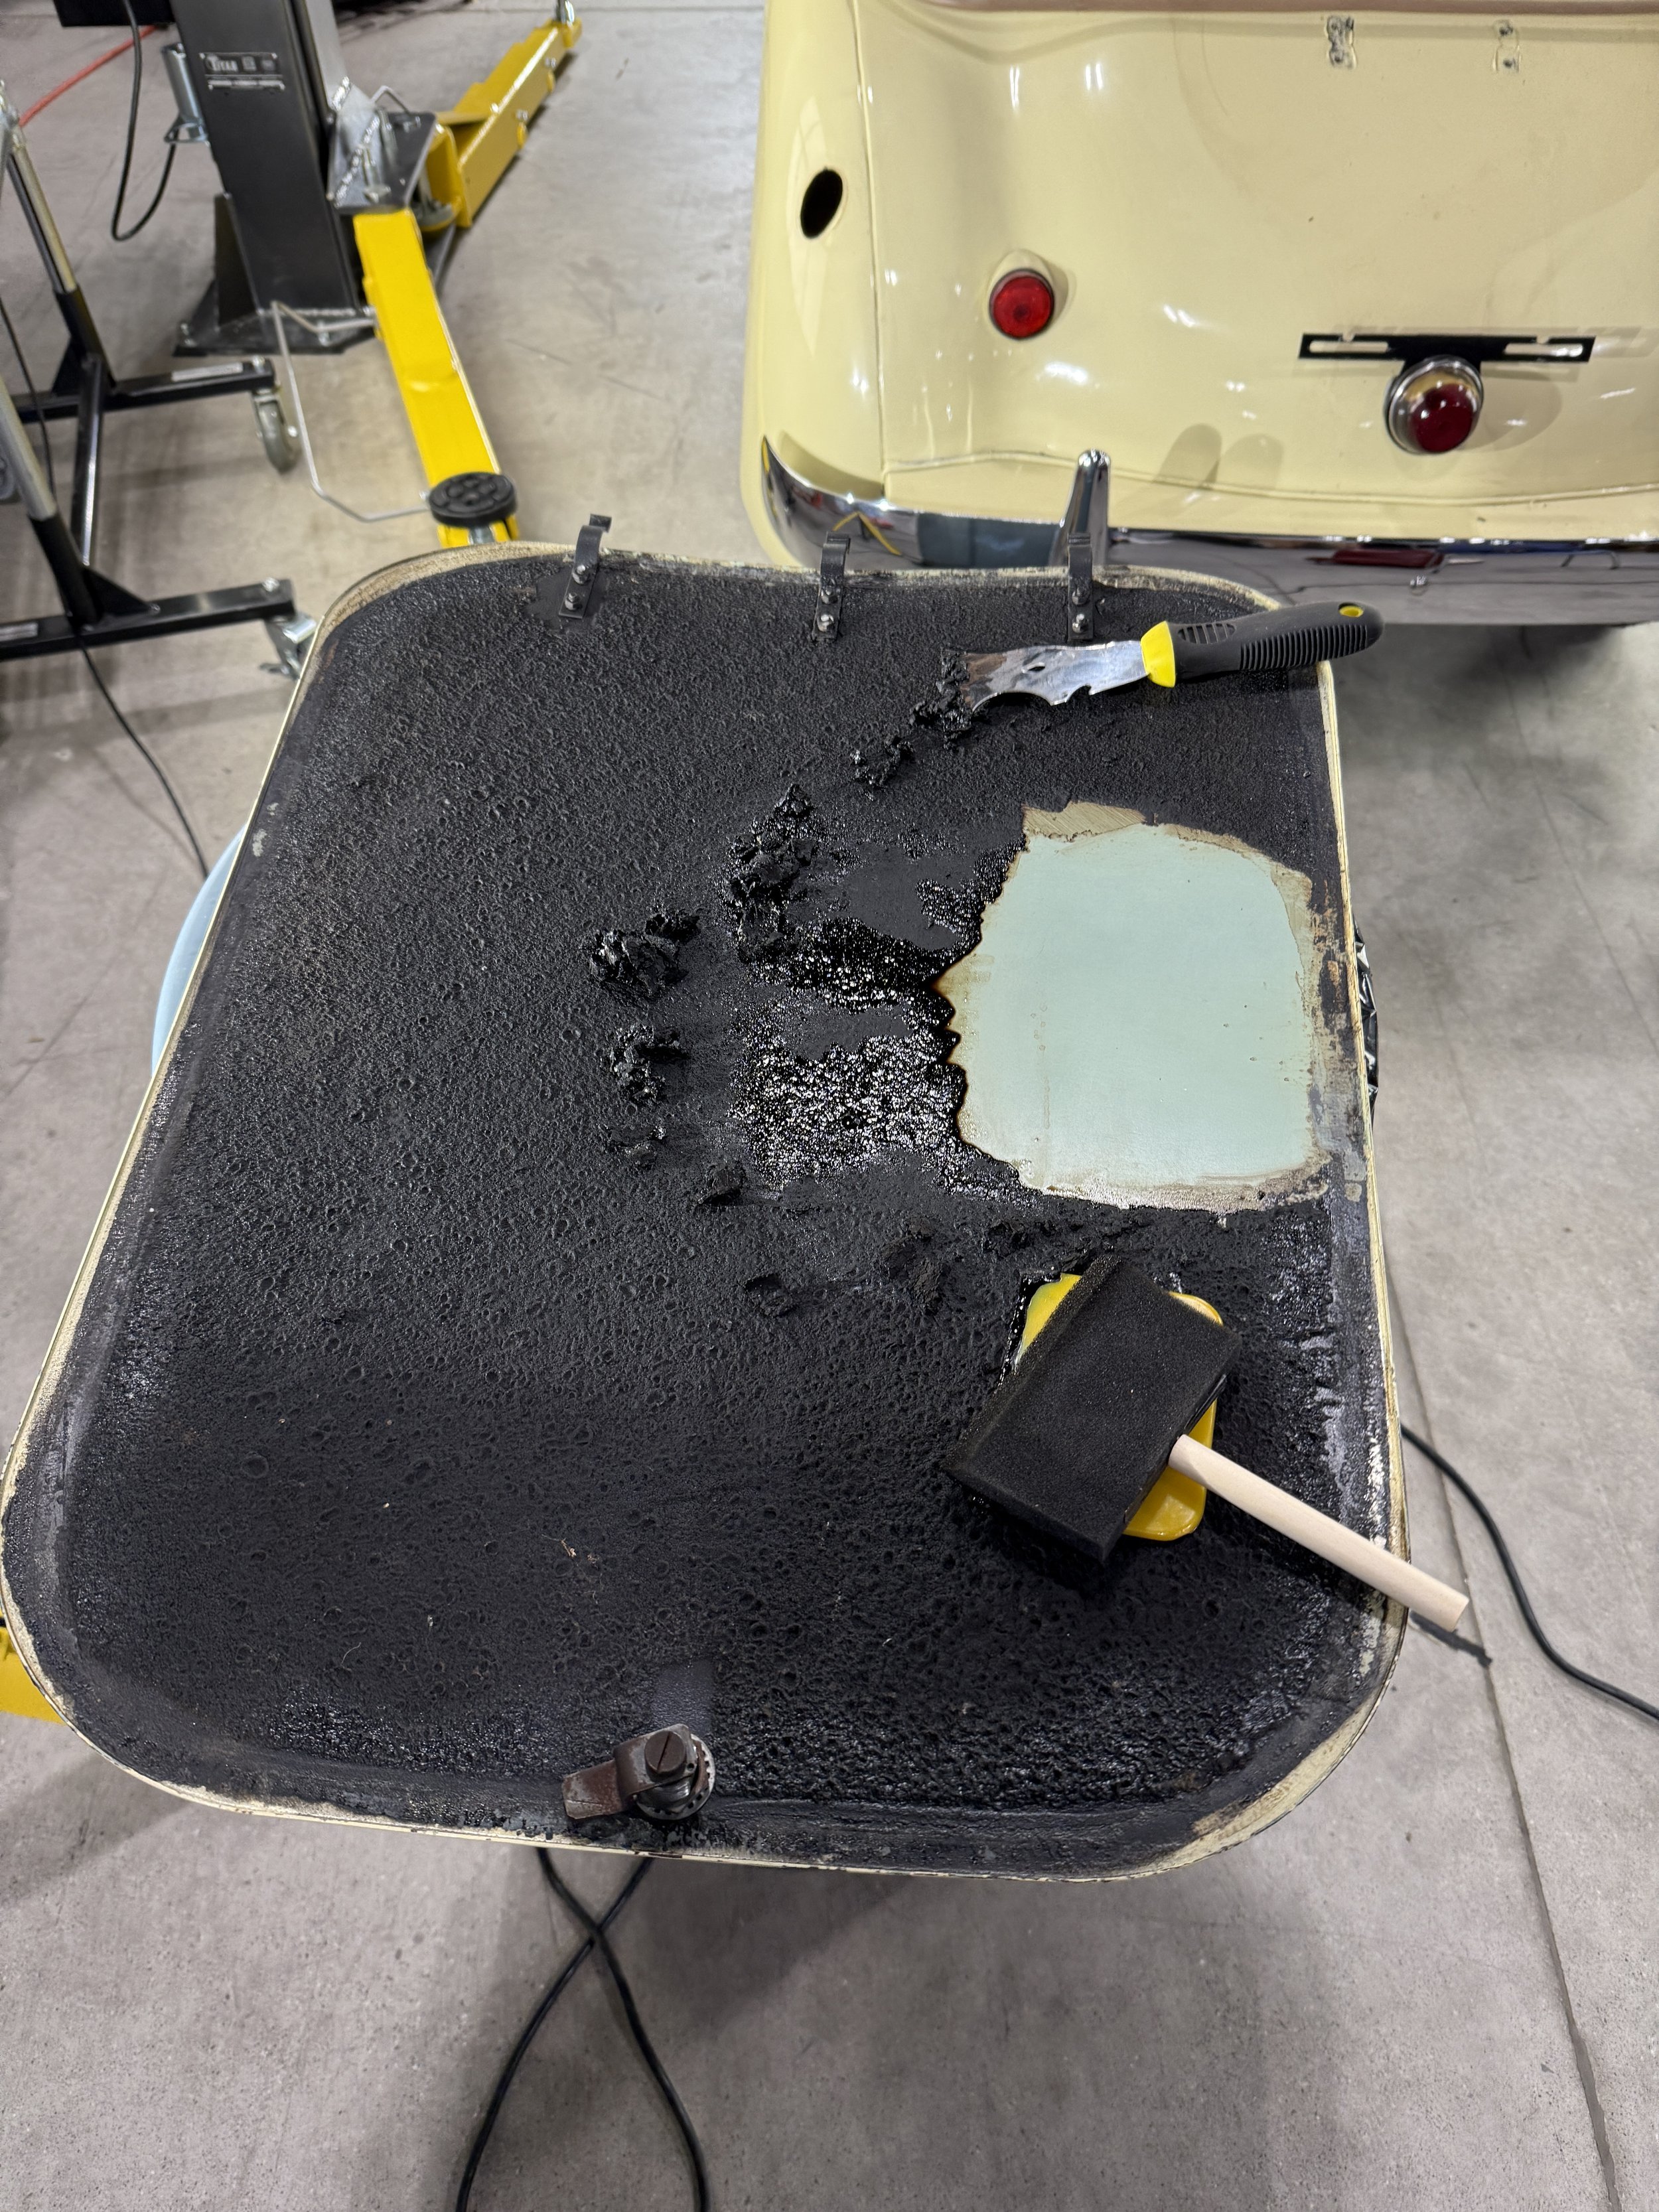
As mentioned previously, we removed the original undercoating from the bottom of the hood to reveal even more Ocean Foam Green; we can use the hood to get our paint matched correctly!
Brakes
After we got the frame apart, I was able to disassemble the brakes completely. After sandblasting and painting, they will be ready for our new brake parts!
VIDEO
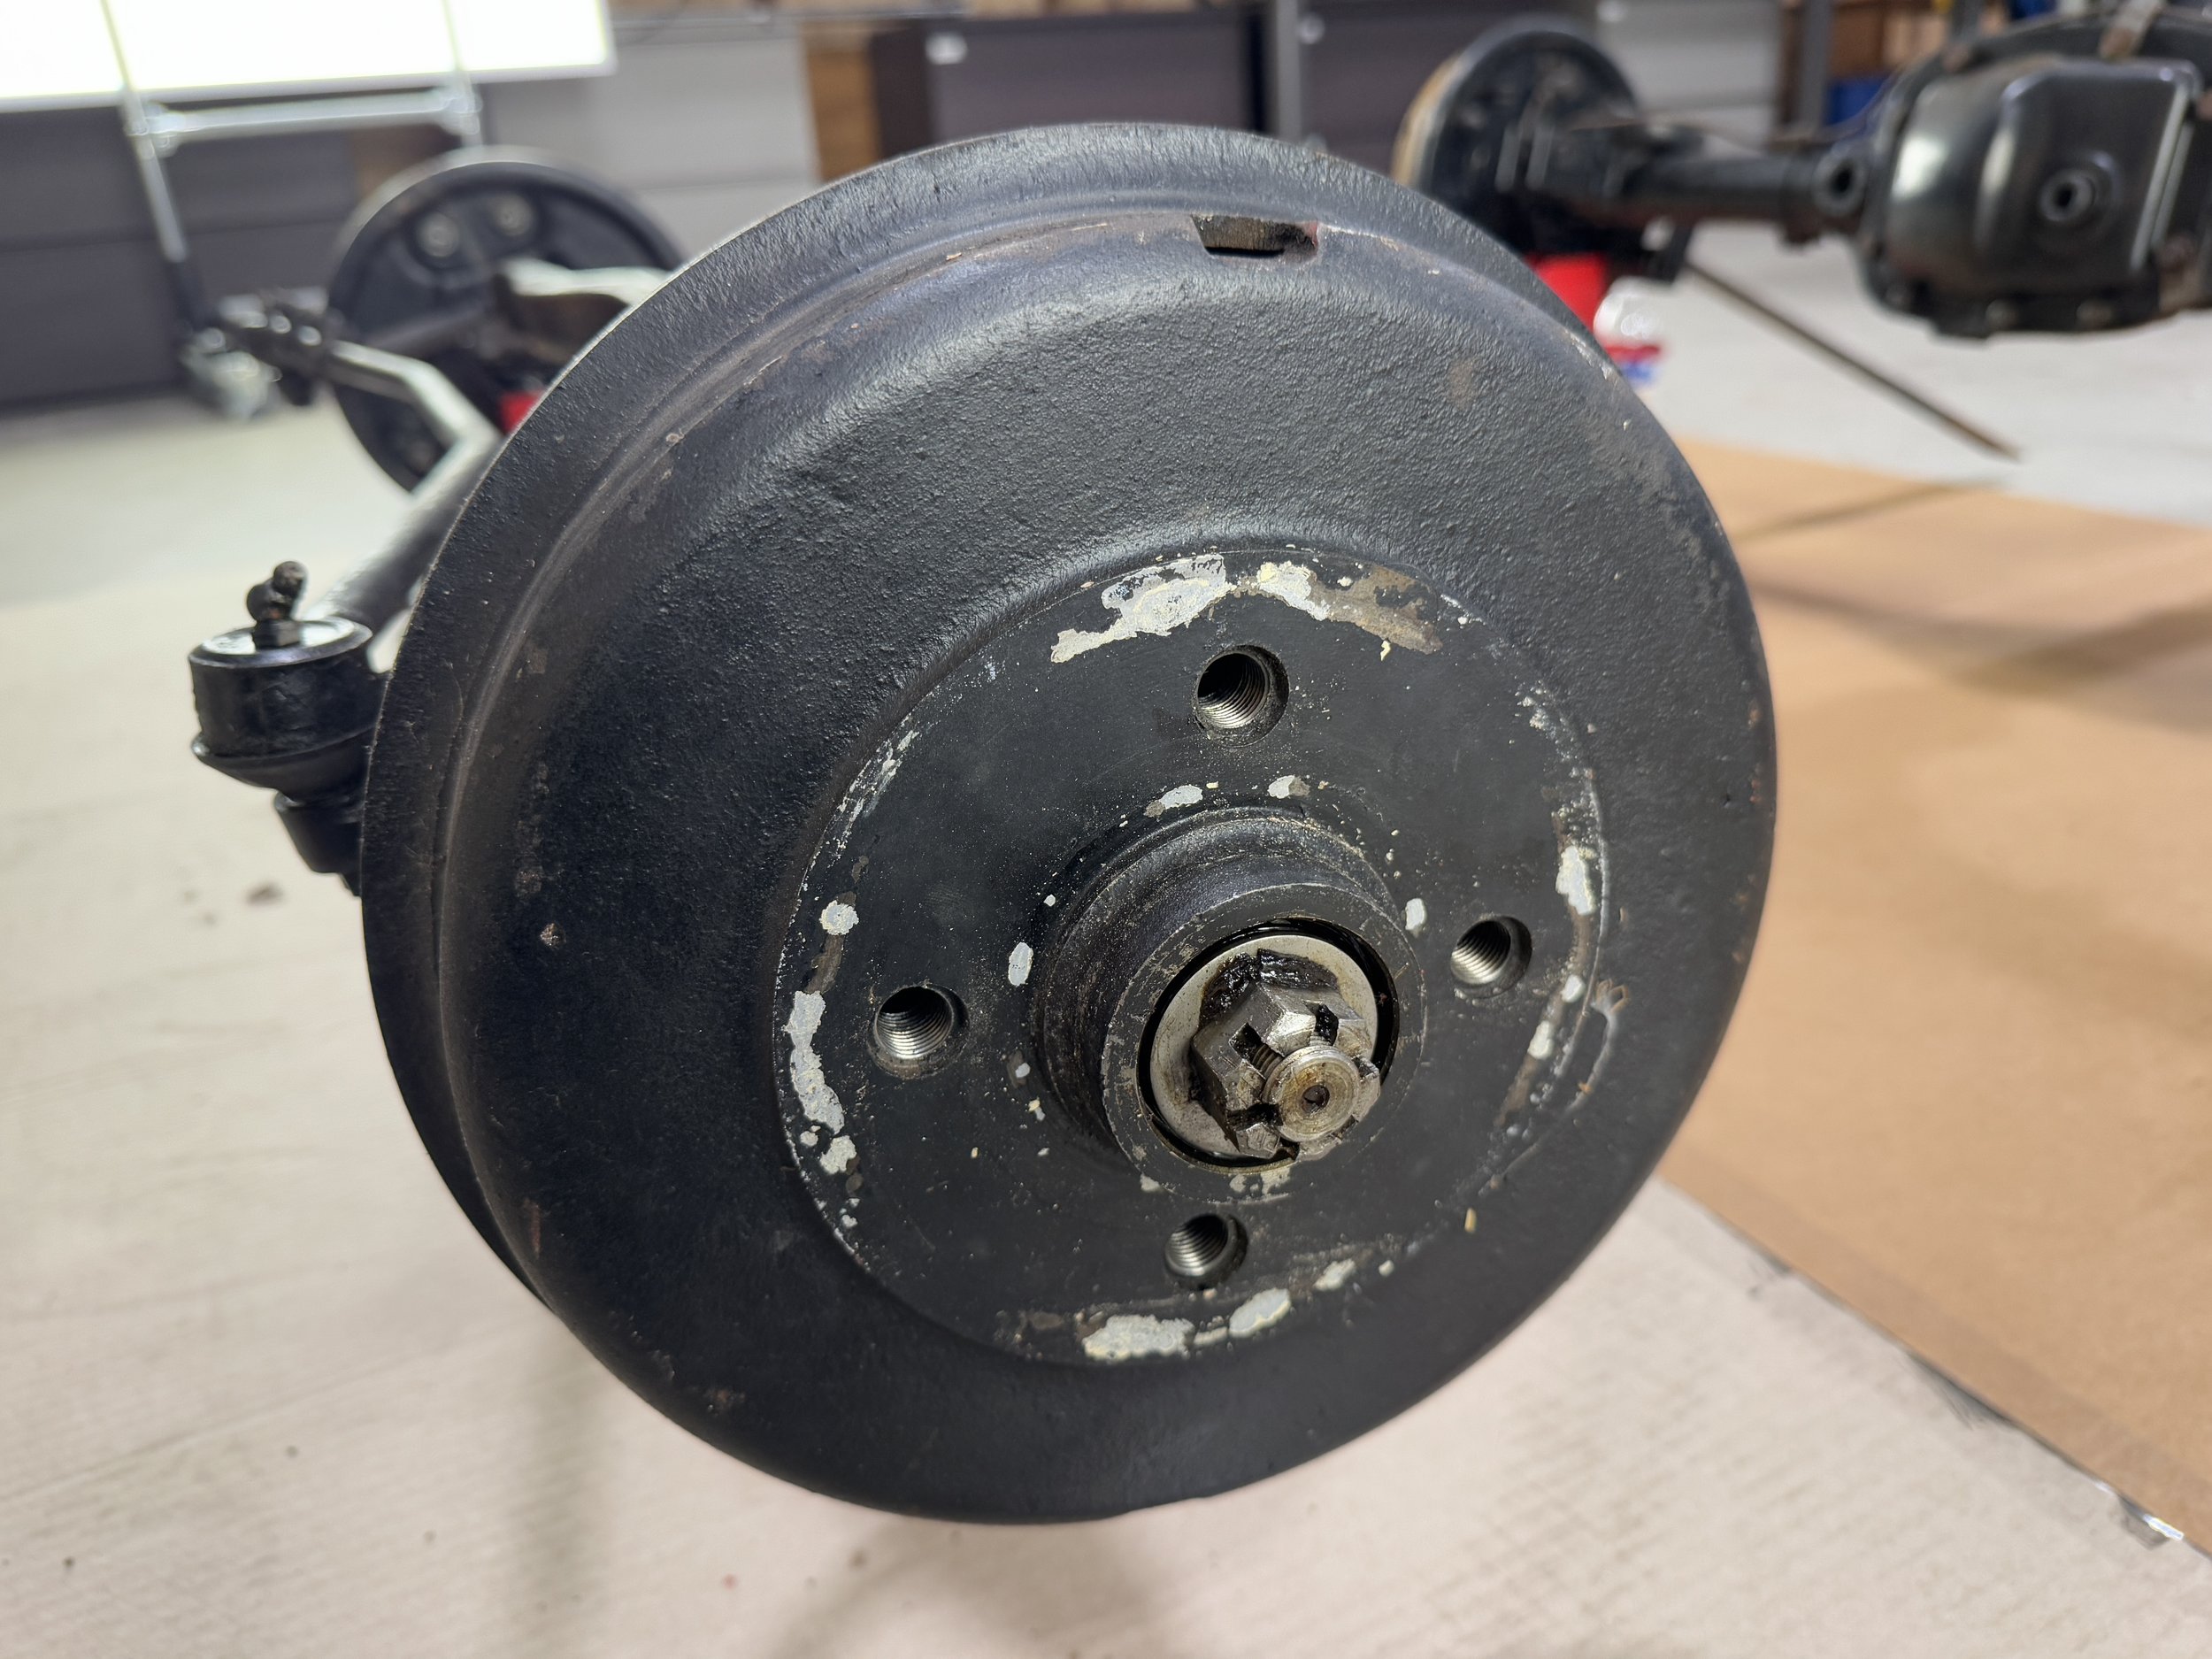

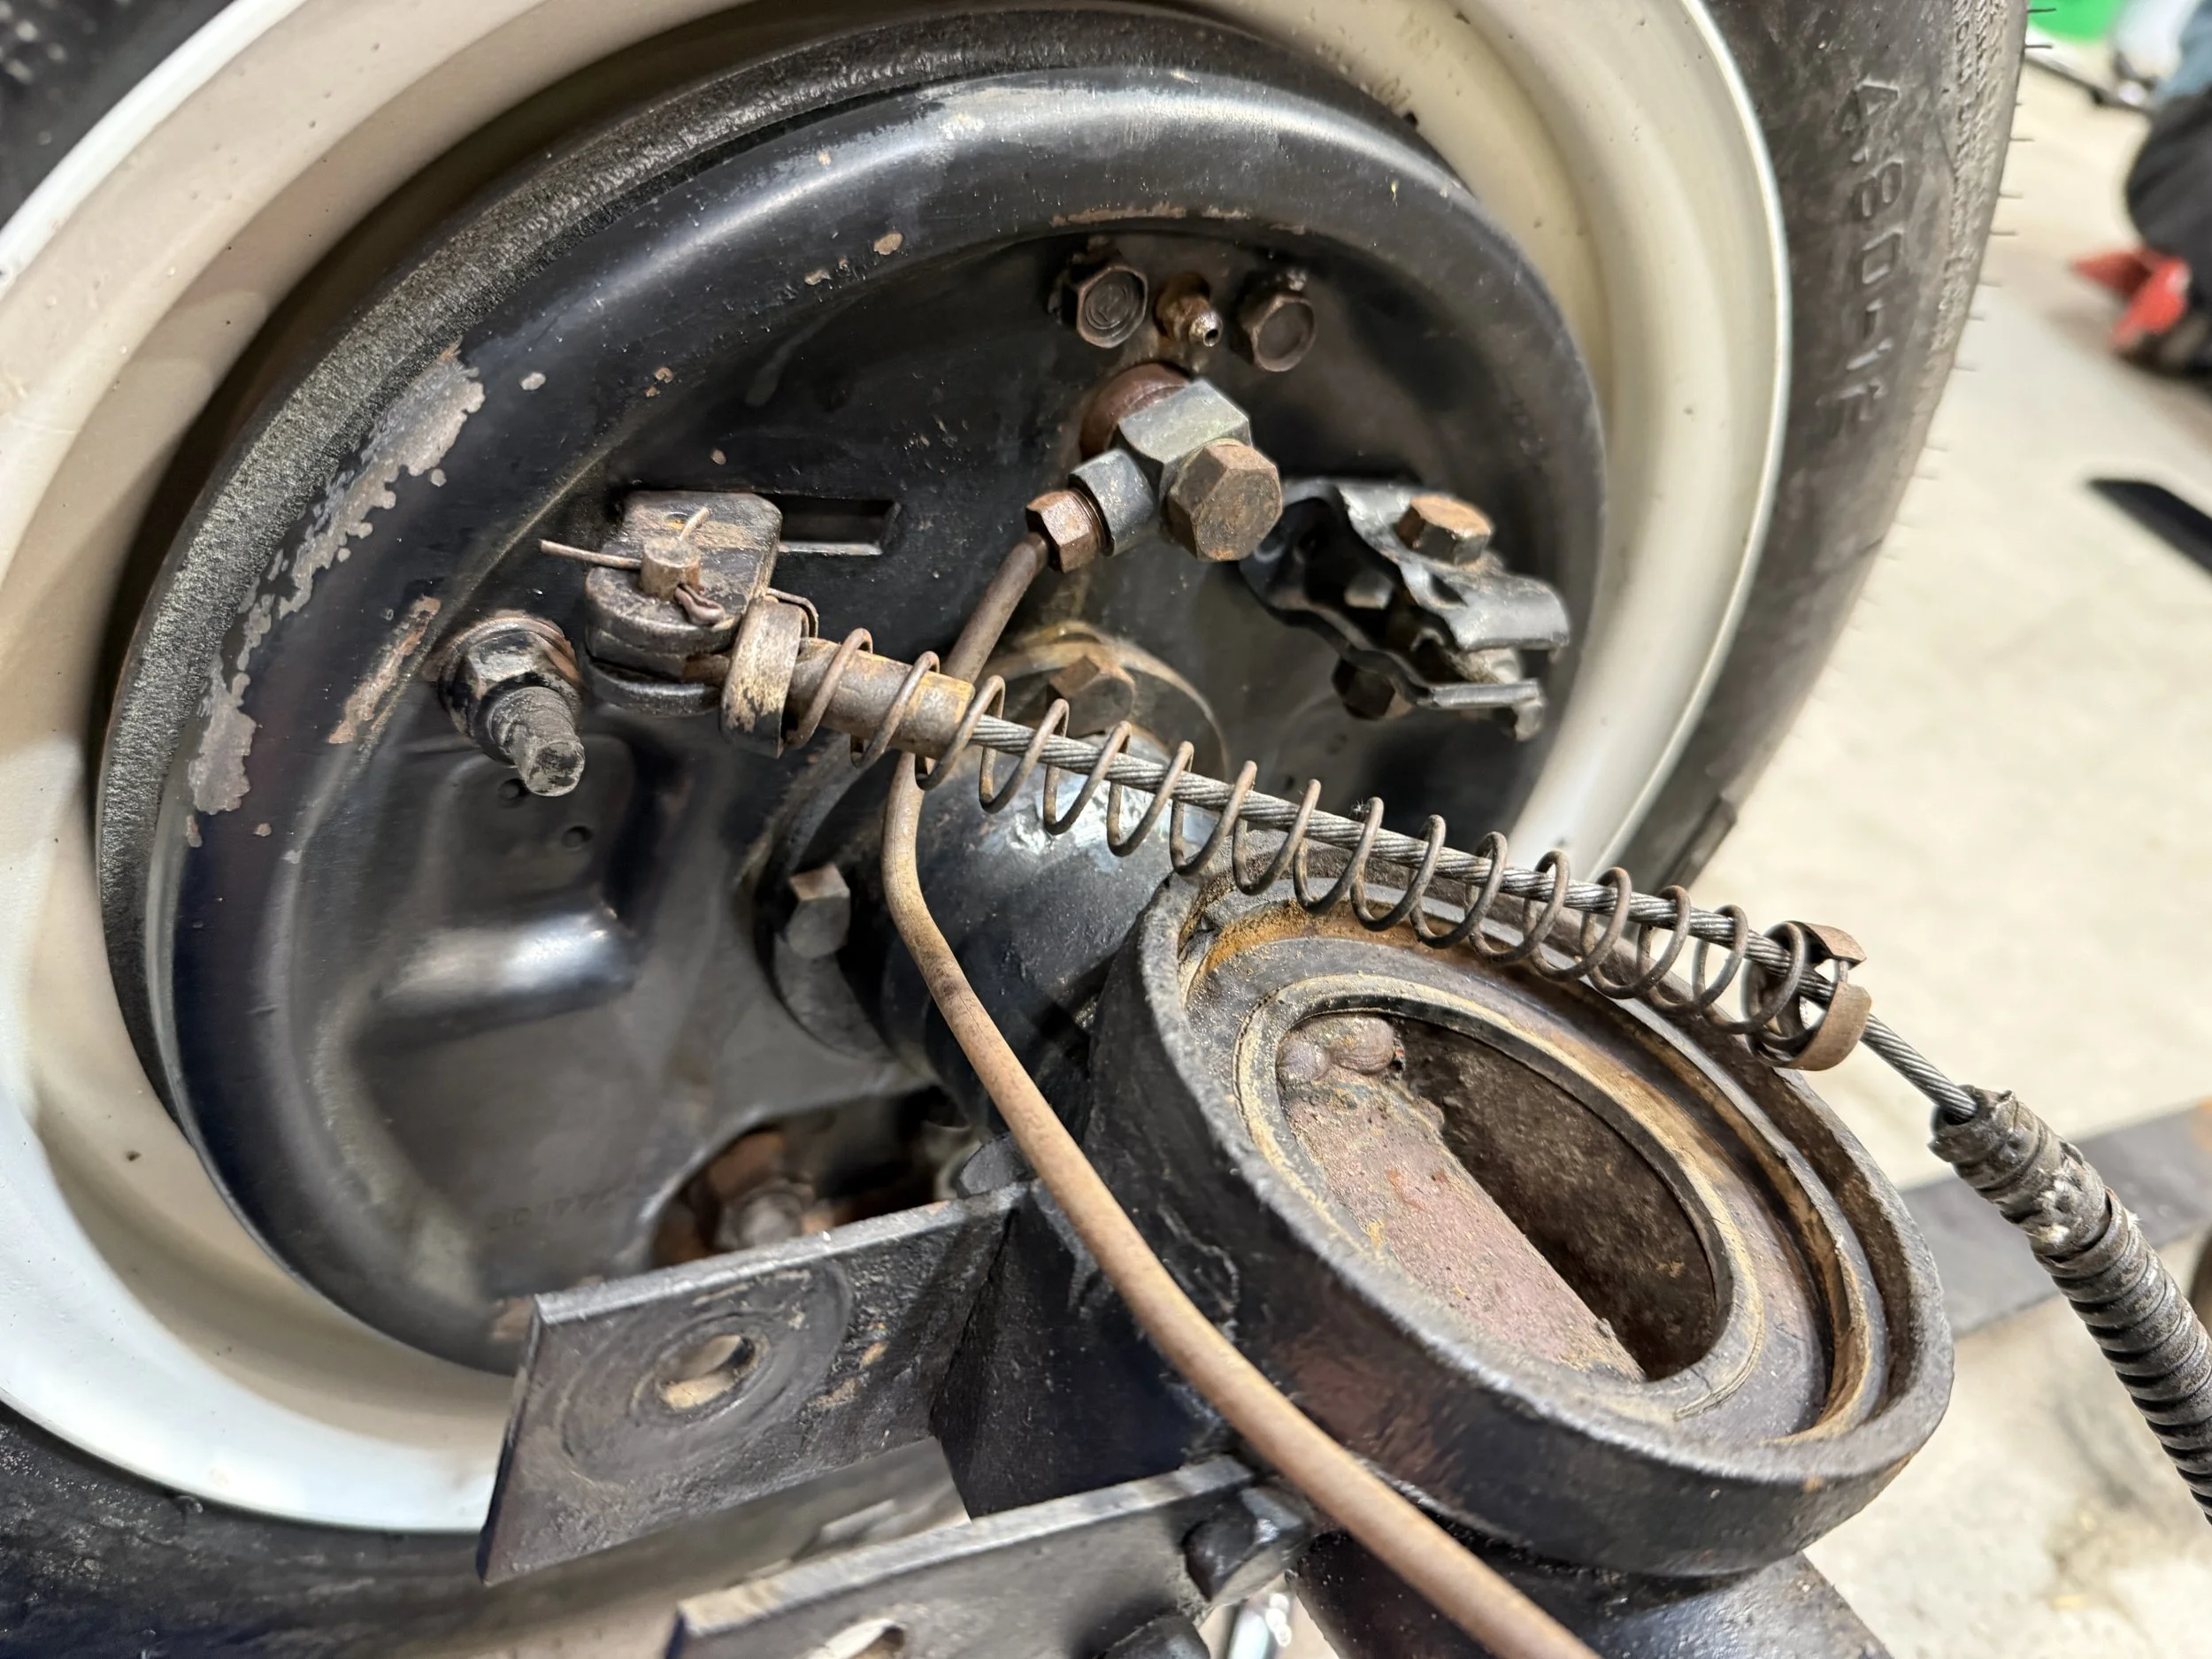


We have been carefully documenting and labeling each part with a number, marking its location on a spreadsheet. This will prove very handy once we start putting the car back together, and minimize the chance of lost parts!

The brake lines cleaned up very nicely with steel wool and a Scotchbrite pad!
Wishy washy
We pressure washed the car and used degreaser to clean it up. We were then able to continue our disassembly, separating the frame from the engine, front end, and rear end.


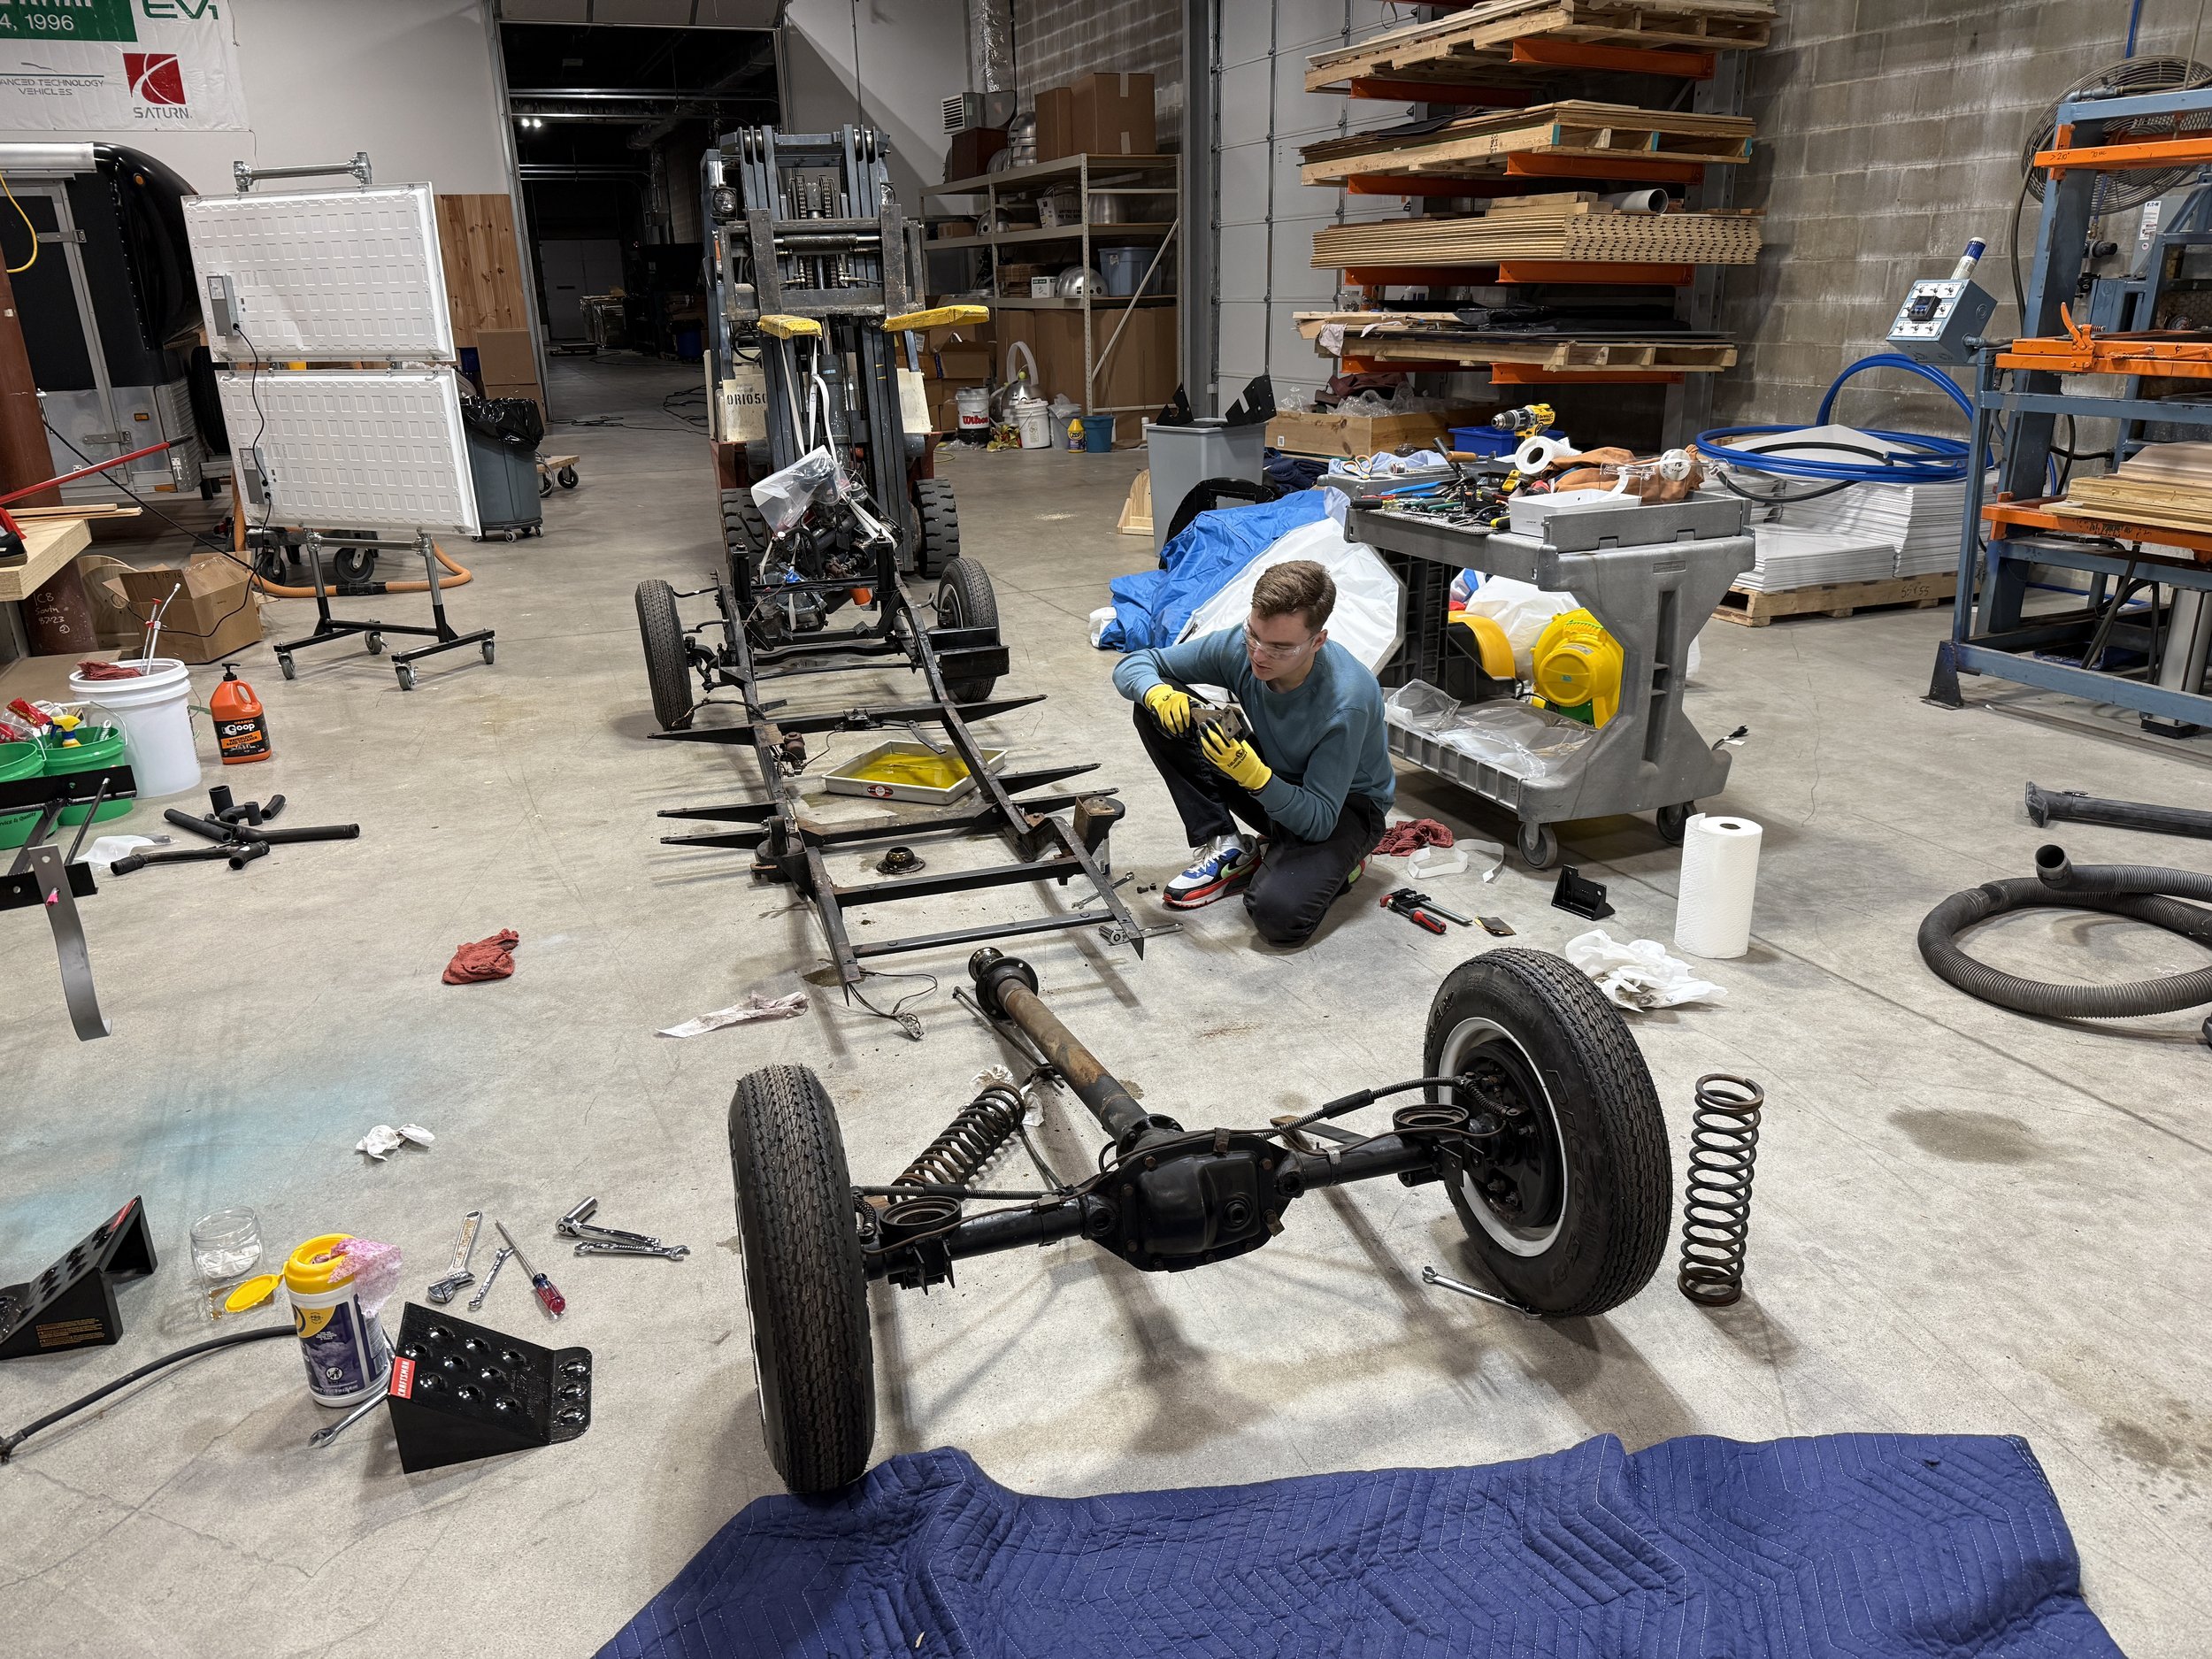


Nothing a little sanding can’t fix.
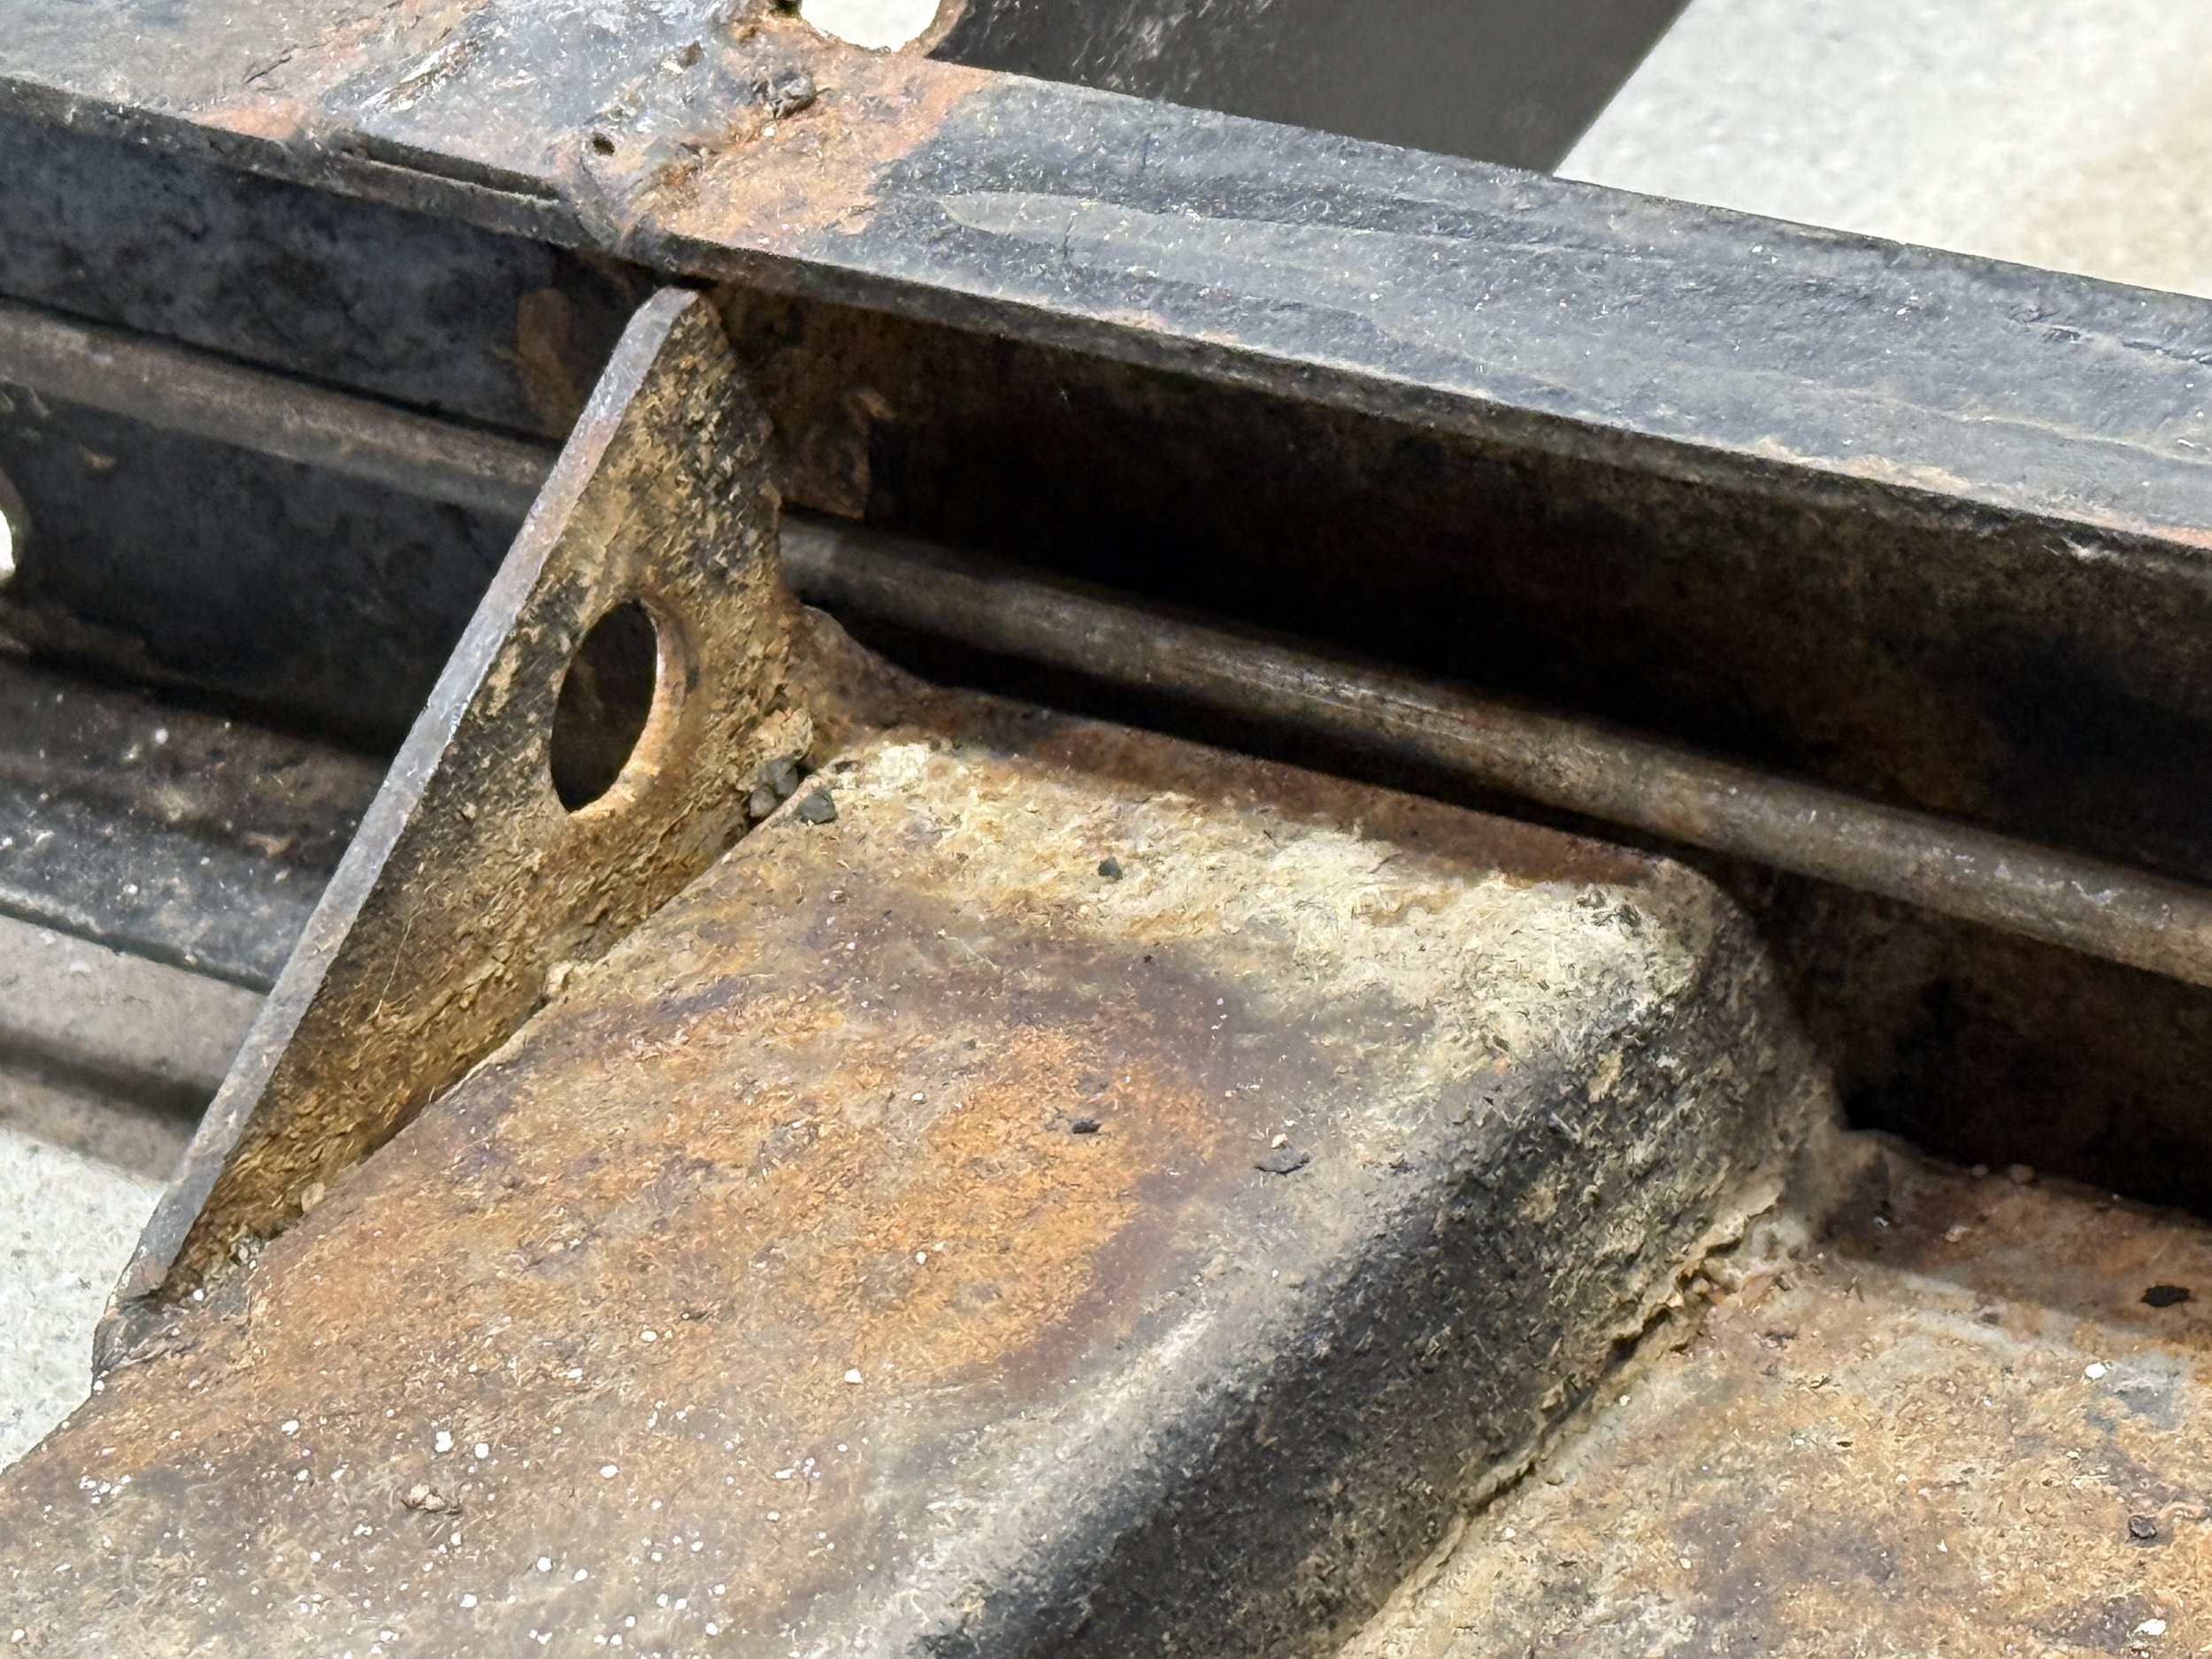

We might need new motor mounts…

…and a new master cylinder.