
Bodywork part 2
We painted the body and other parts Ocean Foam Green base coat followed by clear coat. Finally, we buffed and polished the body.
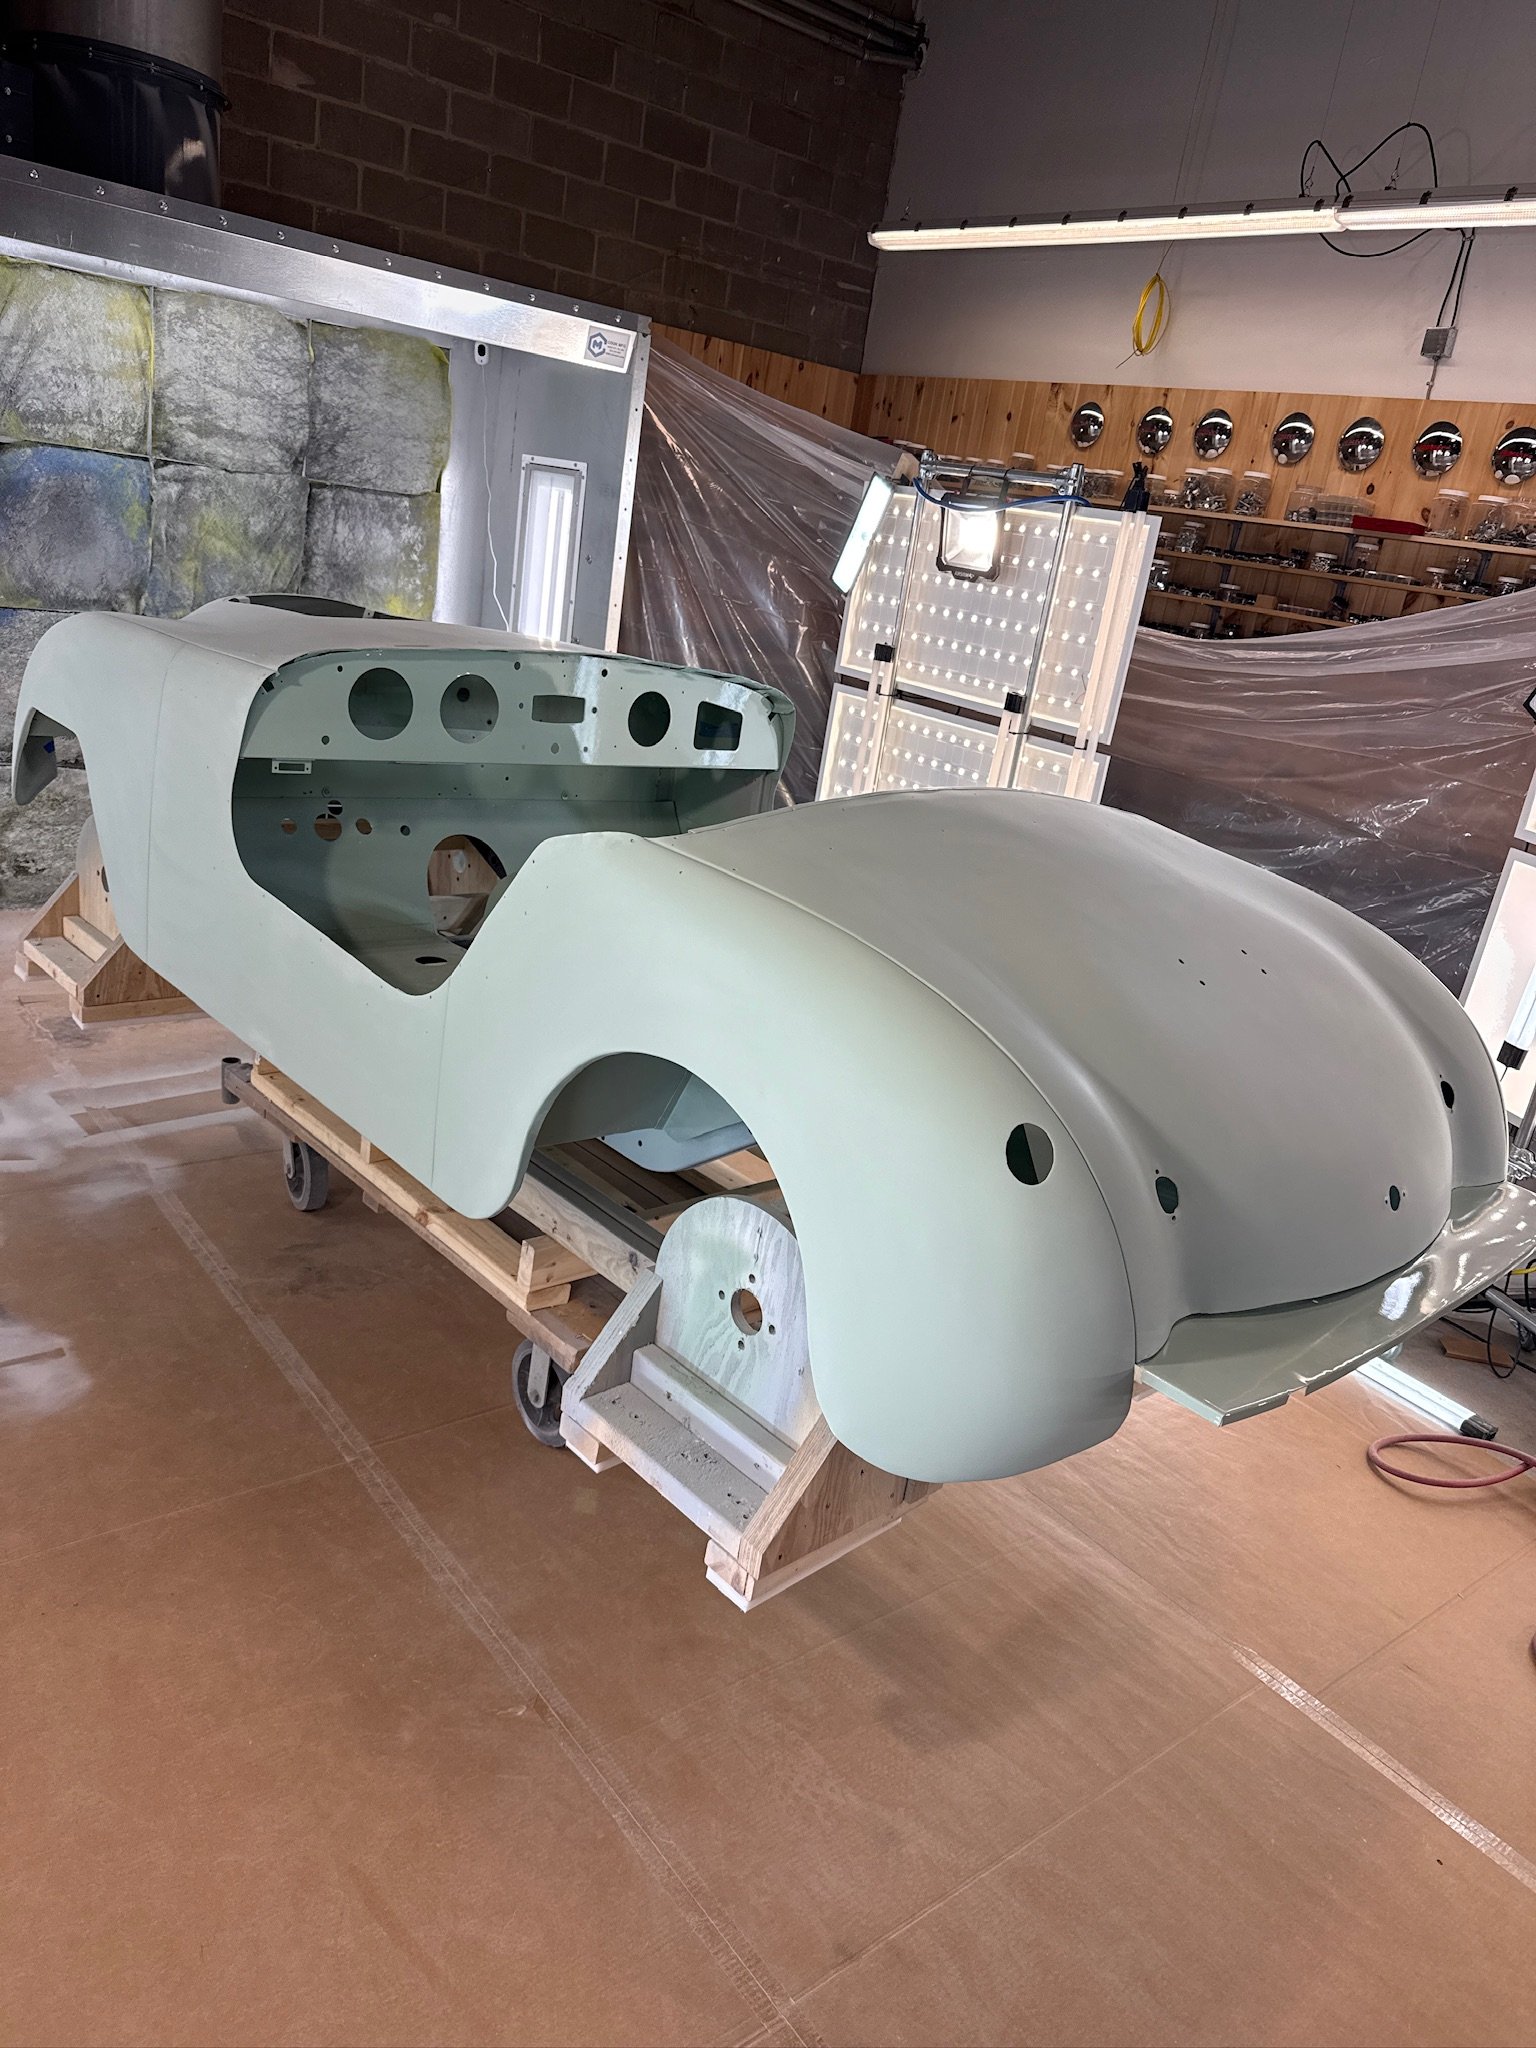
We started with sanding the sealer primer, then painted two coats of base coat.

We followed the base coat with several coats of clear coat. It took several times of sanding and reshooting to get it just right, but we finally did!

End result - super shiny! We made it even shinier by sanding with 3000 grit DA and then polishing the whole body, which eliminated minor imperfections and removed some of the orange peel texture.

The trunk lid became even shiner after polishing!
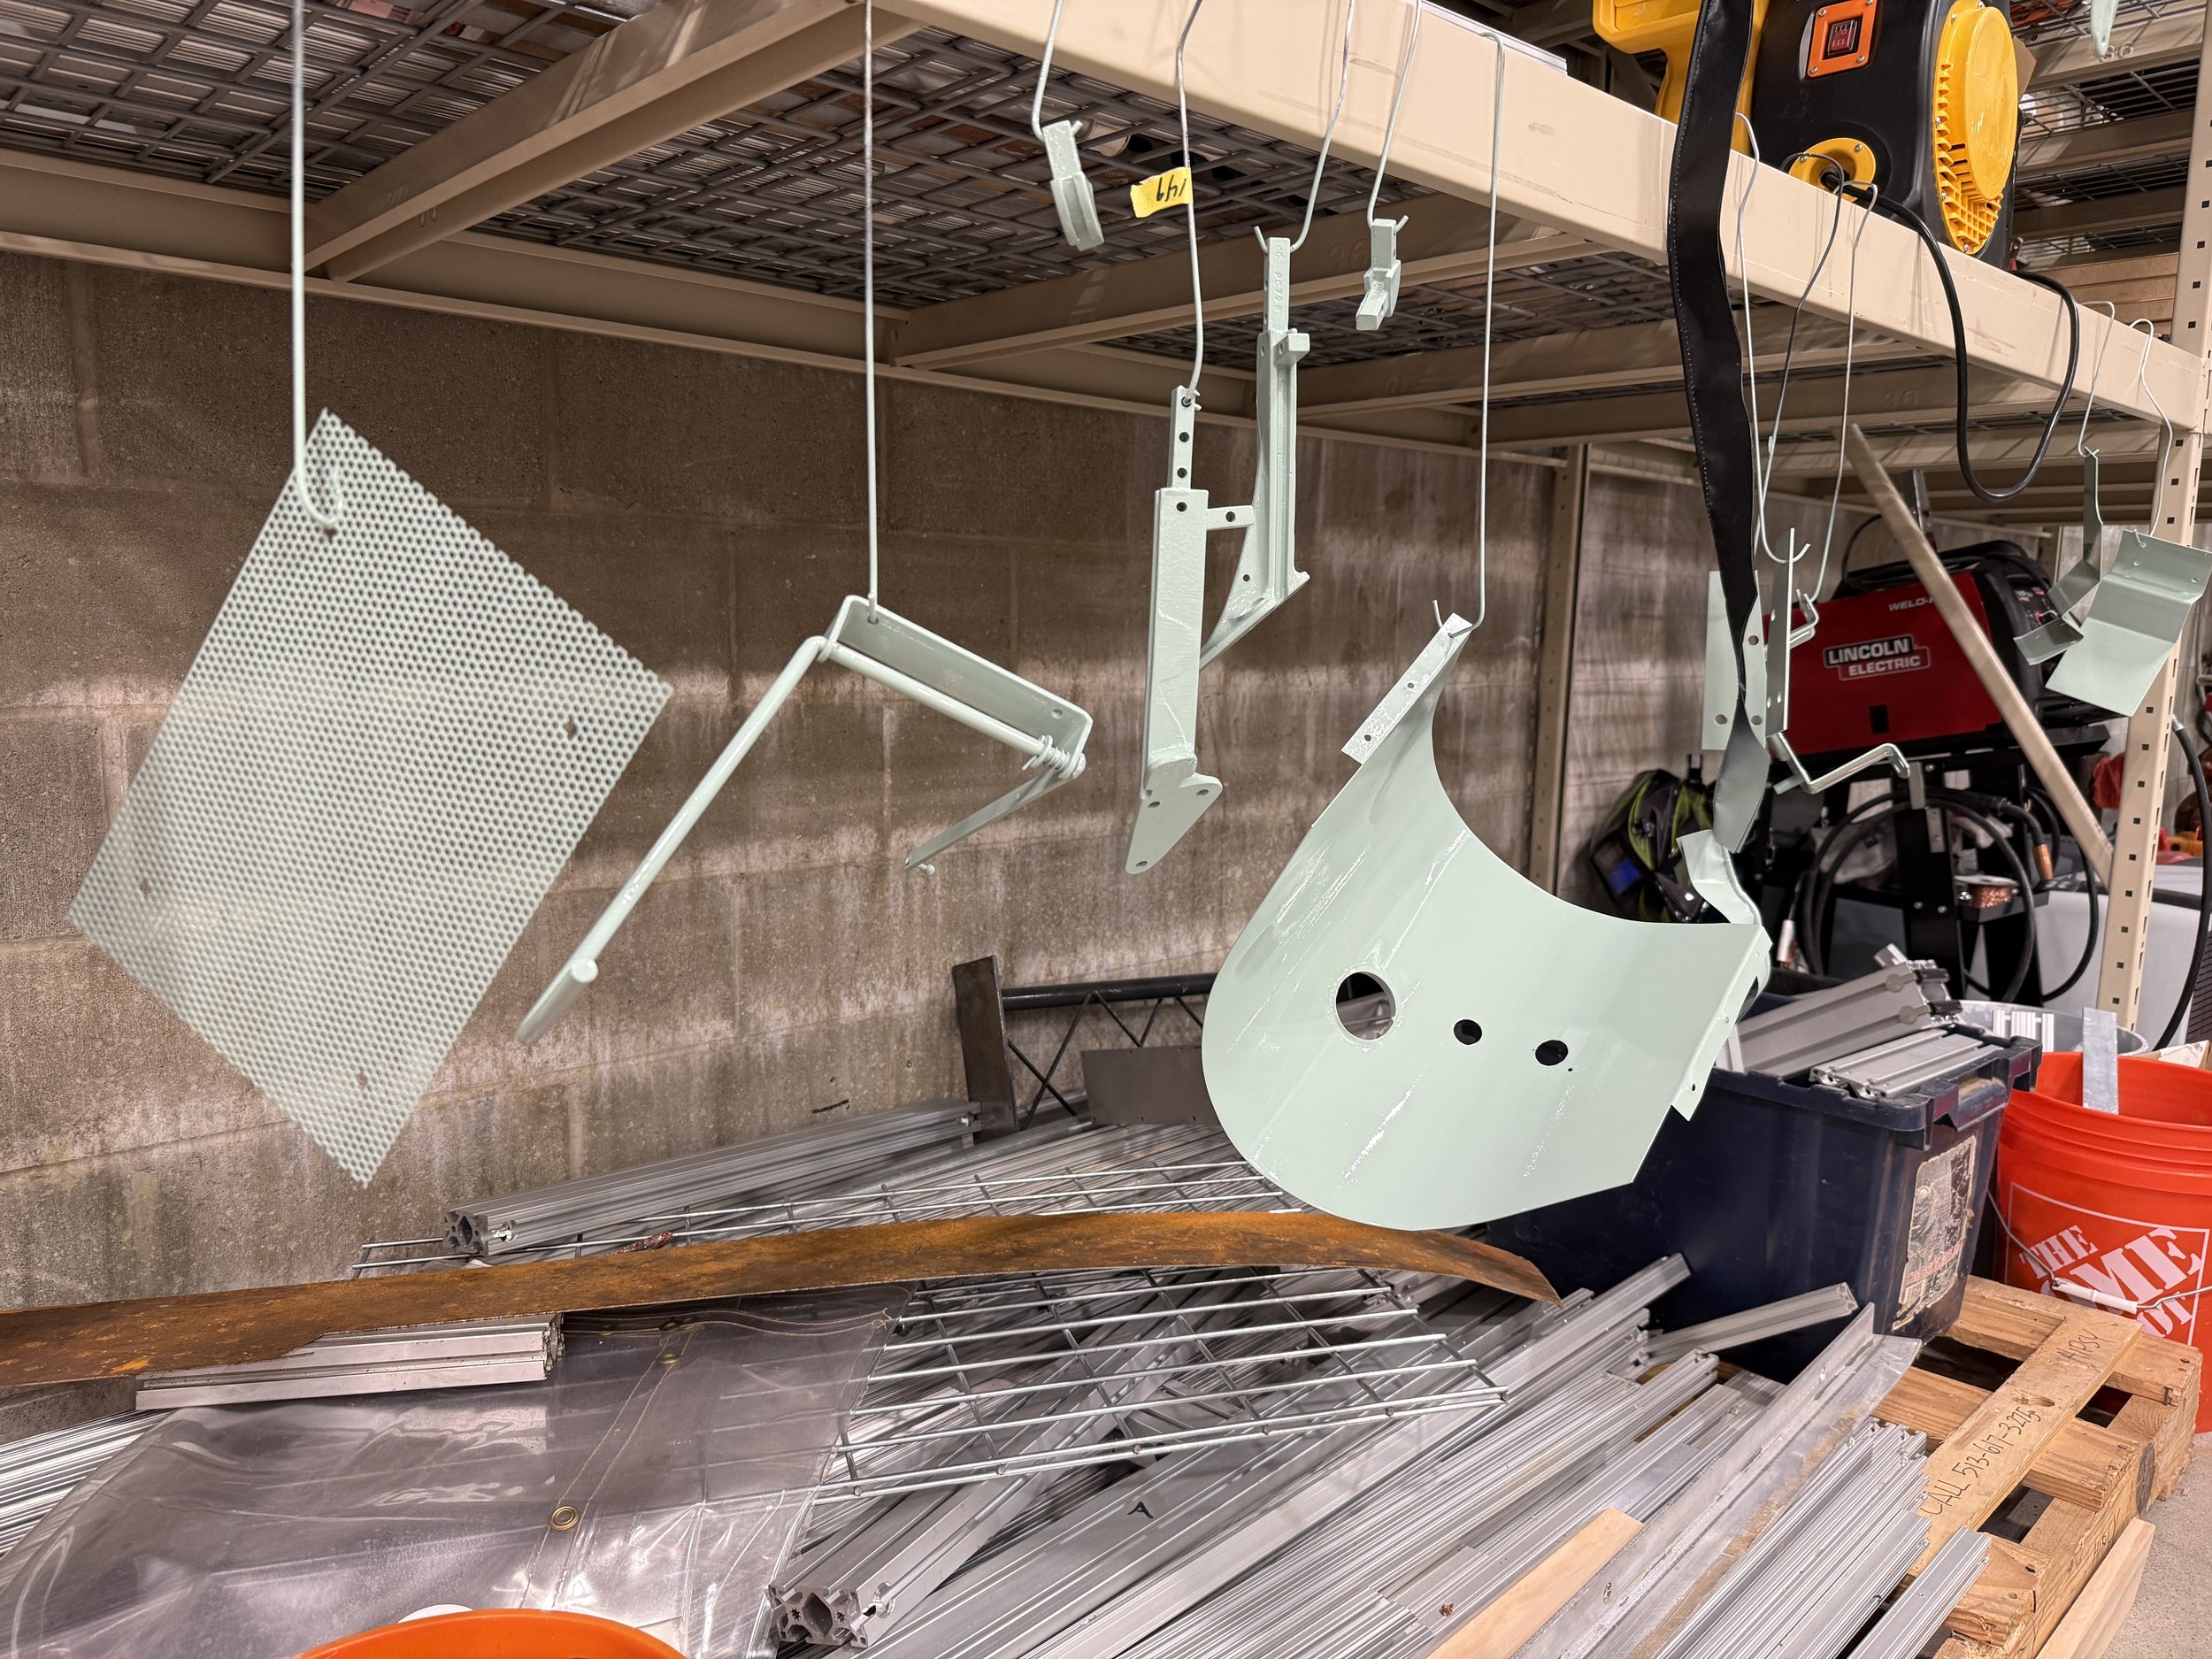
We also painted all of the other body color parts, including dash parts, windshield frame parts, and more.


We also painted lots of screws and bolts that were originally body color separate from the body, so we could install parts like the gravel pan and headlight brackets after painting the rest of the body.

Reviewing factory photos revealed that the front body welting was originally painted with the body. Because we did not want to paint the body and gravel pan as one, which could result in cracking paint on the welting, we replaced the cardboard tube in the welting with a metal bar, which we then formed around the gravel pan and body to fit perfectly. Finally, we painted the welting with the rest of the body color parts. We also painted the screws used to hold the gravel pan on, and then carefully installed it. The paint has not cracked yet!

In this photo of a Hotshot with 1948 NY dealer plates, the front welting appears to be painted.

This period photo of a 1950 Crosmobile in Japan also shows painted welting and screws, painted in original Mariner Blue.

This brand new Super Sports at the 1951 New York Auto Show also appears to have painted welting and screws.

Although we found overwhelming evidence of the front welting being painted, all reference photos we had showed black rear welting, so we decided to leave it unpainted.