Disassembly
Although our recently acquired 1950 Super Hotshot is an excellent example, it was repainted Canto Cream and seems to have had some minor ‘restoration’ done in the 1980s. In addition, most of the rubber gaskets need replacing and some work would be needed to get it running in its current state. Due to this, we have decided to take it apart very carefully and restore it to the best of our ability, using the knowledge and parts we have gained from our first Crosley attempt. If all goes to plan, we should be able to finish this car just in time for this summer’s car shows, including the Cincinnati Concours d’Elegance and, of course, the Crosley Nationals!
VIDEO
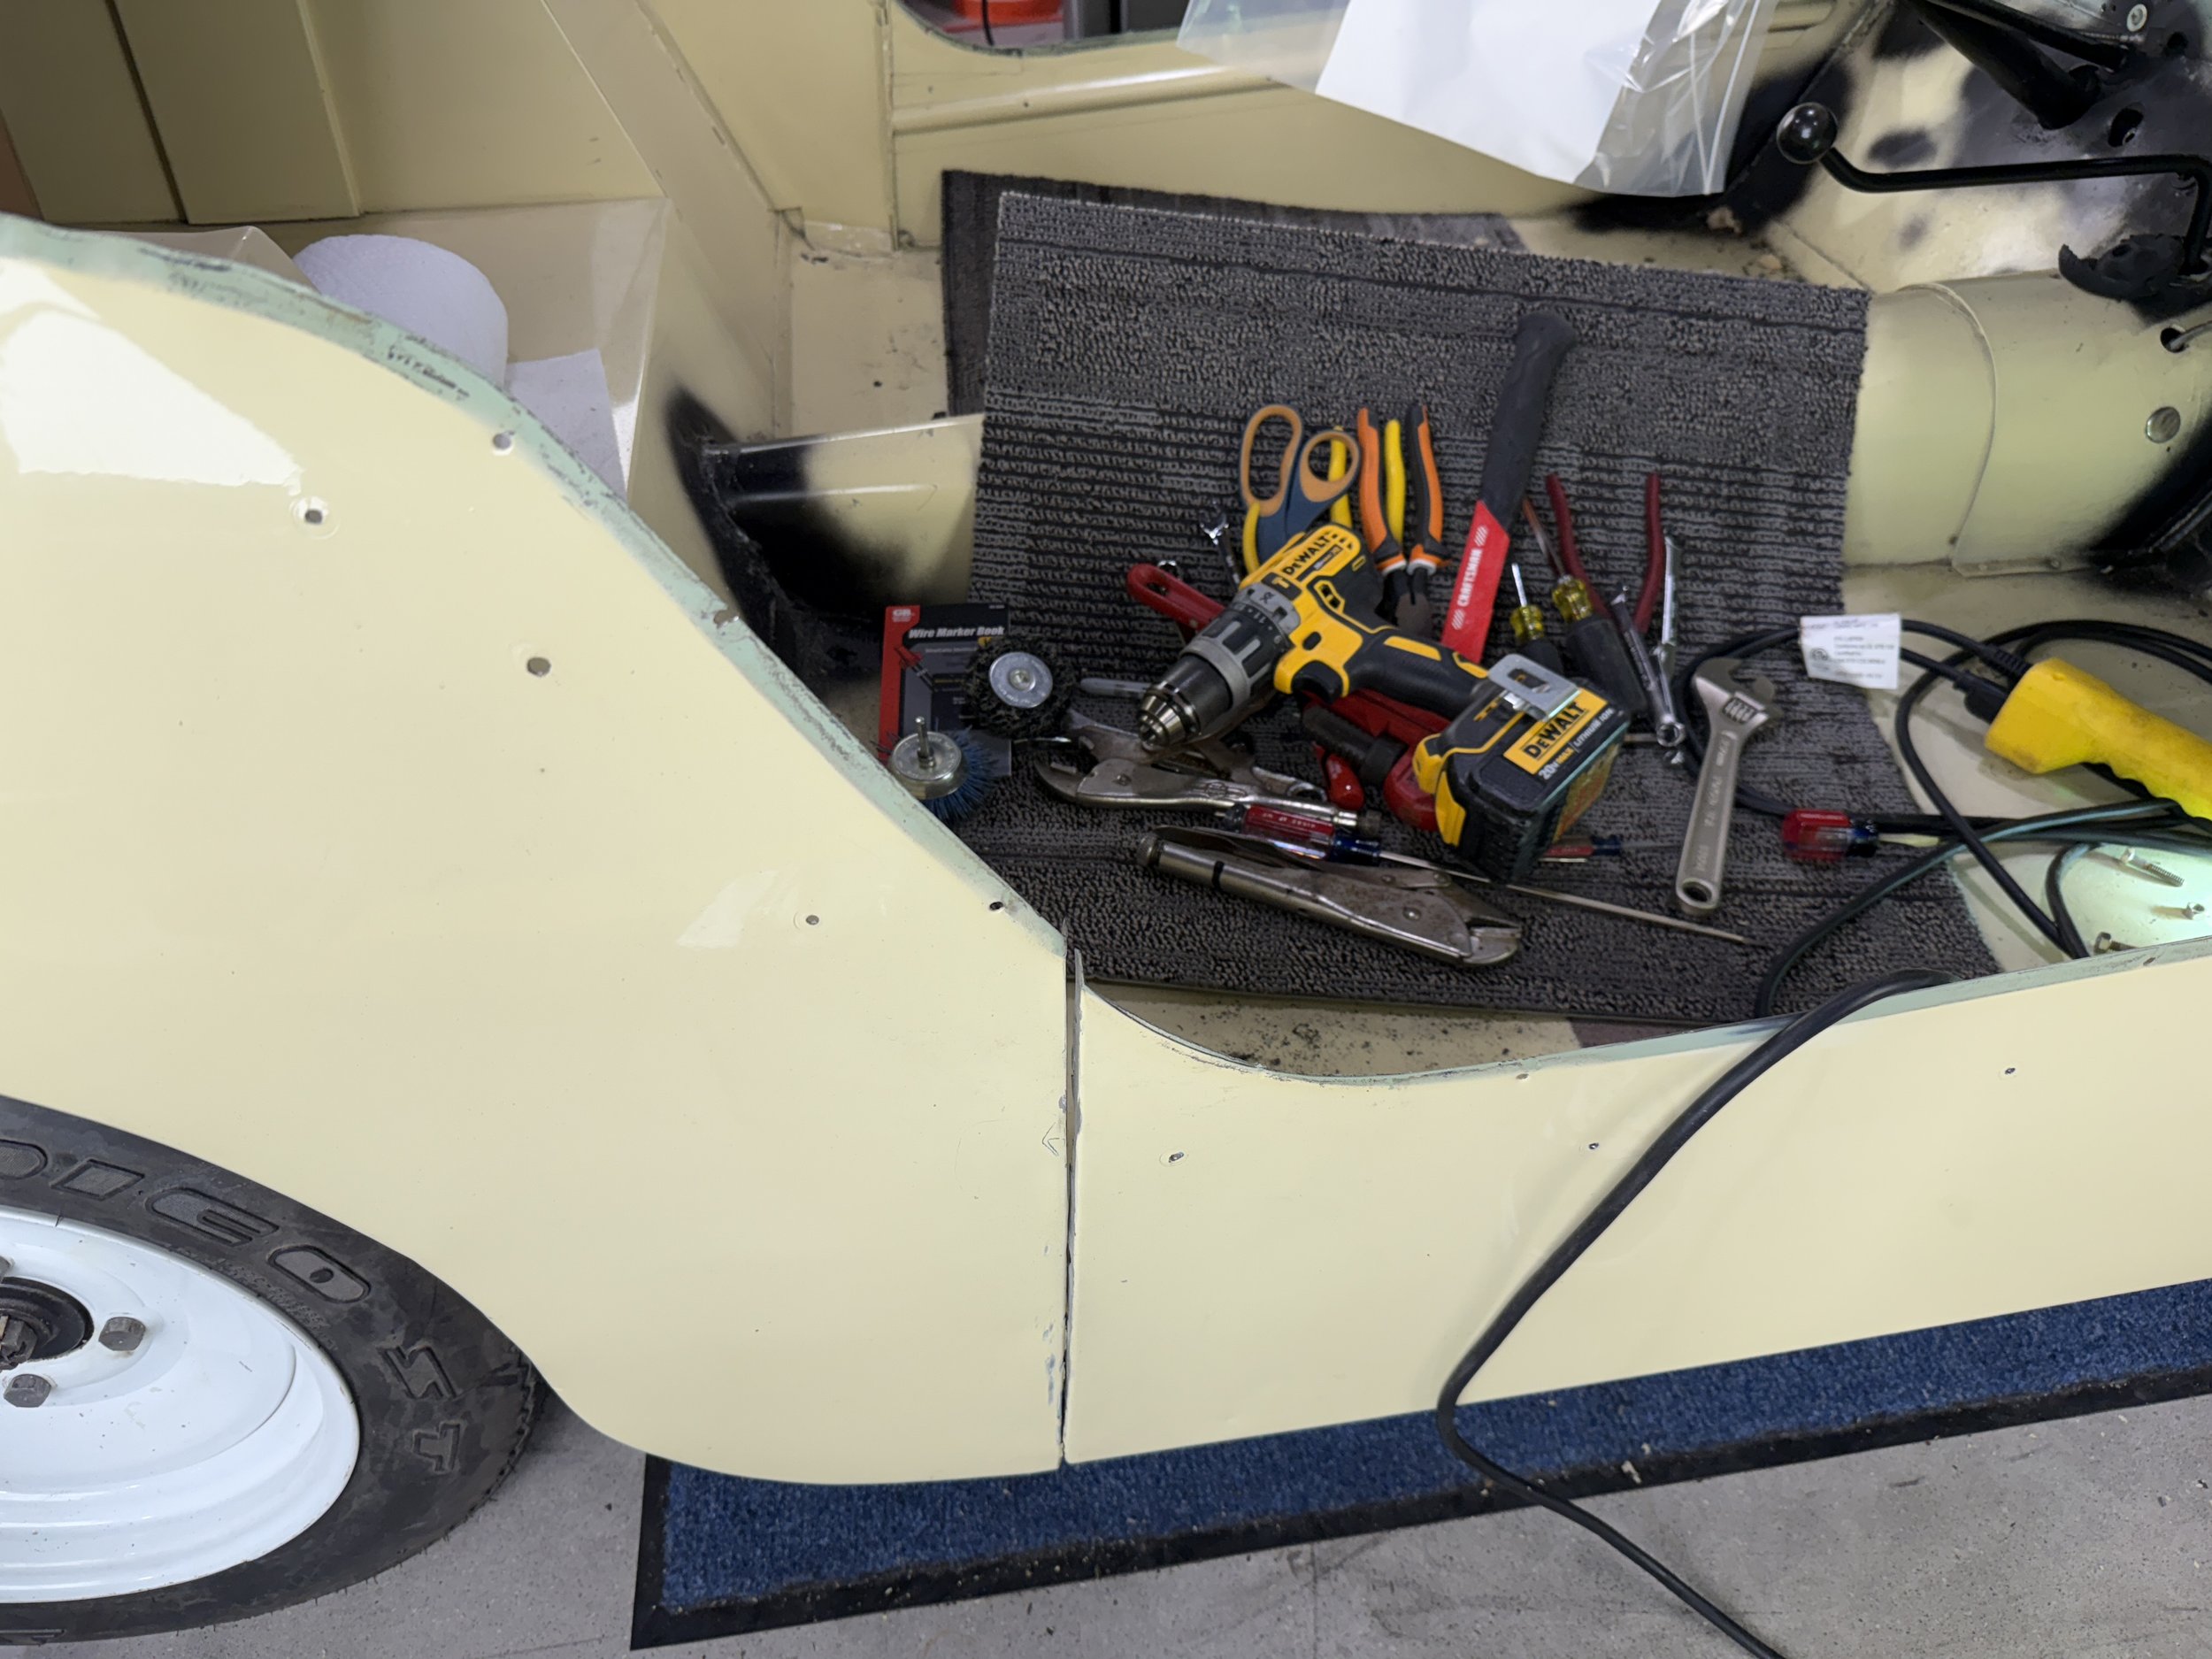
We used our new car lift to remove the body, after we took out the interior, pedals, handbrake, wiring harness, and gauges. We are using trailer wheels as working wheels to roll the car around.

We found an excellent color matching vinyl to use for our interior. Thanks to Tim Freshley for lending us some additional original fabric and tops to help us recreate them!
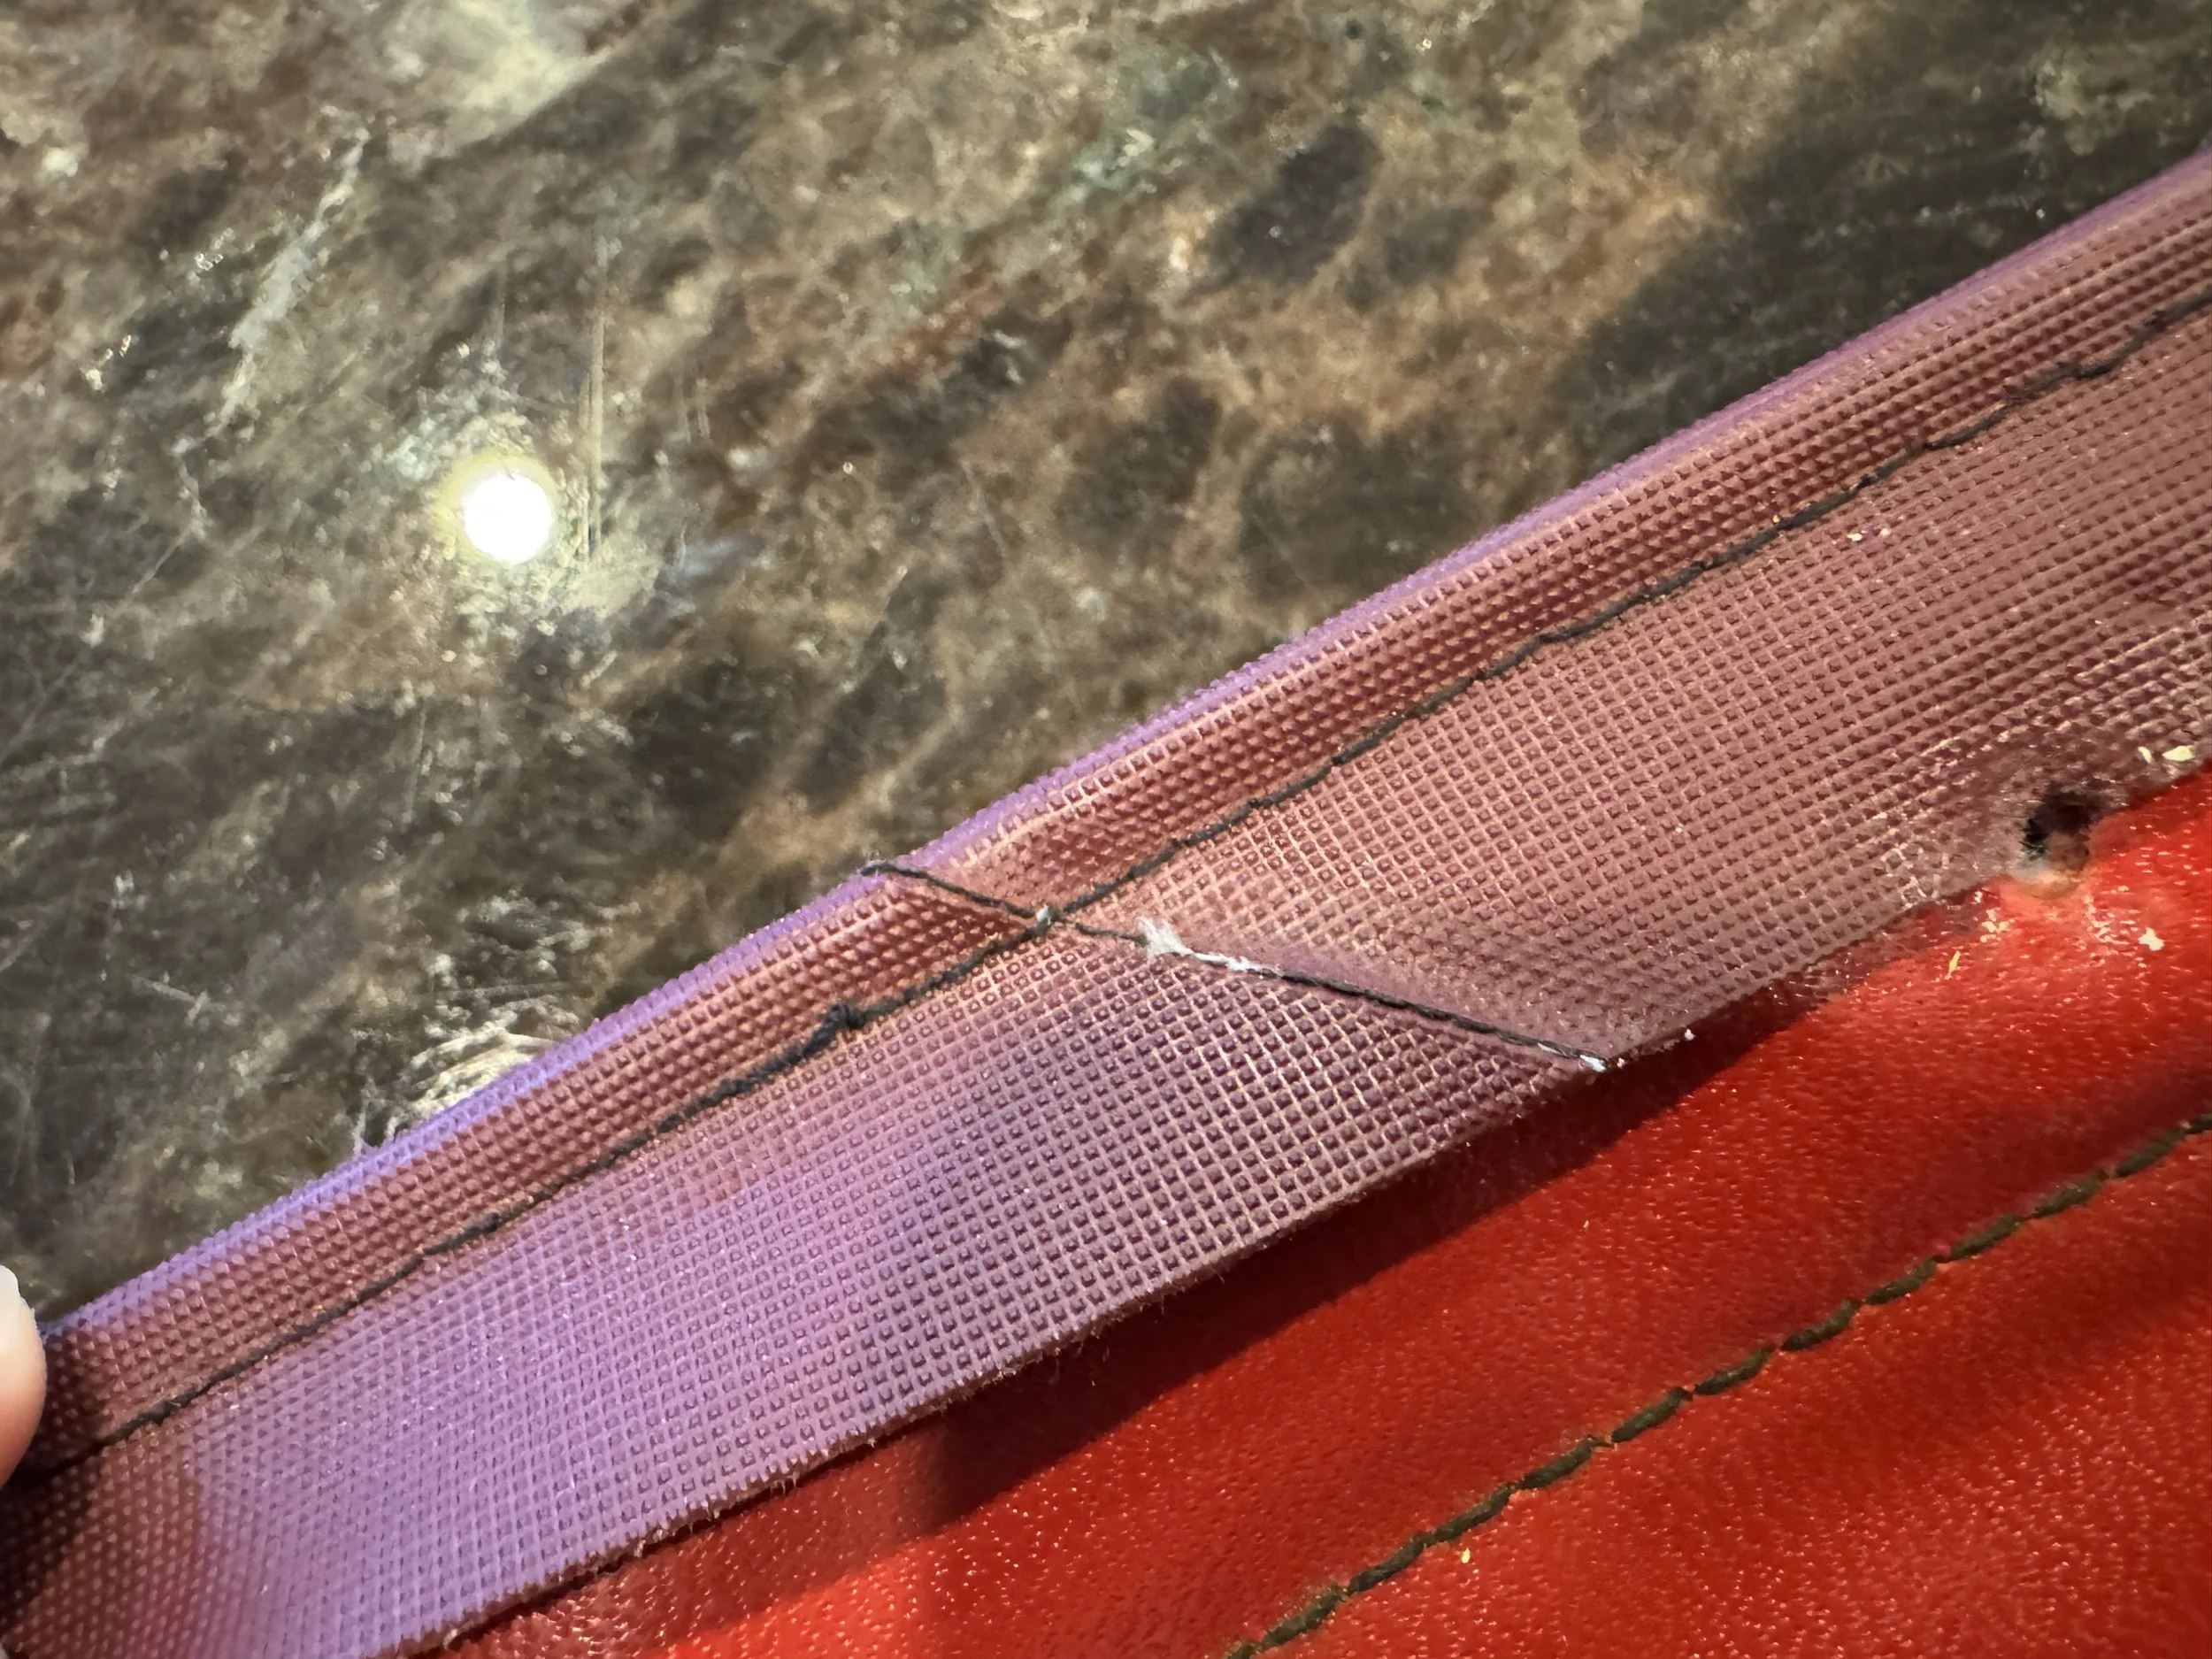
Although the fabric of our top and interior trim is original, the edging was replaced at some point with a newer plastic material.

The original stitching holes for the edging can be seen behind the new material.

We removed the original undercoating from the back of the hood, which perfectly preserved the original Ocean Foam Green paint!


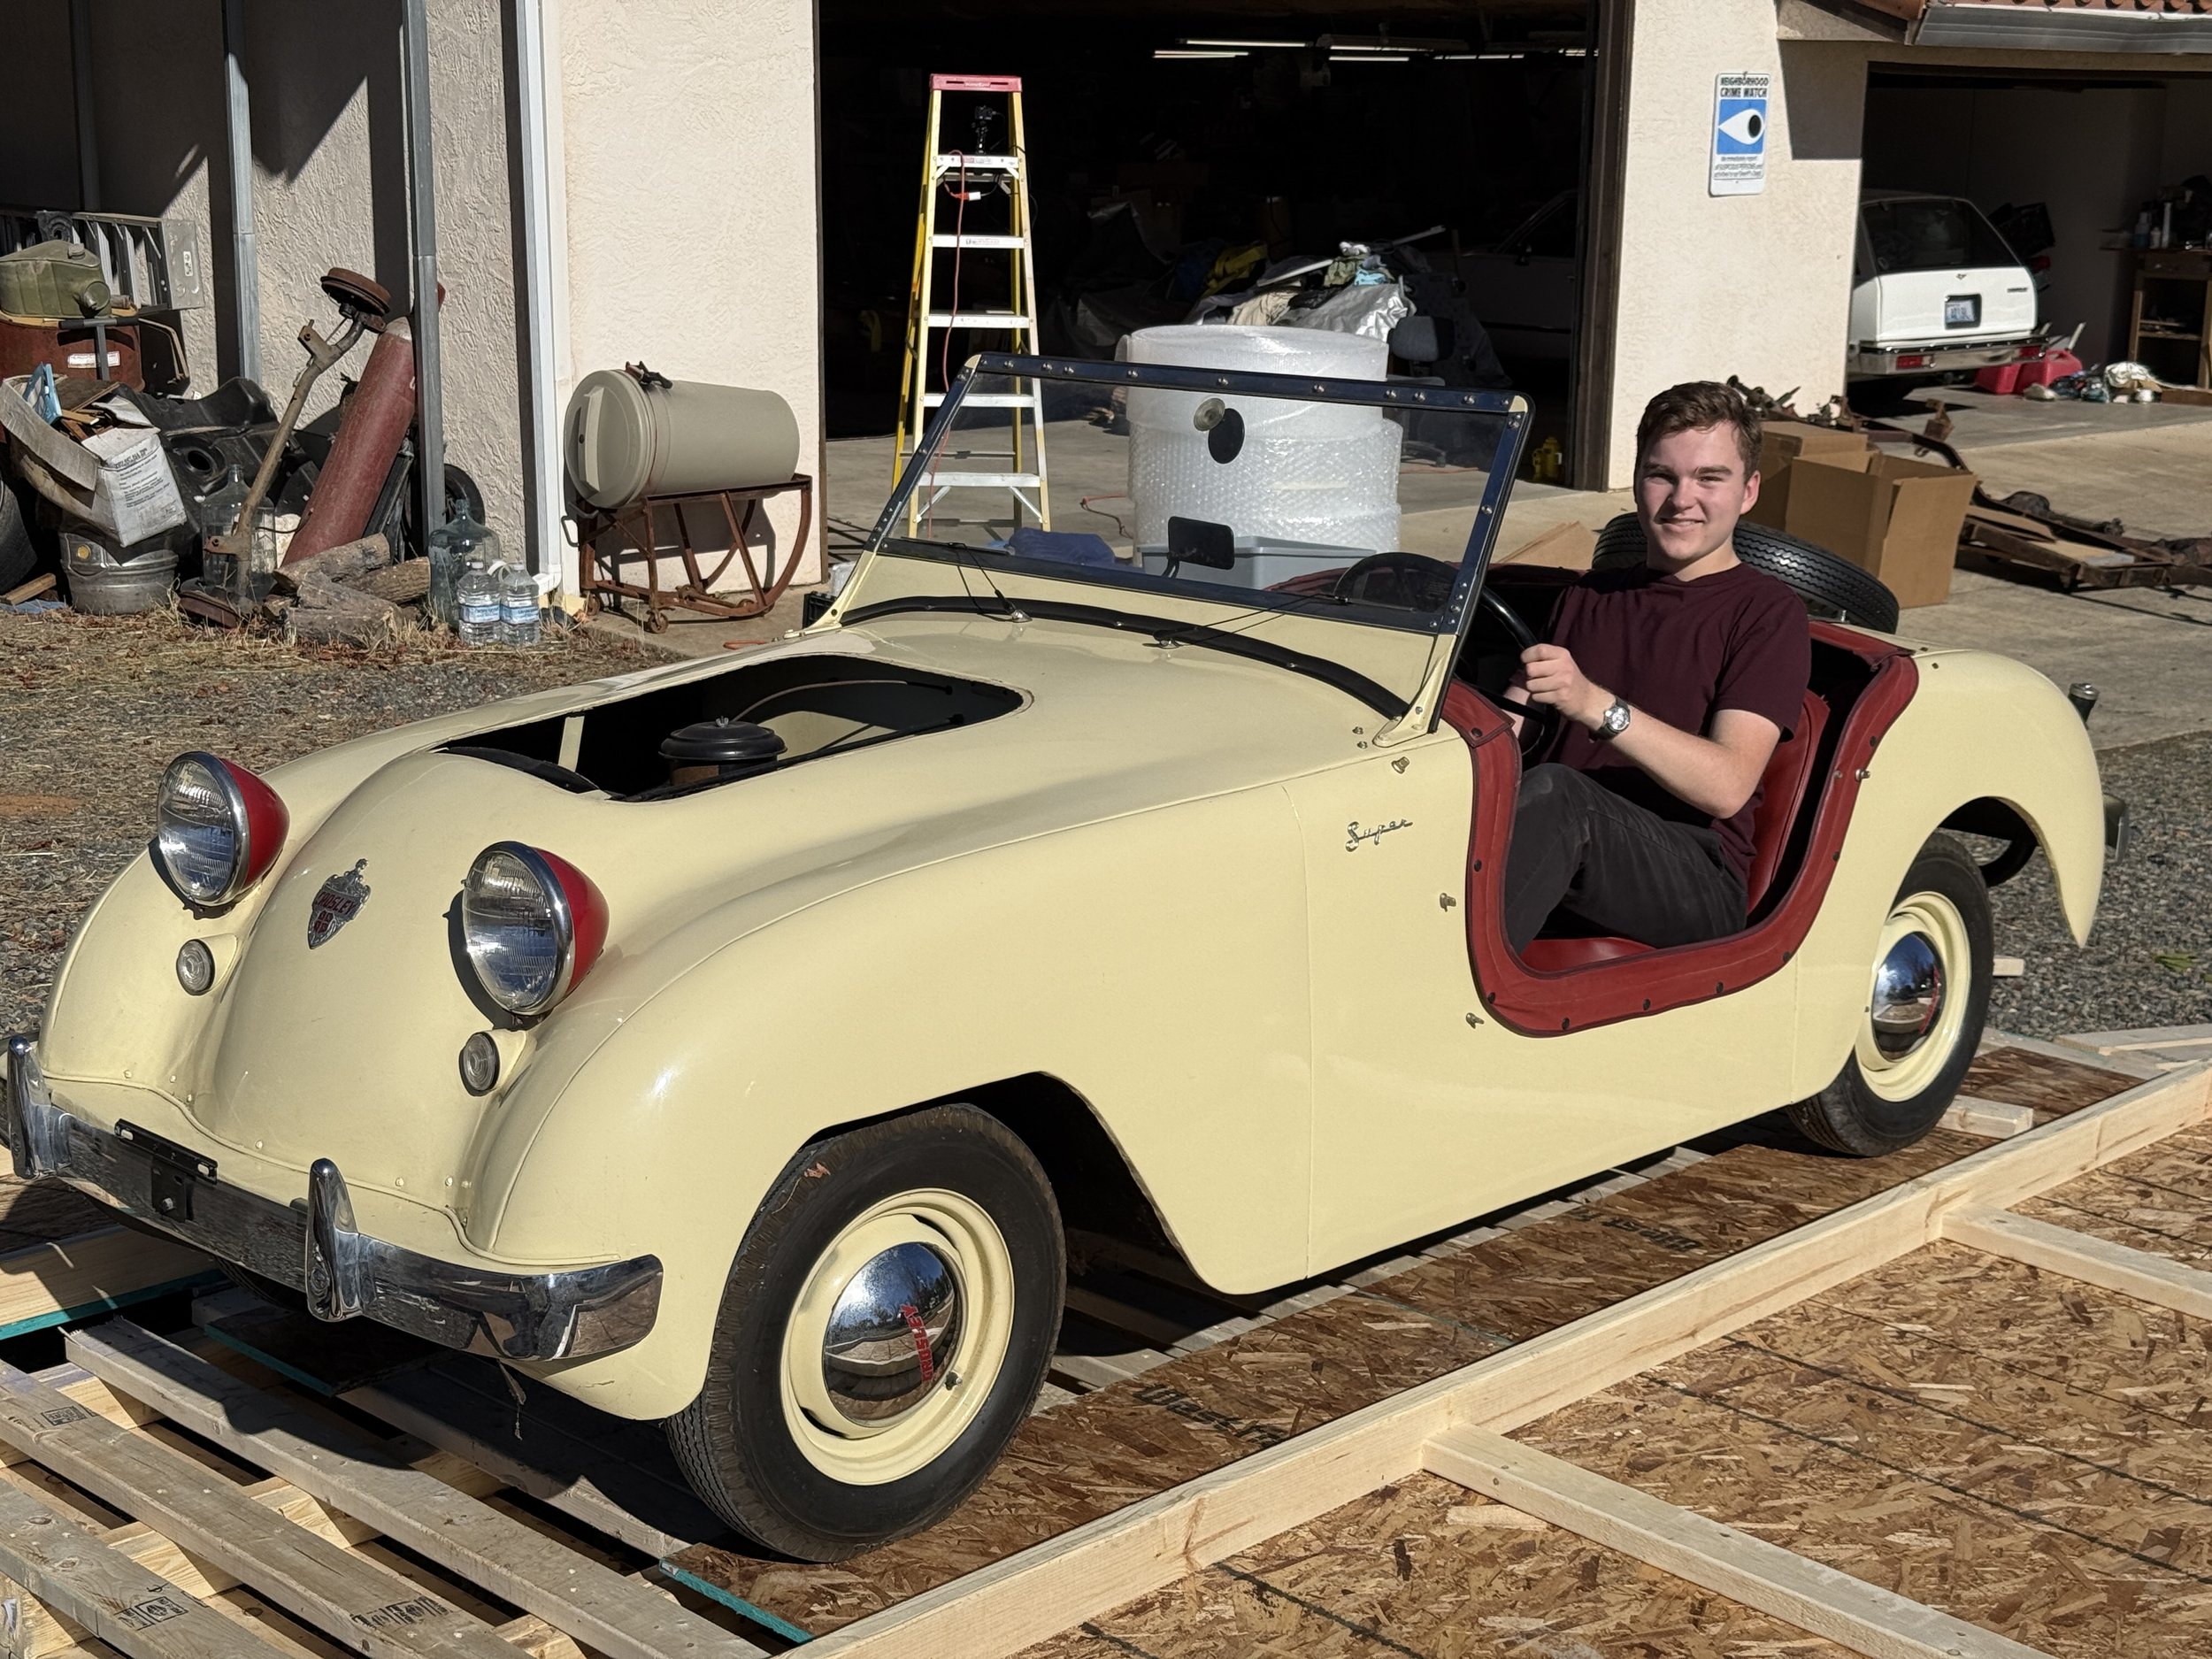
New car!
We picked up this mostly original, very low mileage 1950 Super Hotshot from northern California. We built a crate to ship it back (we did not trust car shippers!) and loaded the crate ourselves. It also included a few extra engines and some other parts, which we also put in the crate.
VIDEO
Building the crate
VIDEO
Loading the crate - We secured the car to the crate by replacing the wheels with wooden supports and then bolted them to the crate.

Installing wooden support
VIDEO
Unloading the crate
Painted parts
We painted some suspension and brake parts and gave the frame another coat of paint.


First paint!
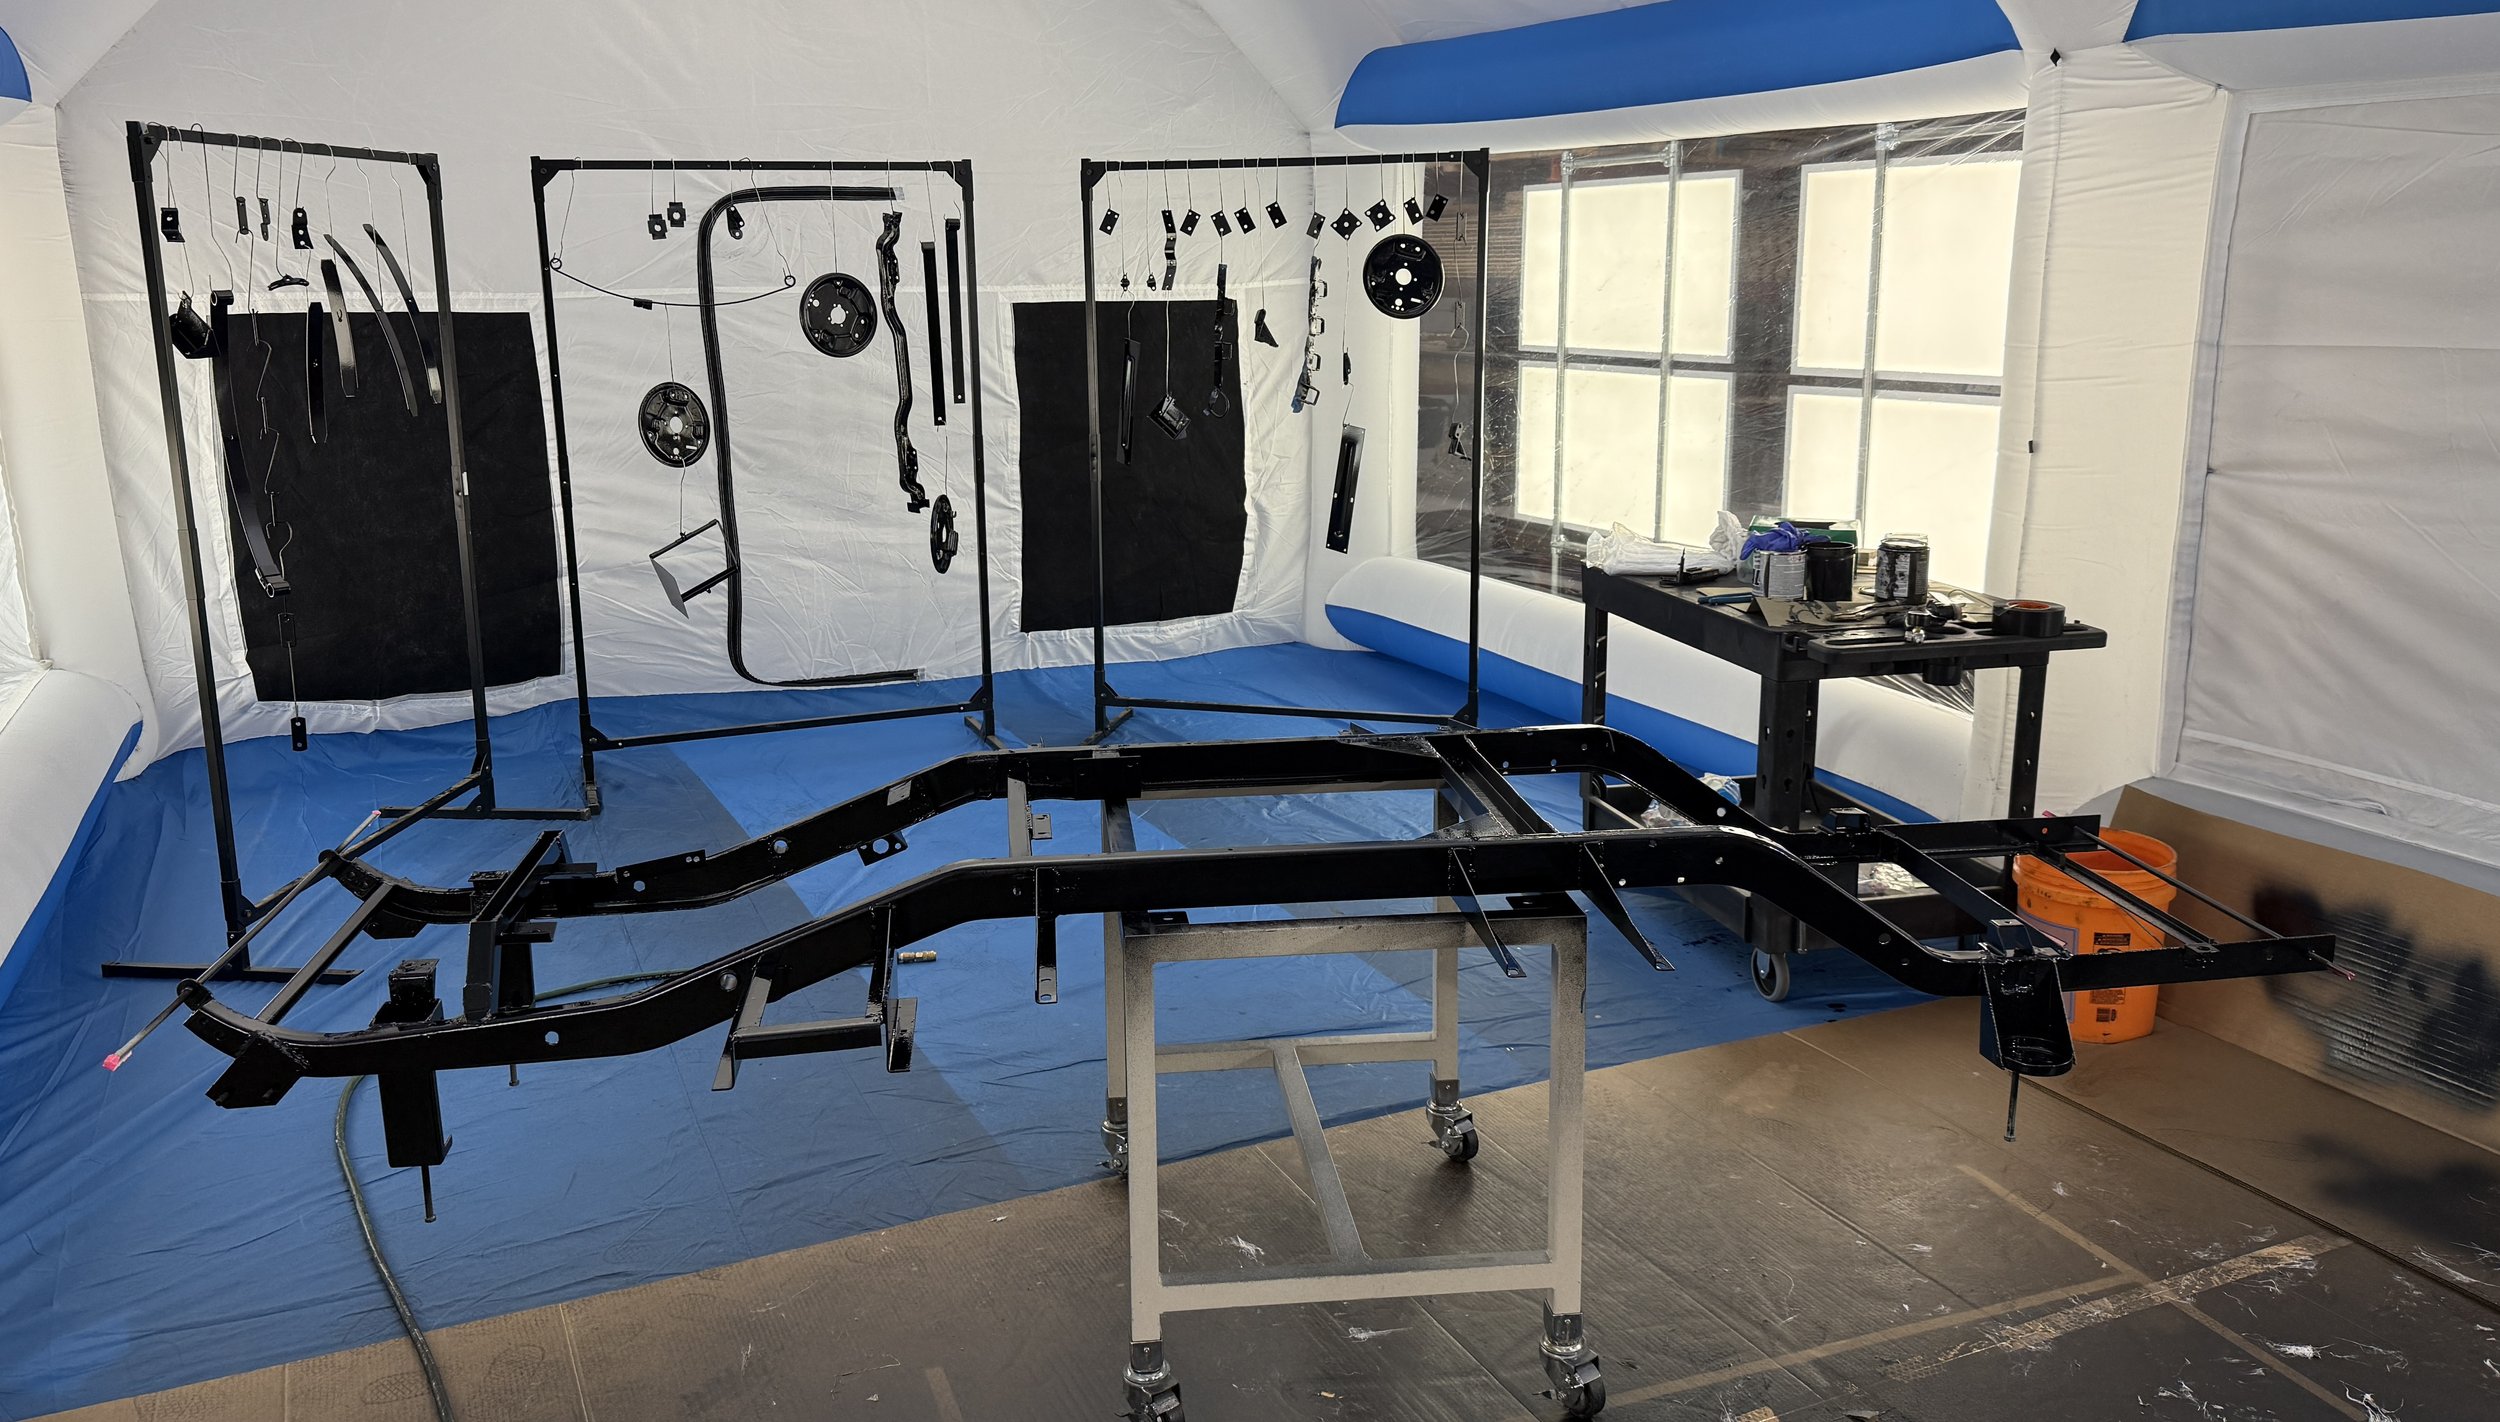
We set up an inflatable paint booth and we were able to paint the frame! More painted parts coming soon…


Weld studs
We replaced the weld studs around the gas tank and front frame (where the bumper brackets attach). We had one broken stud and one missing, and some of the threads were stripped, so we decided to replace all of them.


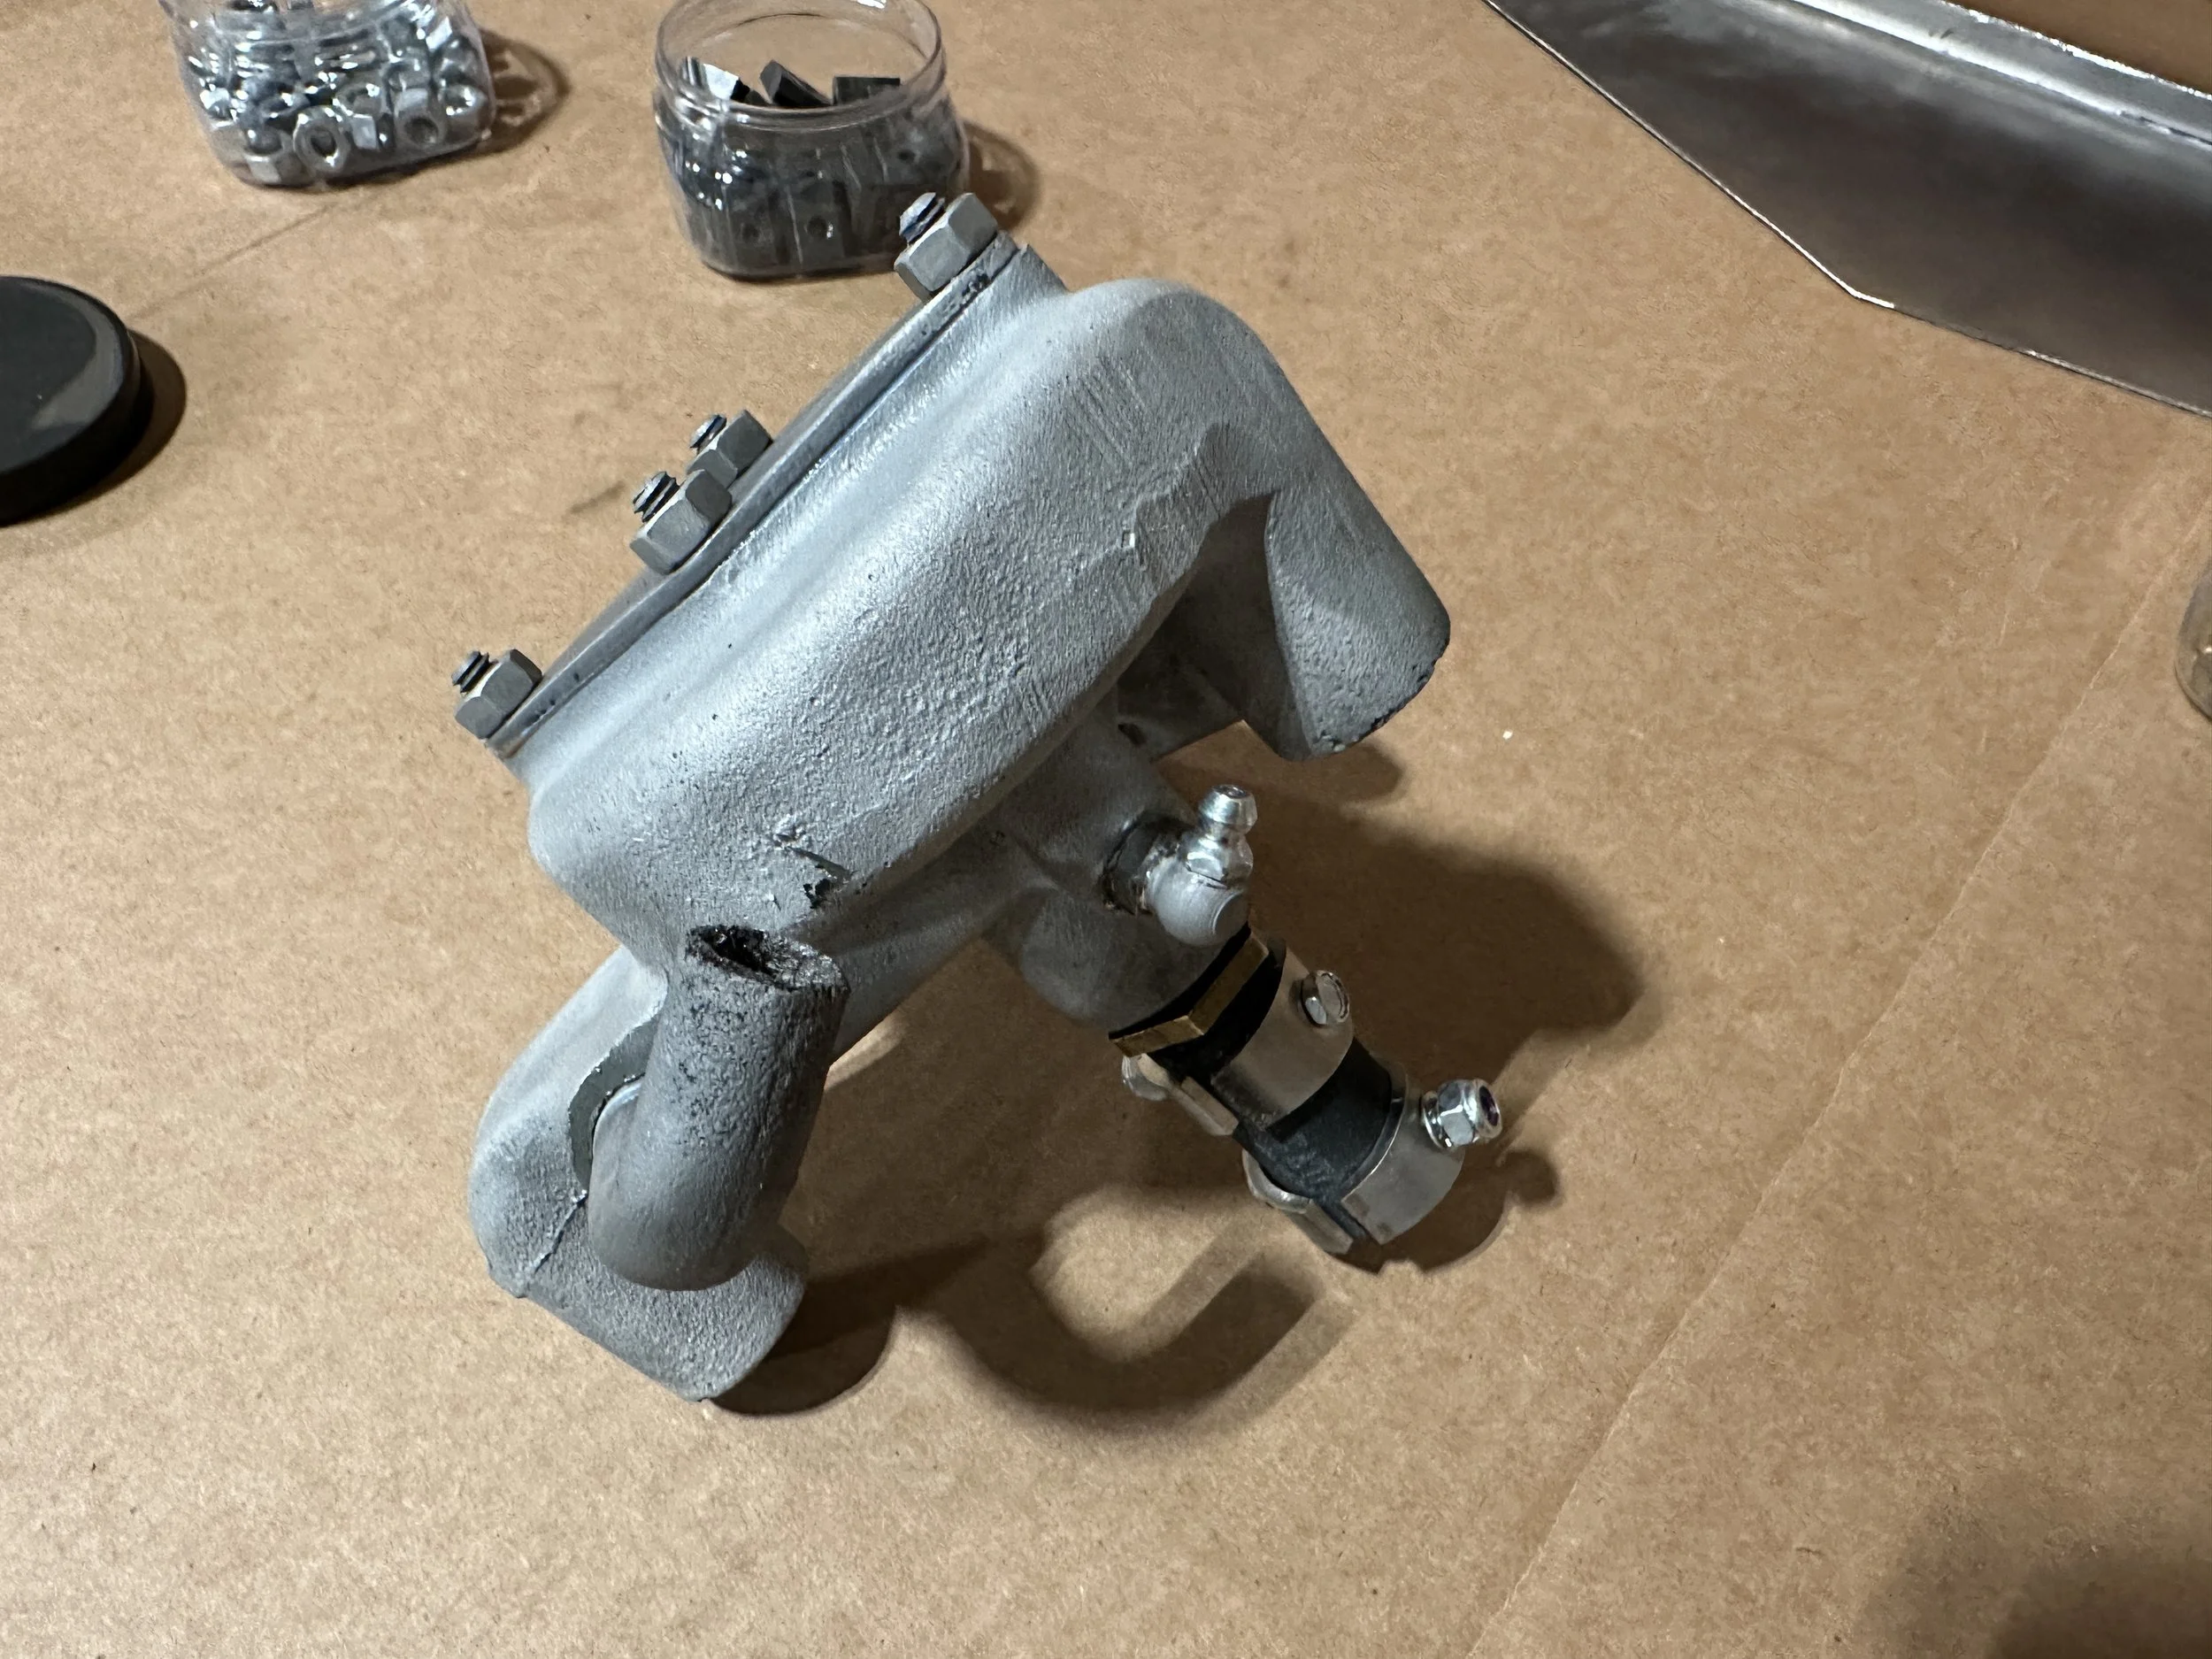
Water pump
I used Service Motors’ water pump rebuild kit and Butch Williams’ video to rebuild my water pump. It is now ready to paint mount (originally unpainted)!


At the Crosley Nationals
My family and I had an excellent time at the Nationals. It was so fun to see all of the cars and to meet so many knowledgeable people who were eager to provide help and information. Big thanks to Service Motors for helping me promote my reproduction hood ornaments, you can purchase them here!
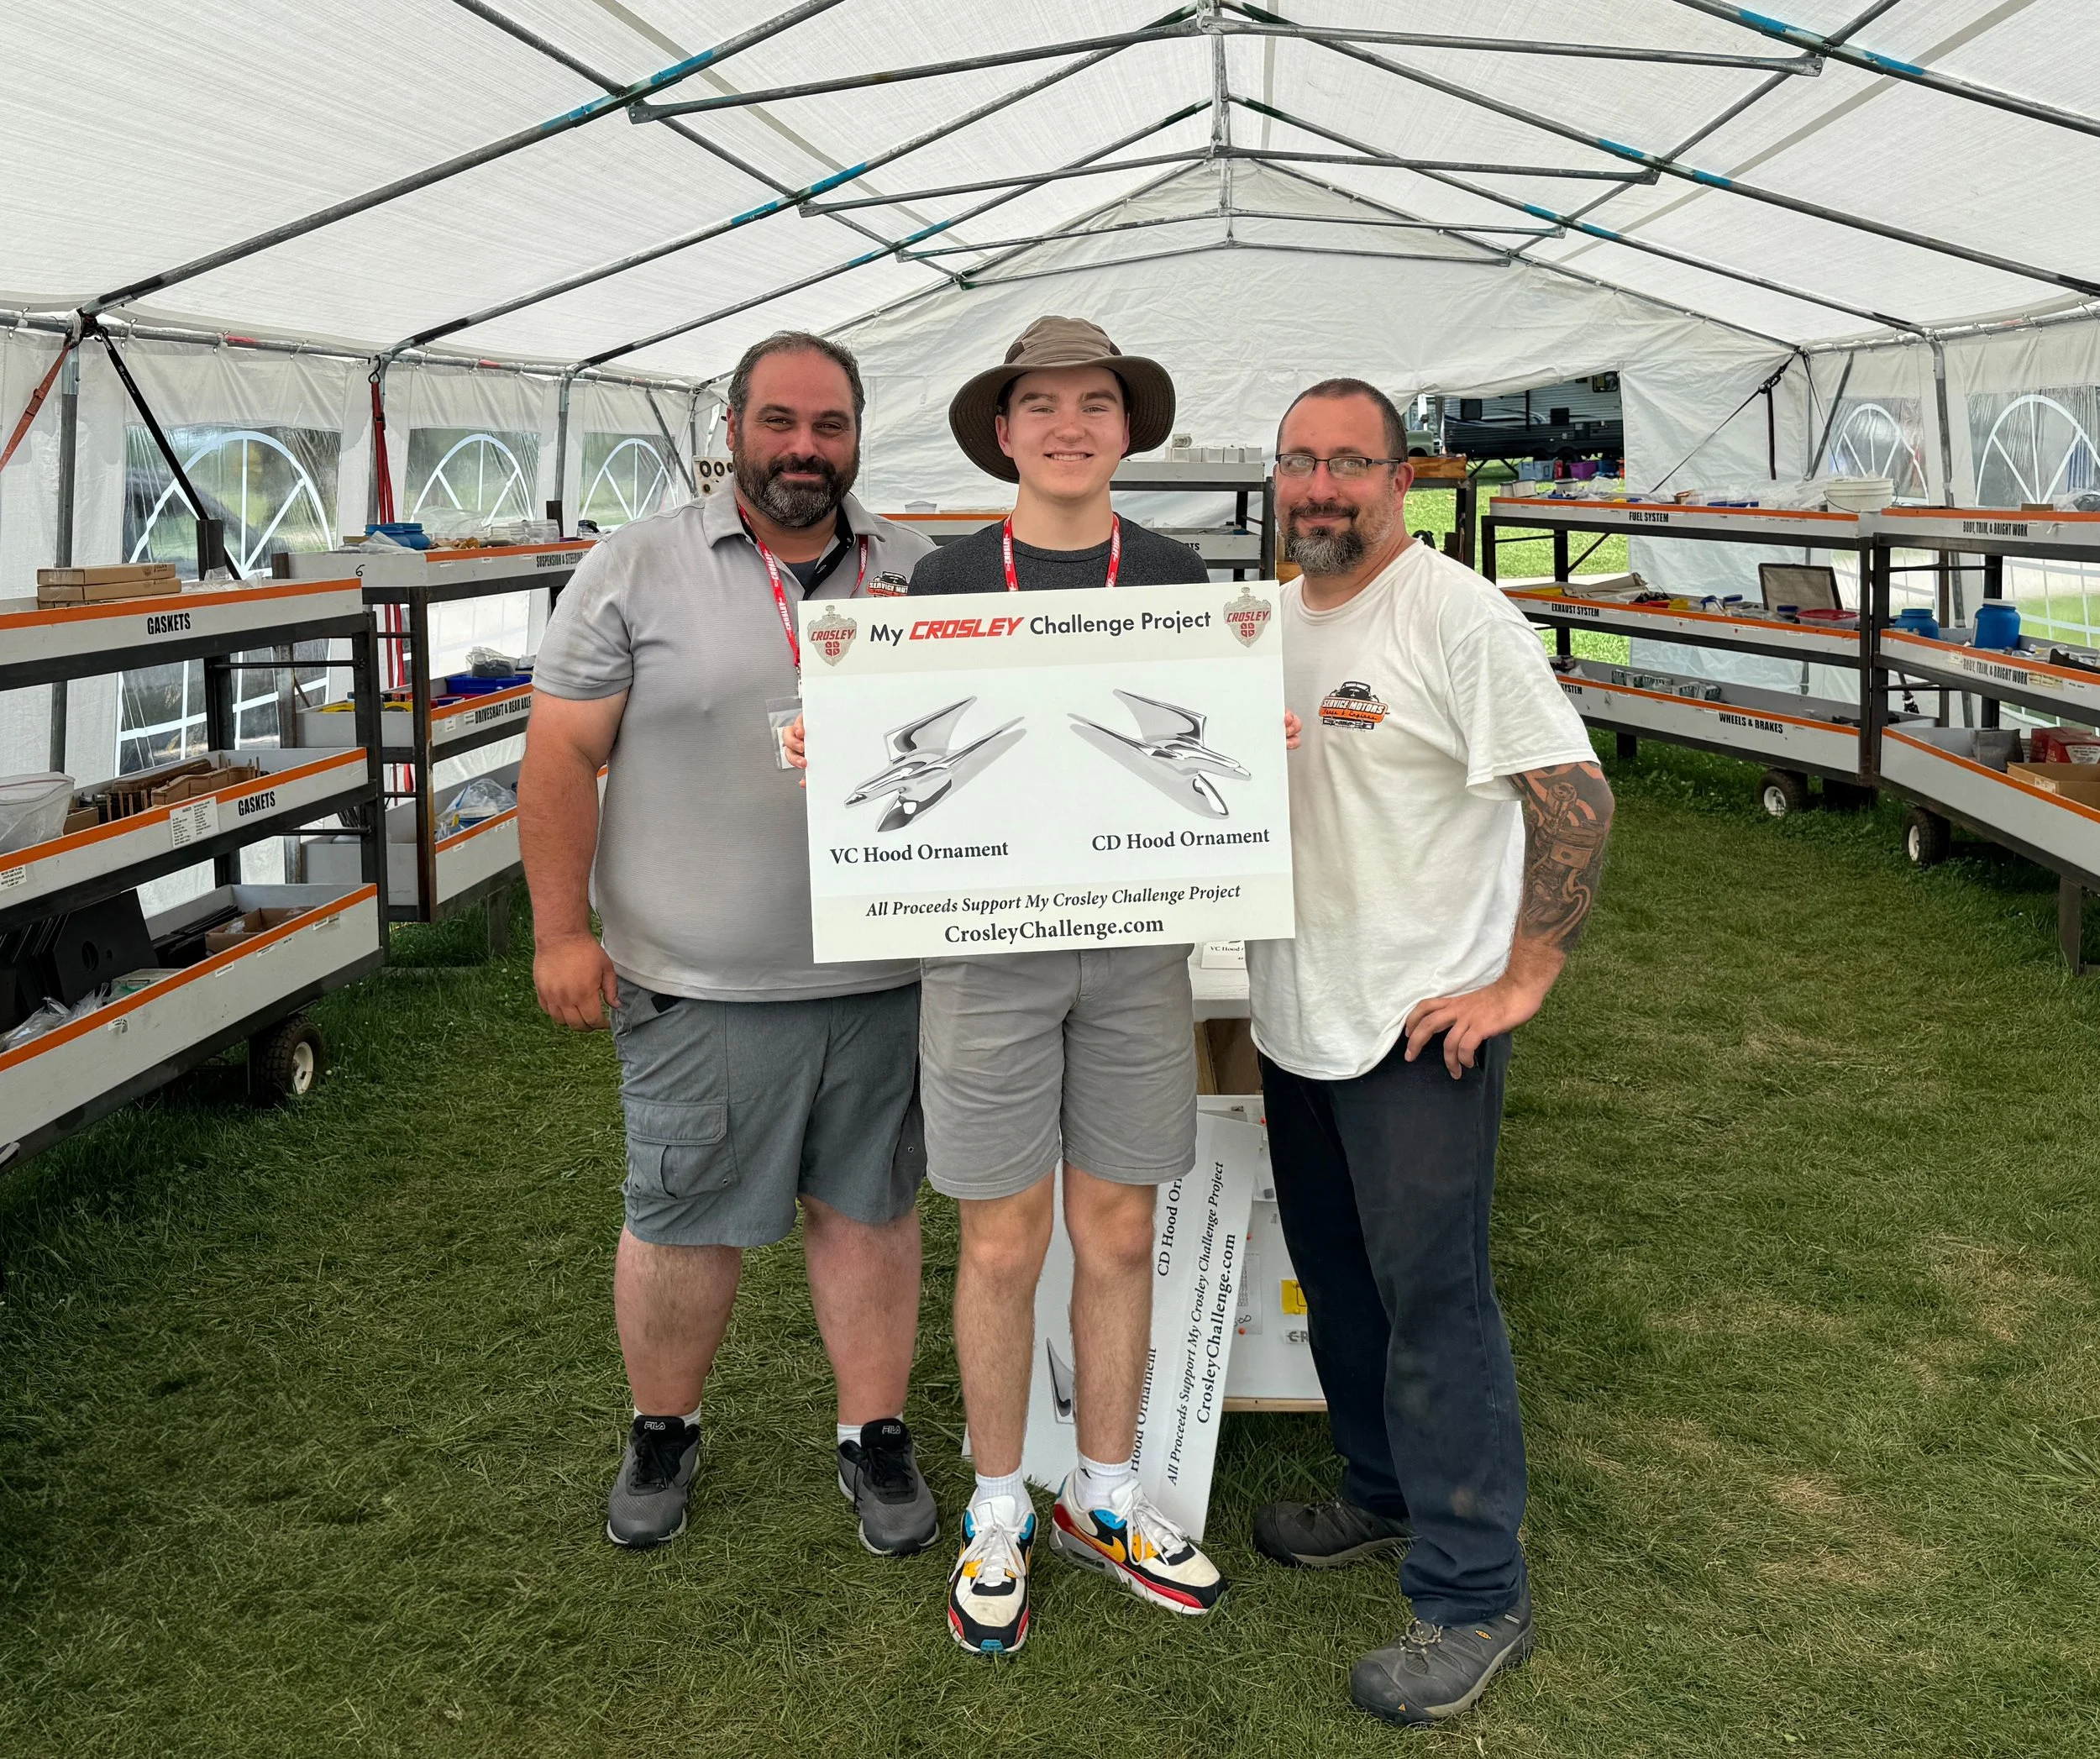
Walter and Matt from Service Motors

Line of VCs on the showfield

Can’t wait for next year!
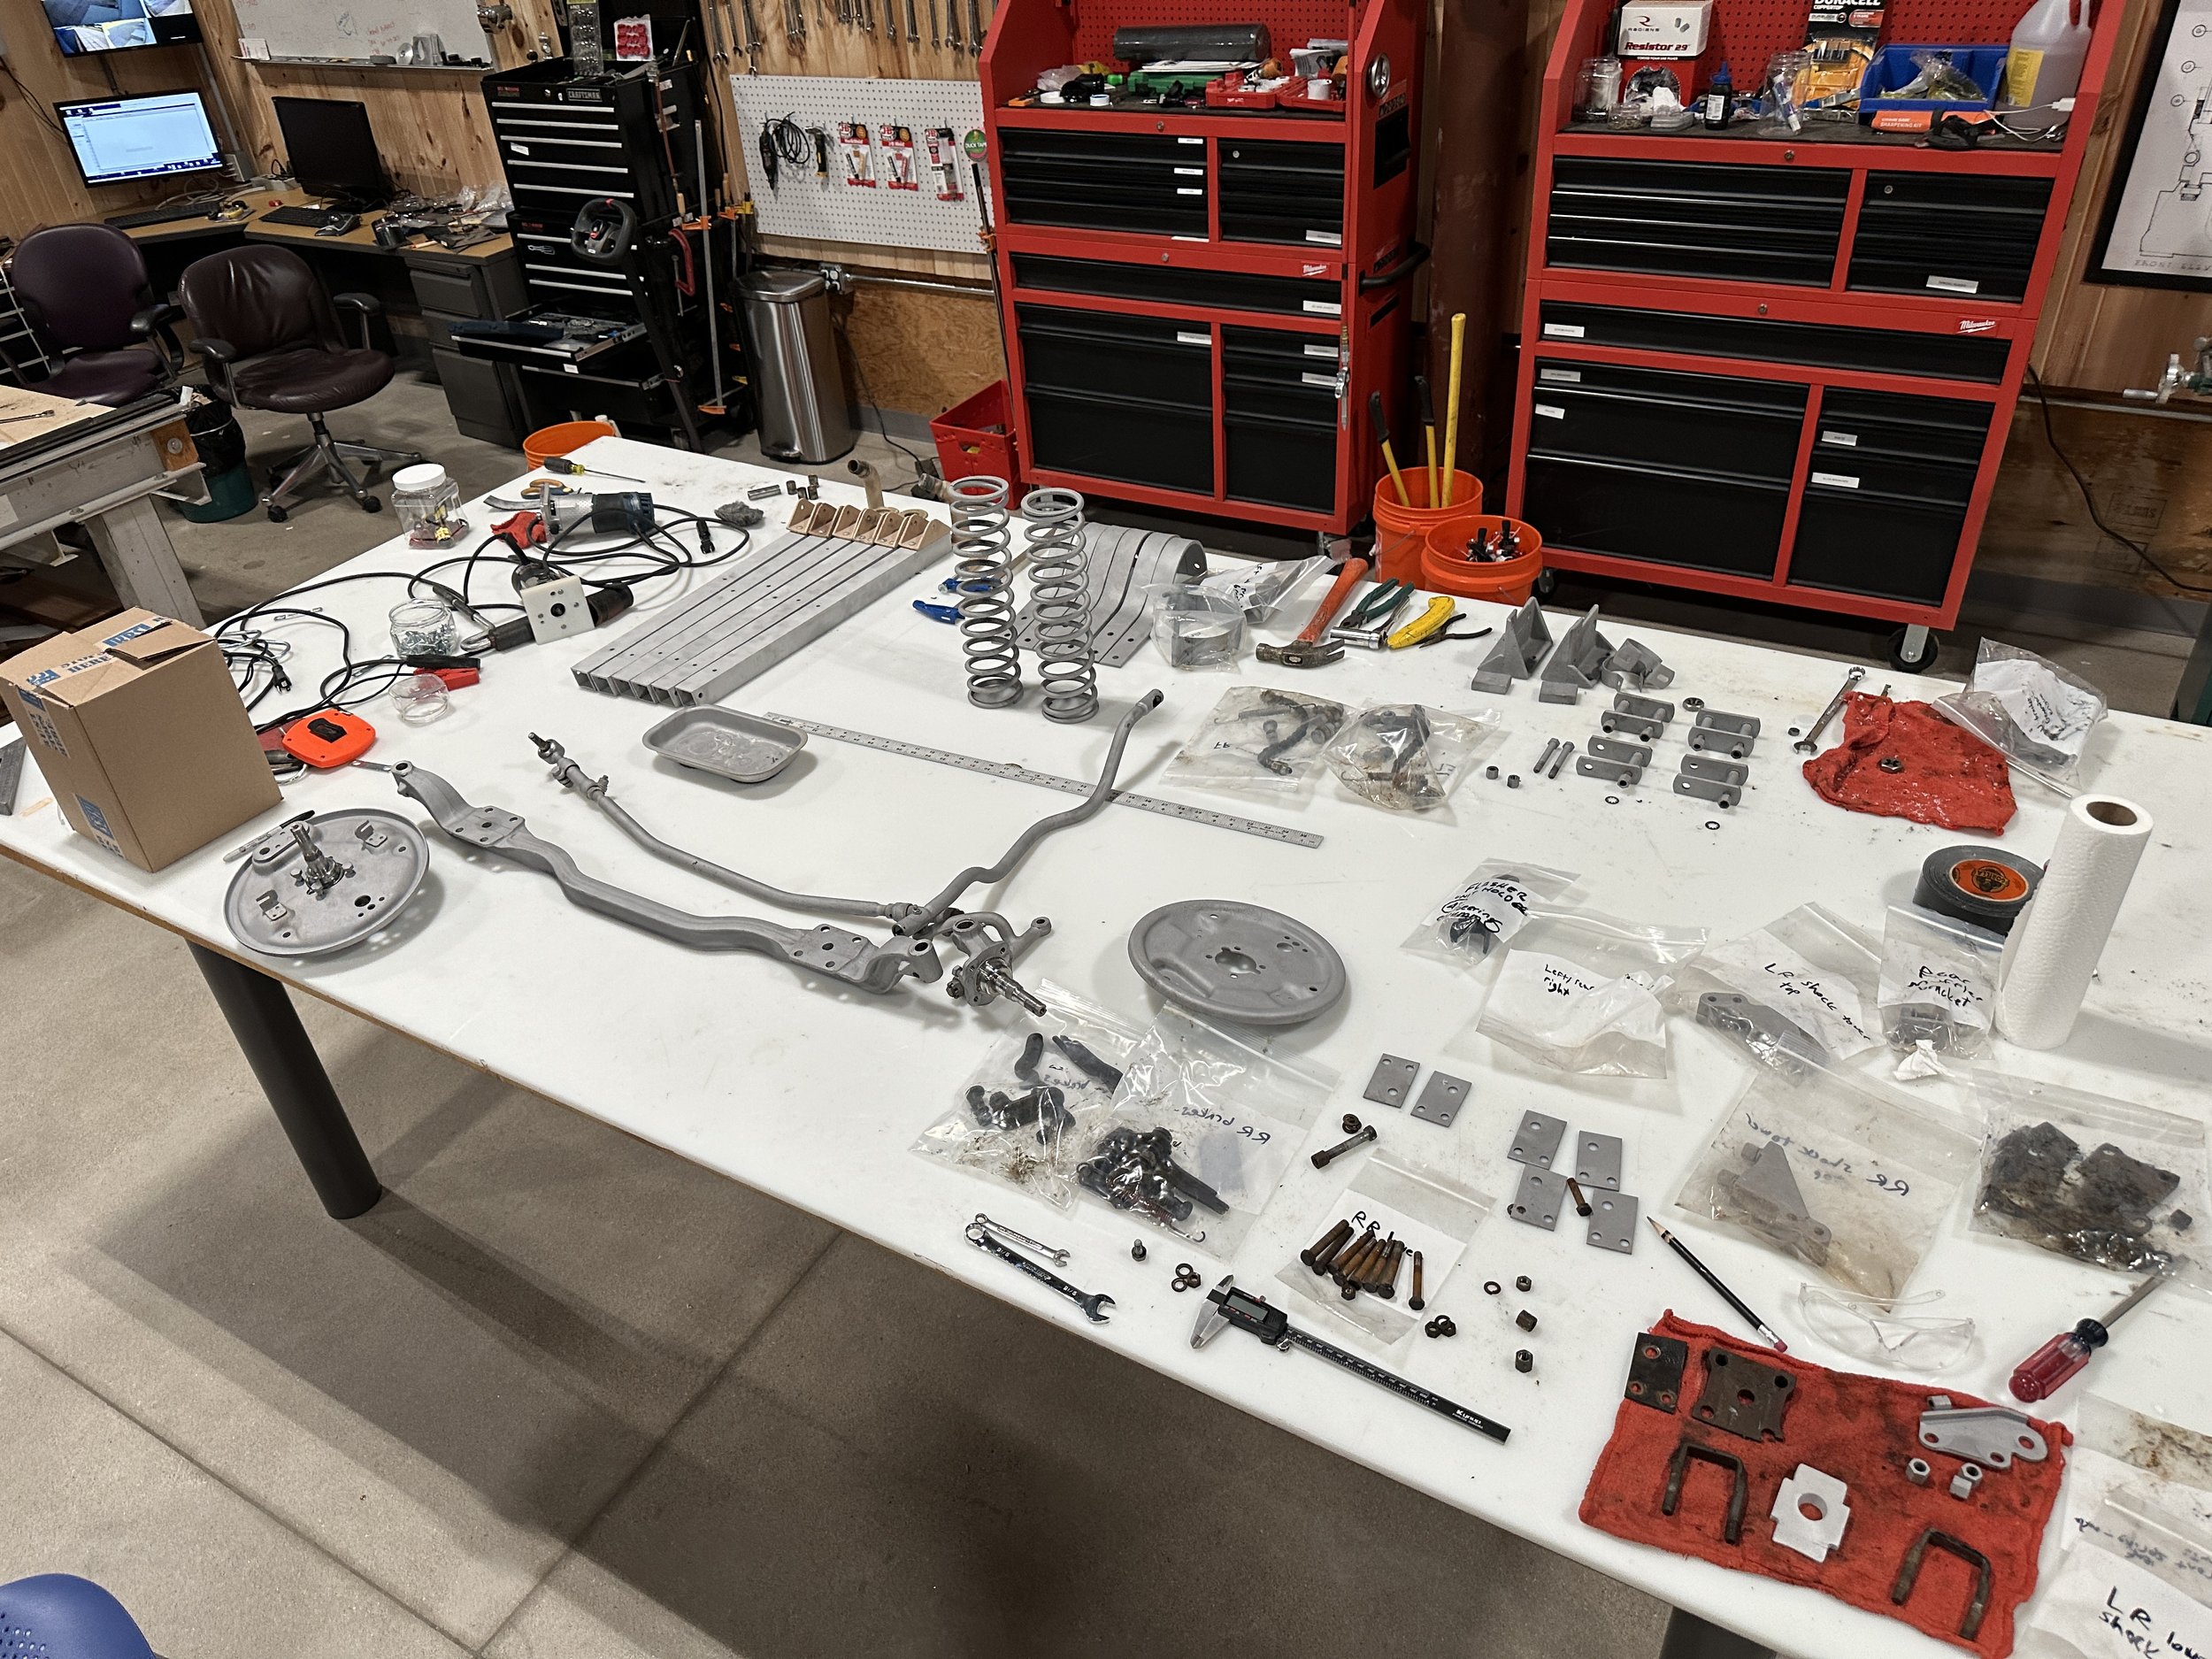
Sandblasting part 2
We sandblasted most of the parts we will need first when re-assembling the frame, including the front axle, tie rod, steering linkage, brake parts, bumper brackets, and shock/spring mounts.

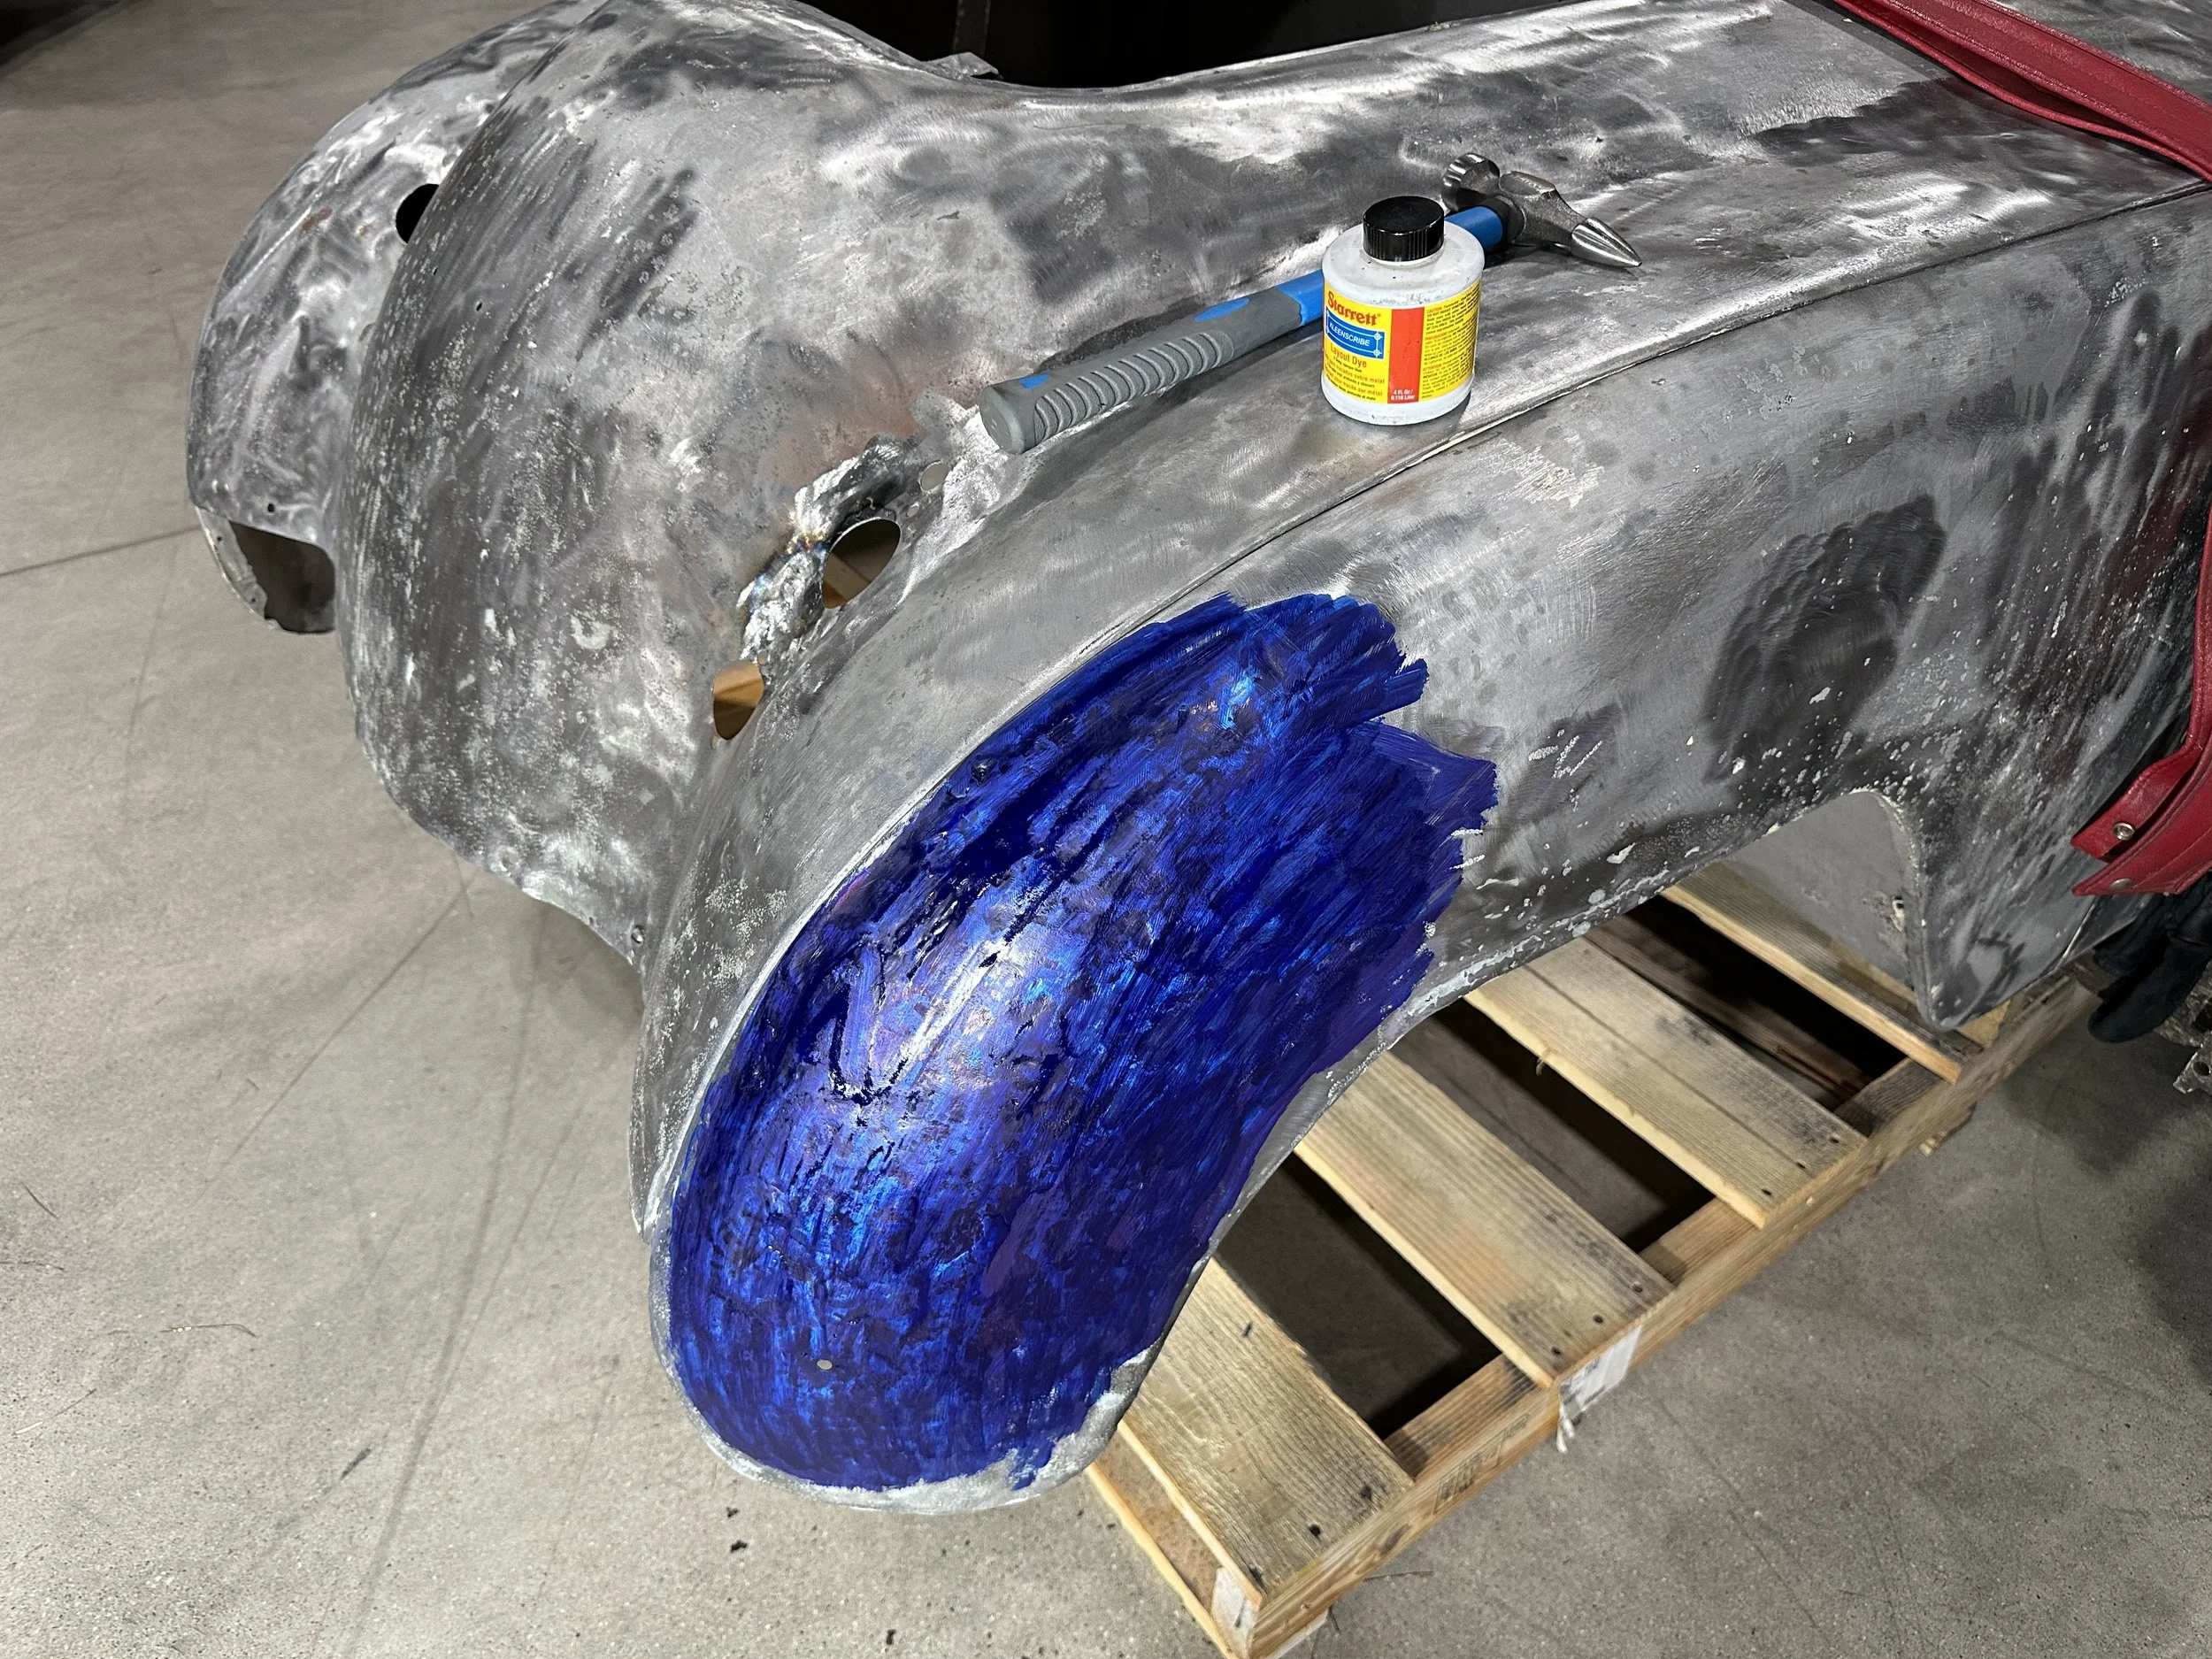
Fender bender
After covering the left front fender with some layout dye, we lightly filed it to reveal the high spots (bare metal) and low spots (dyed). We then hammered the high spots from the outside, hammered the low spots from the inside, and repeated the process in order to restore the original shape of the fender.