
Show day!
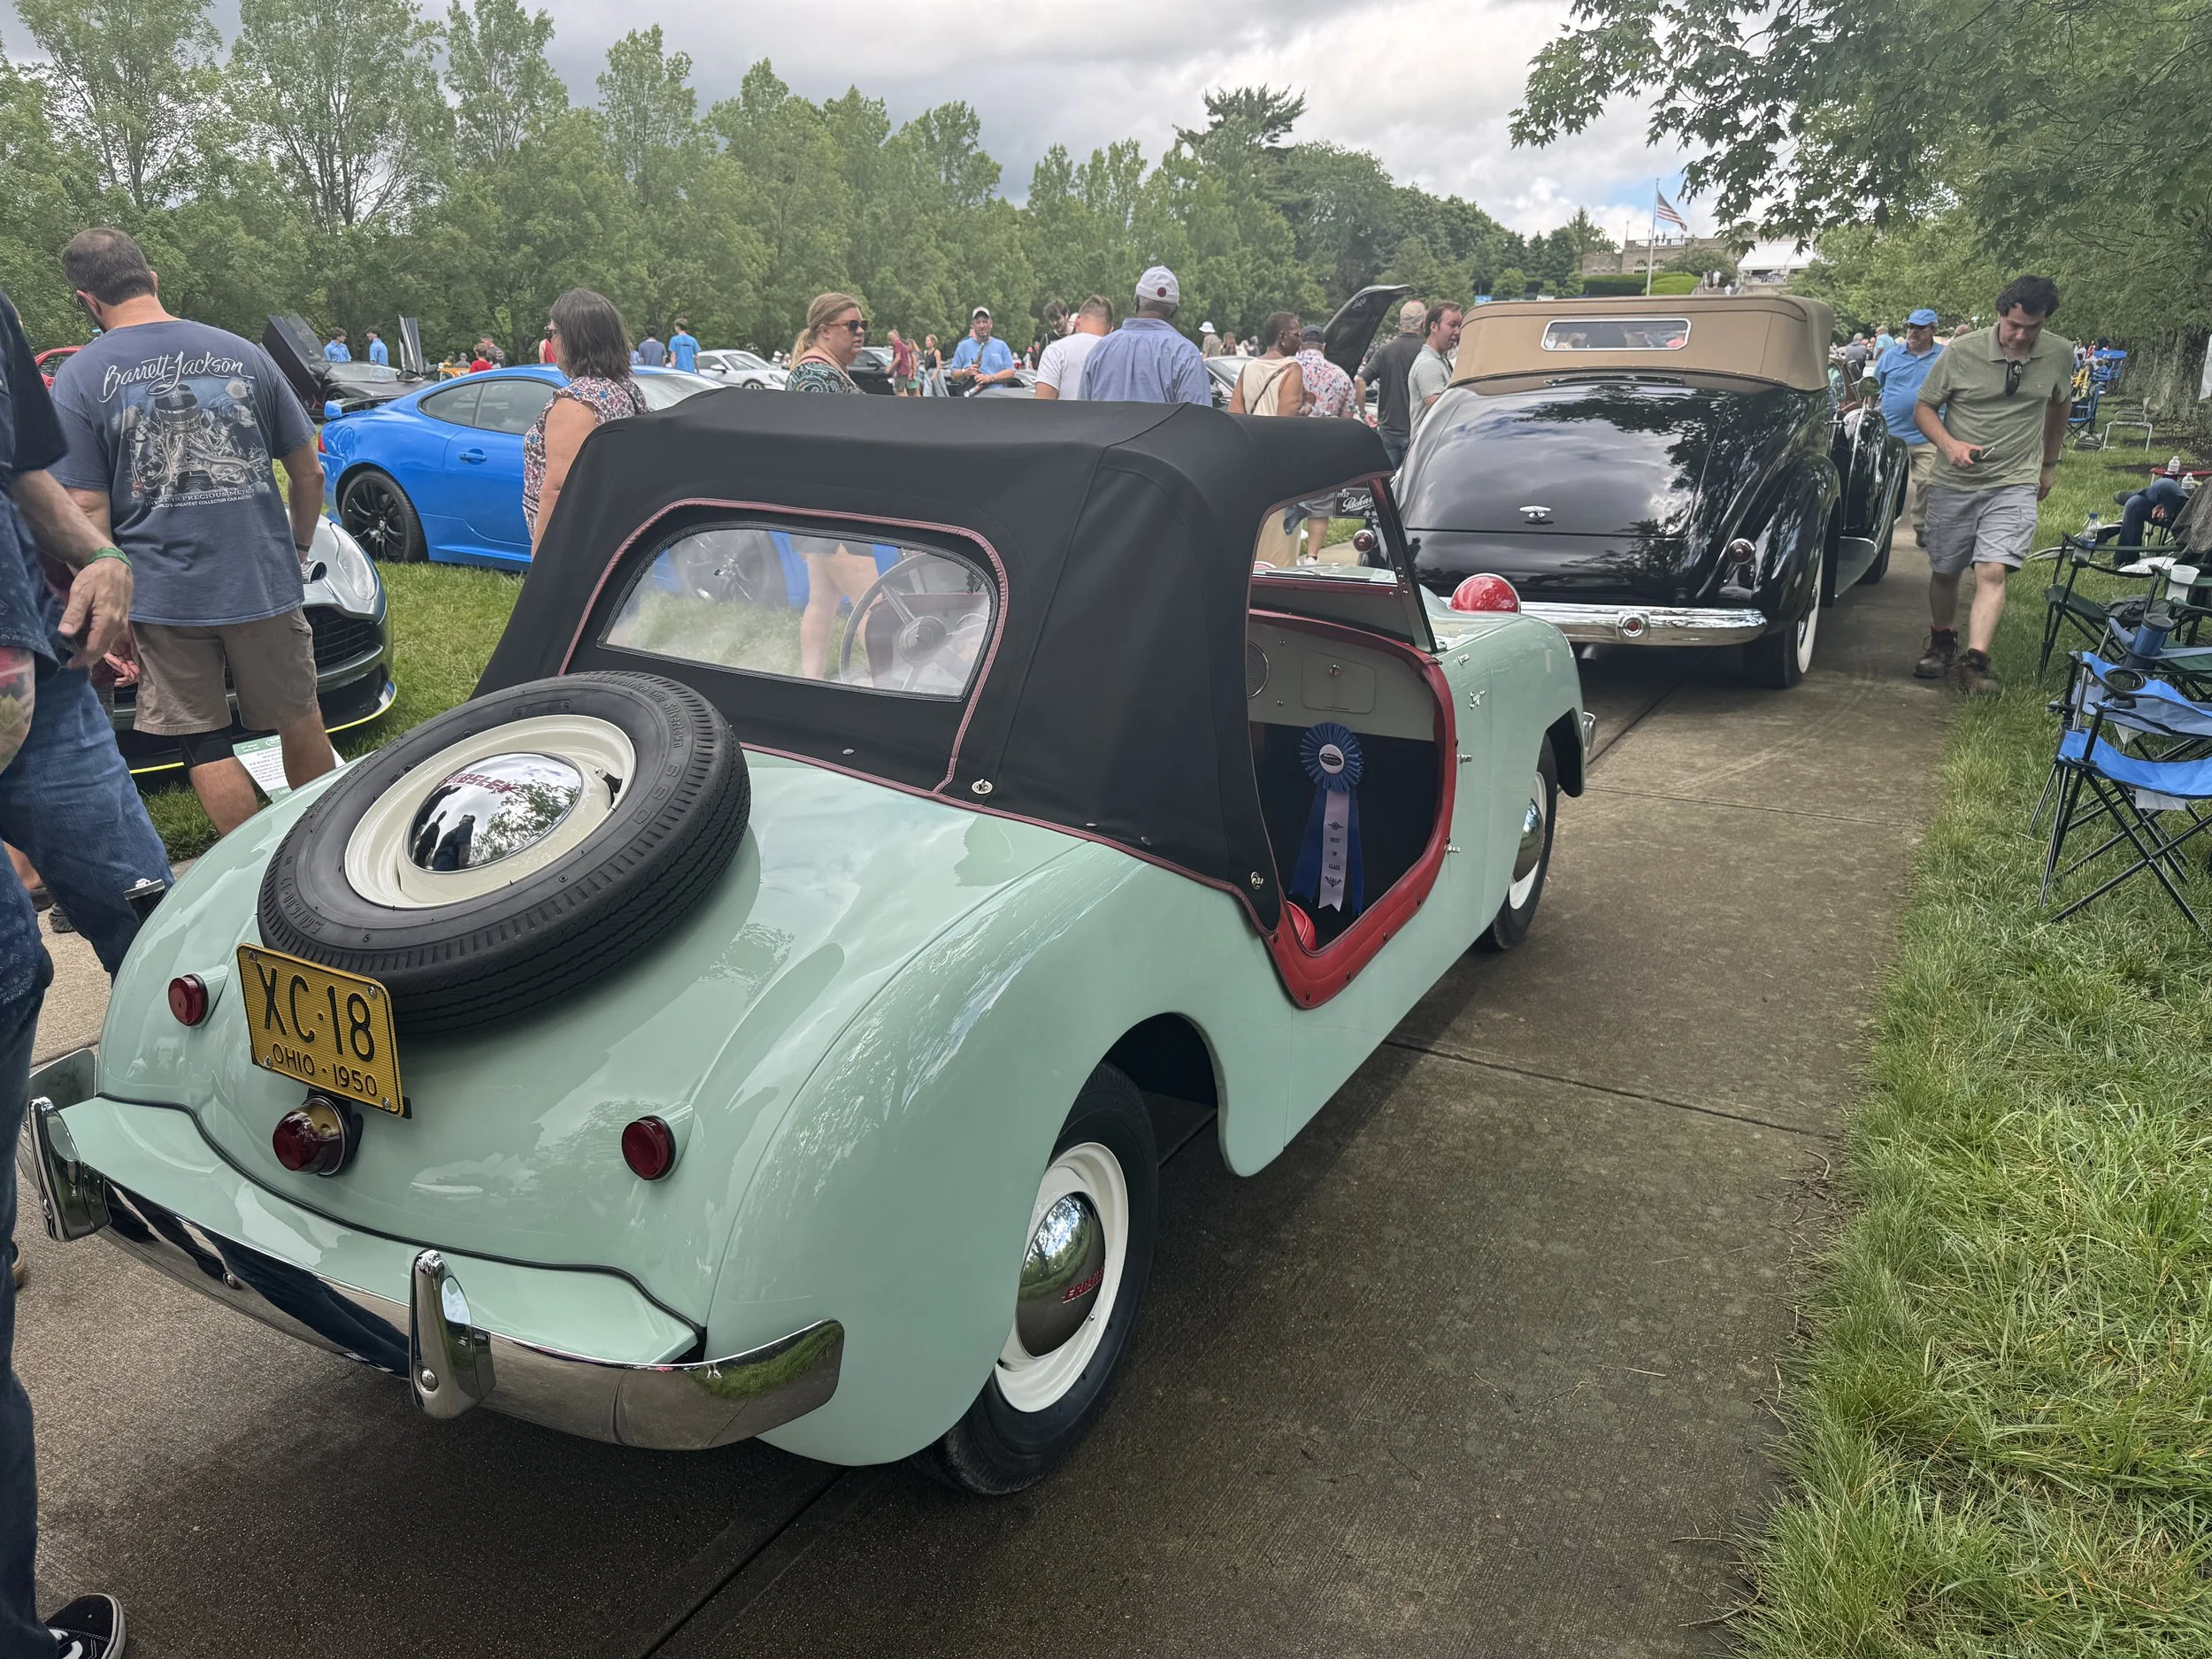
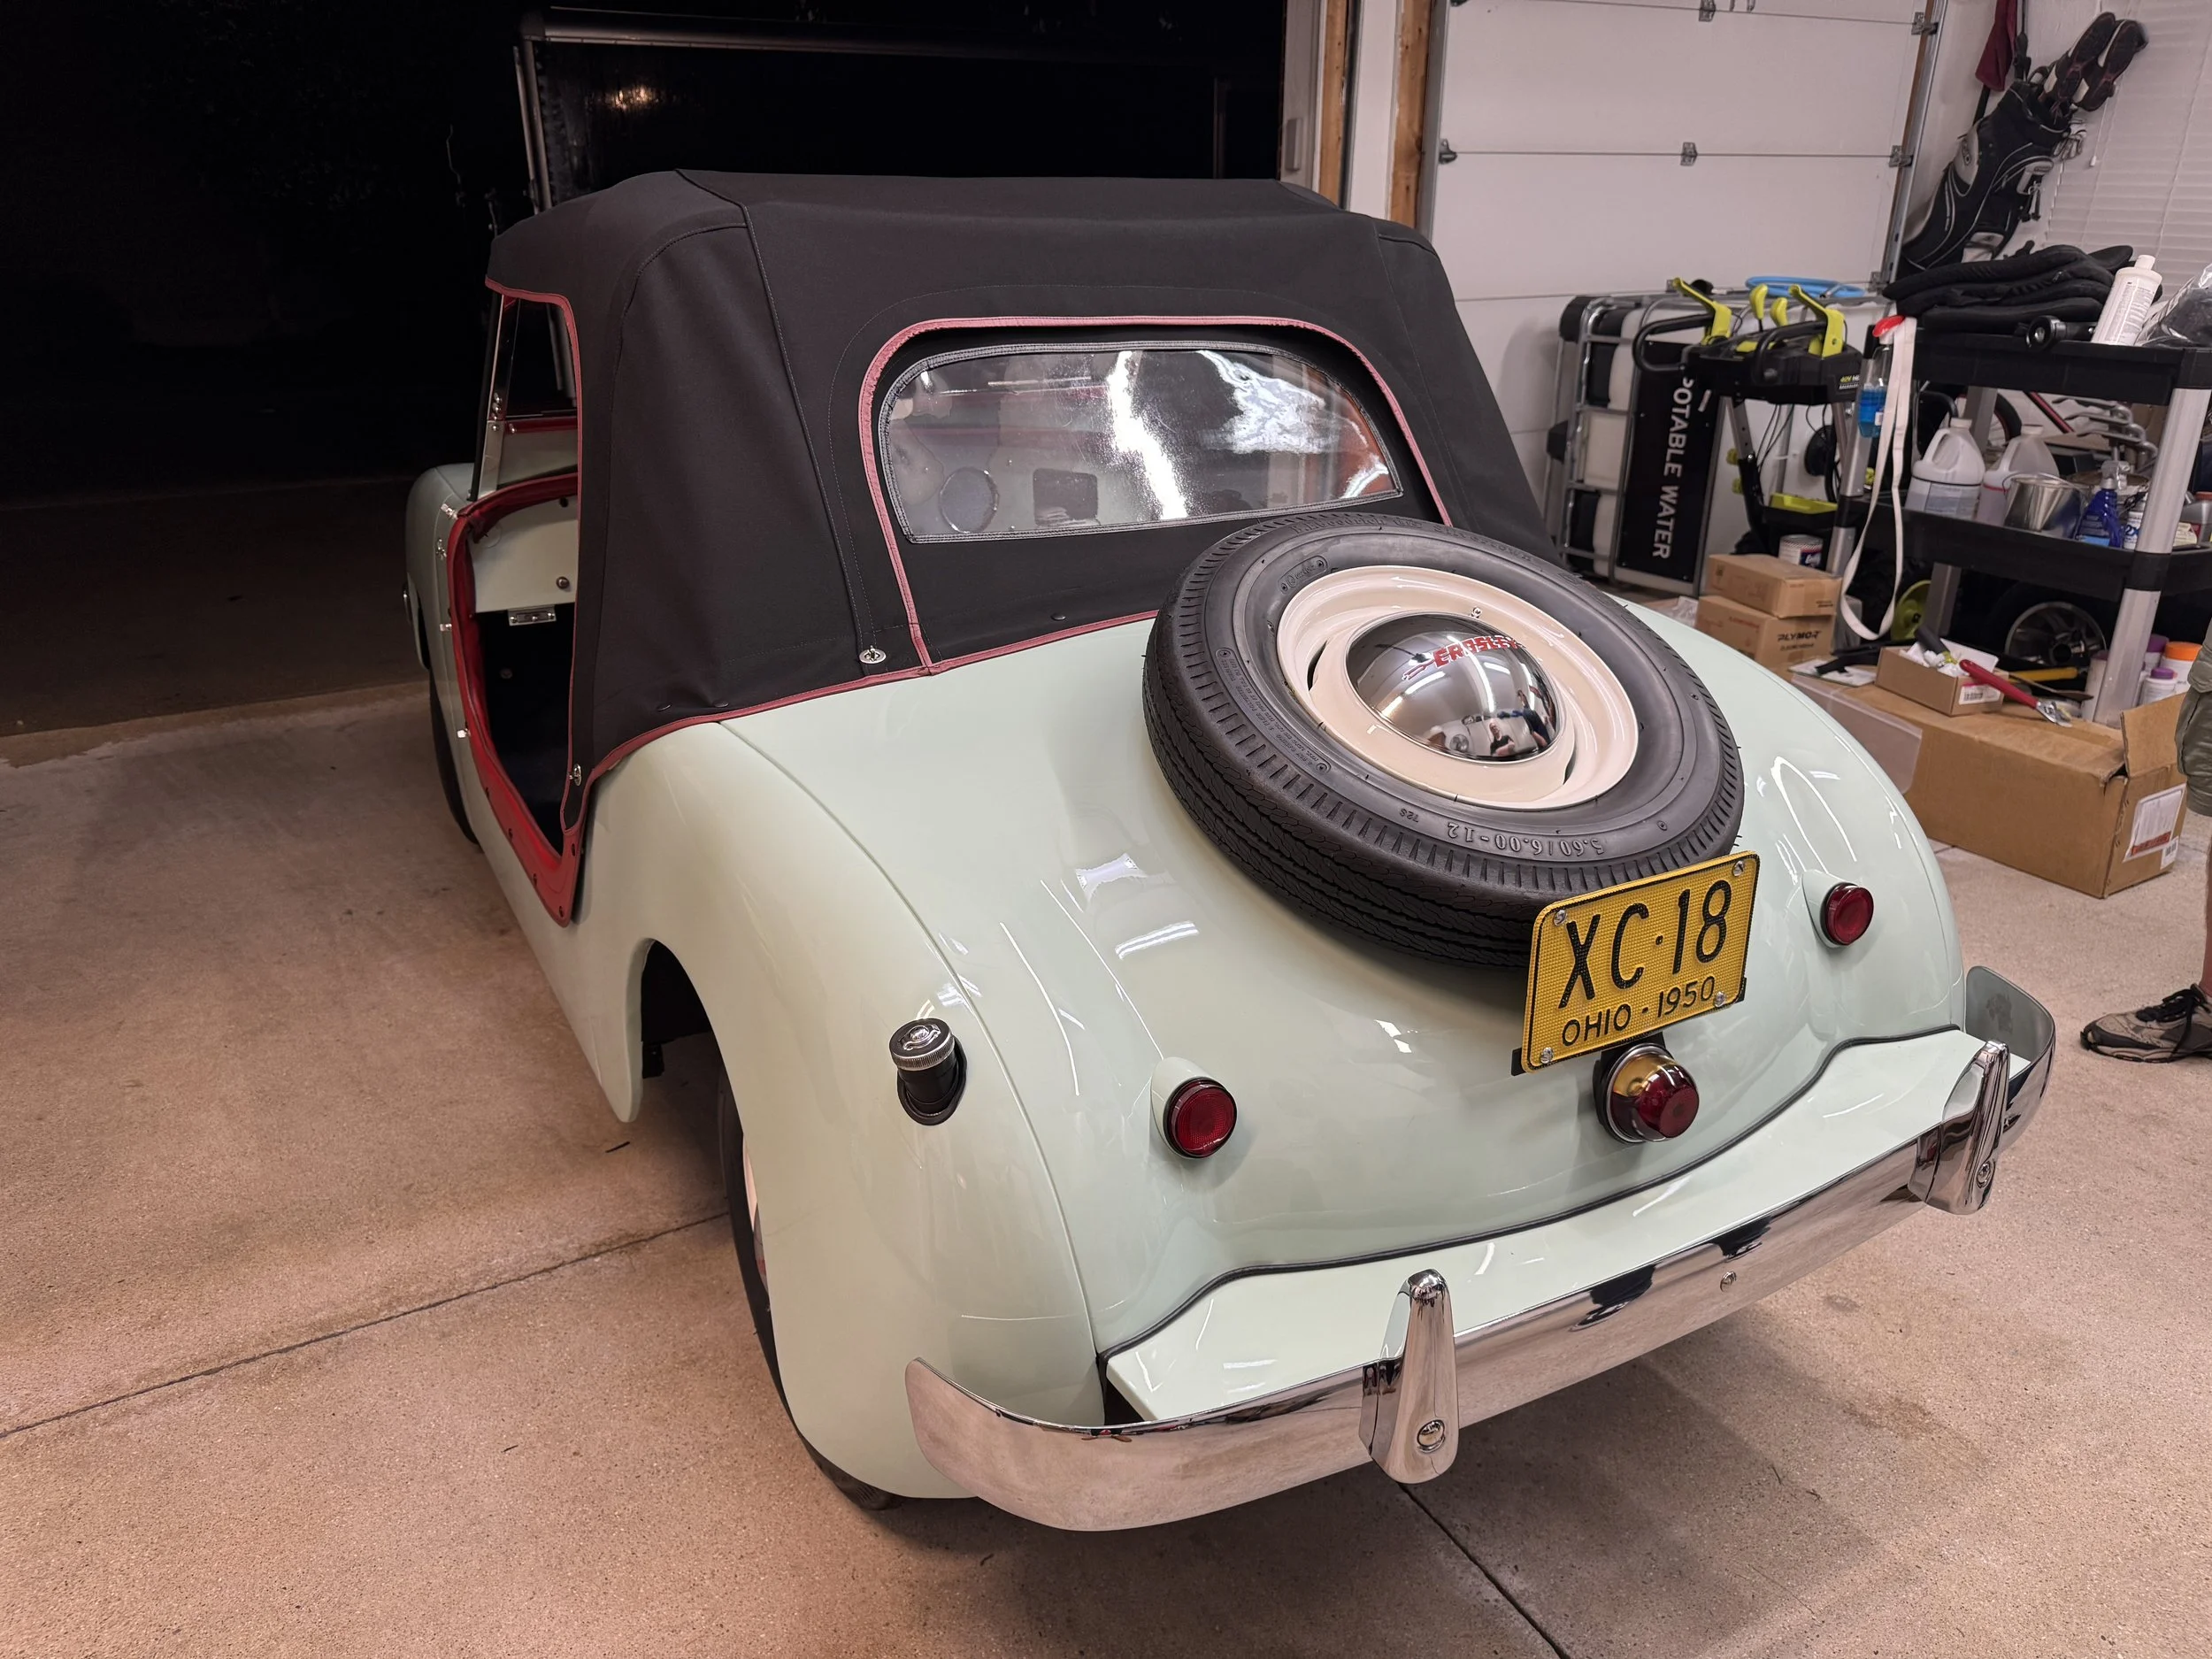
We could finally relax after getting our Crosley to the show field at Ault Park for the 47th Annual Cincinnati Concours d’Elegance! We entered in the class ‘Automotive Oddities‘, and won Best in Class!
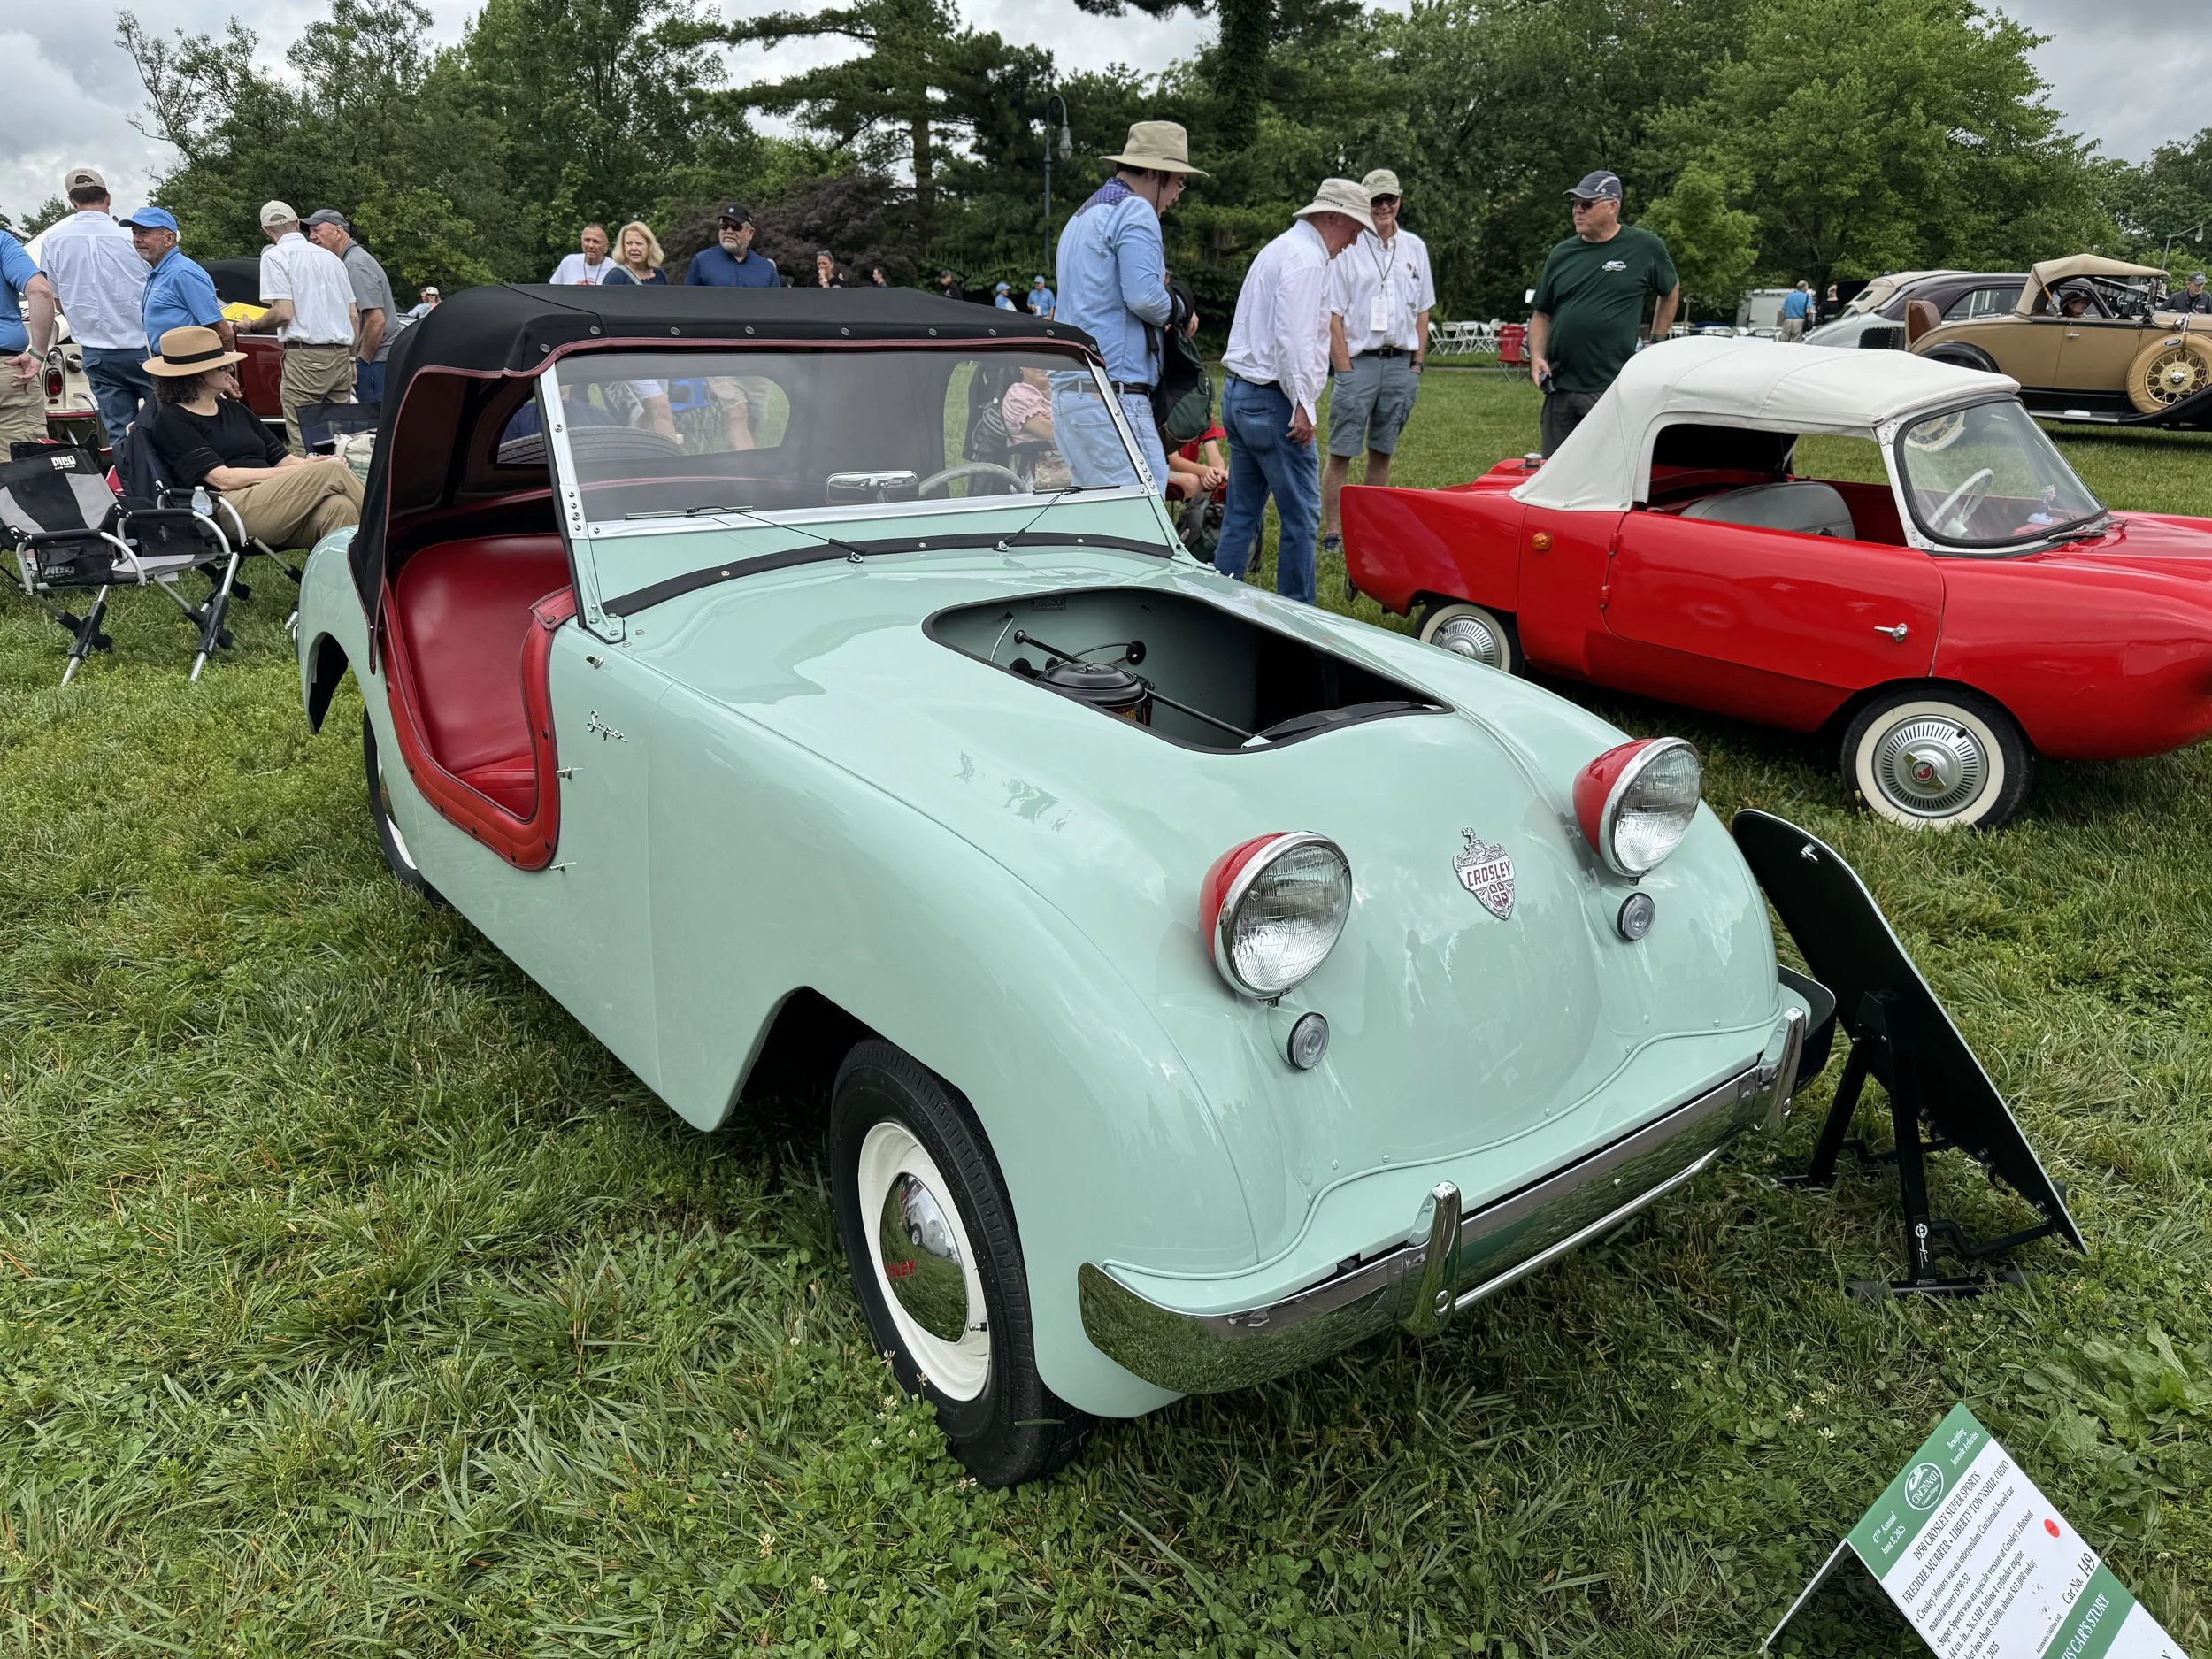
We were parked next to a ‘Friskysport‘, one of only five in the US!

Nearby was a Crosley ‘Skorpion‘, also exceedingly rare!

I first had to talk to the real judges…

…then a large group of Youth Judges! The youths chose a newer car to award, but I was able to wow the judges and we were presented with a Best in Class trophy!
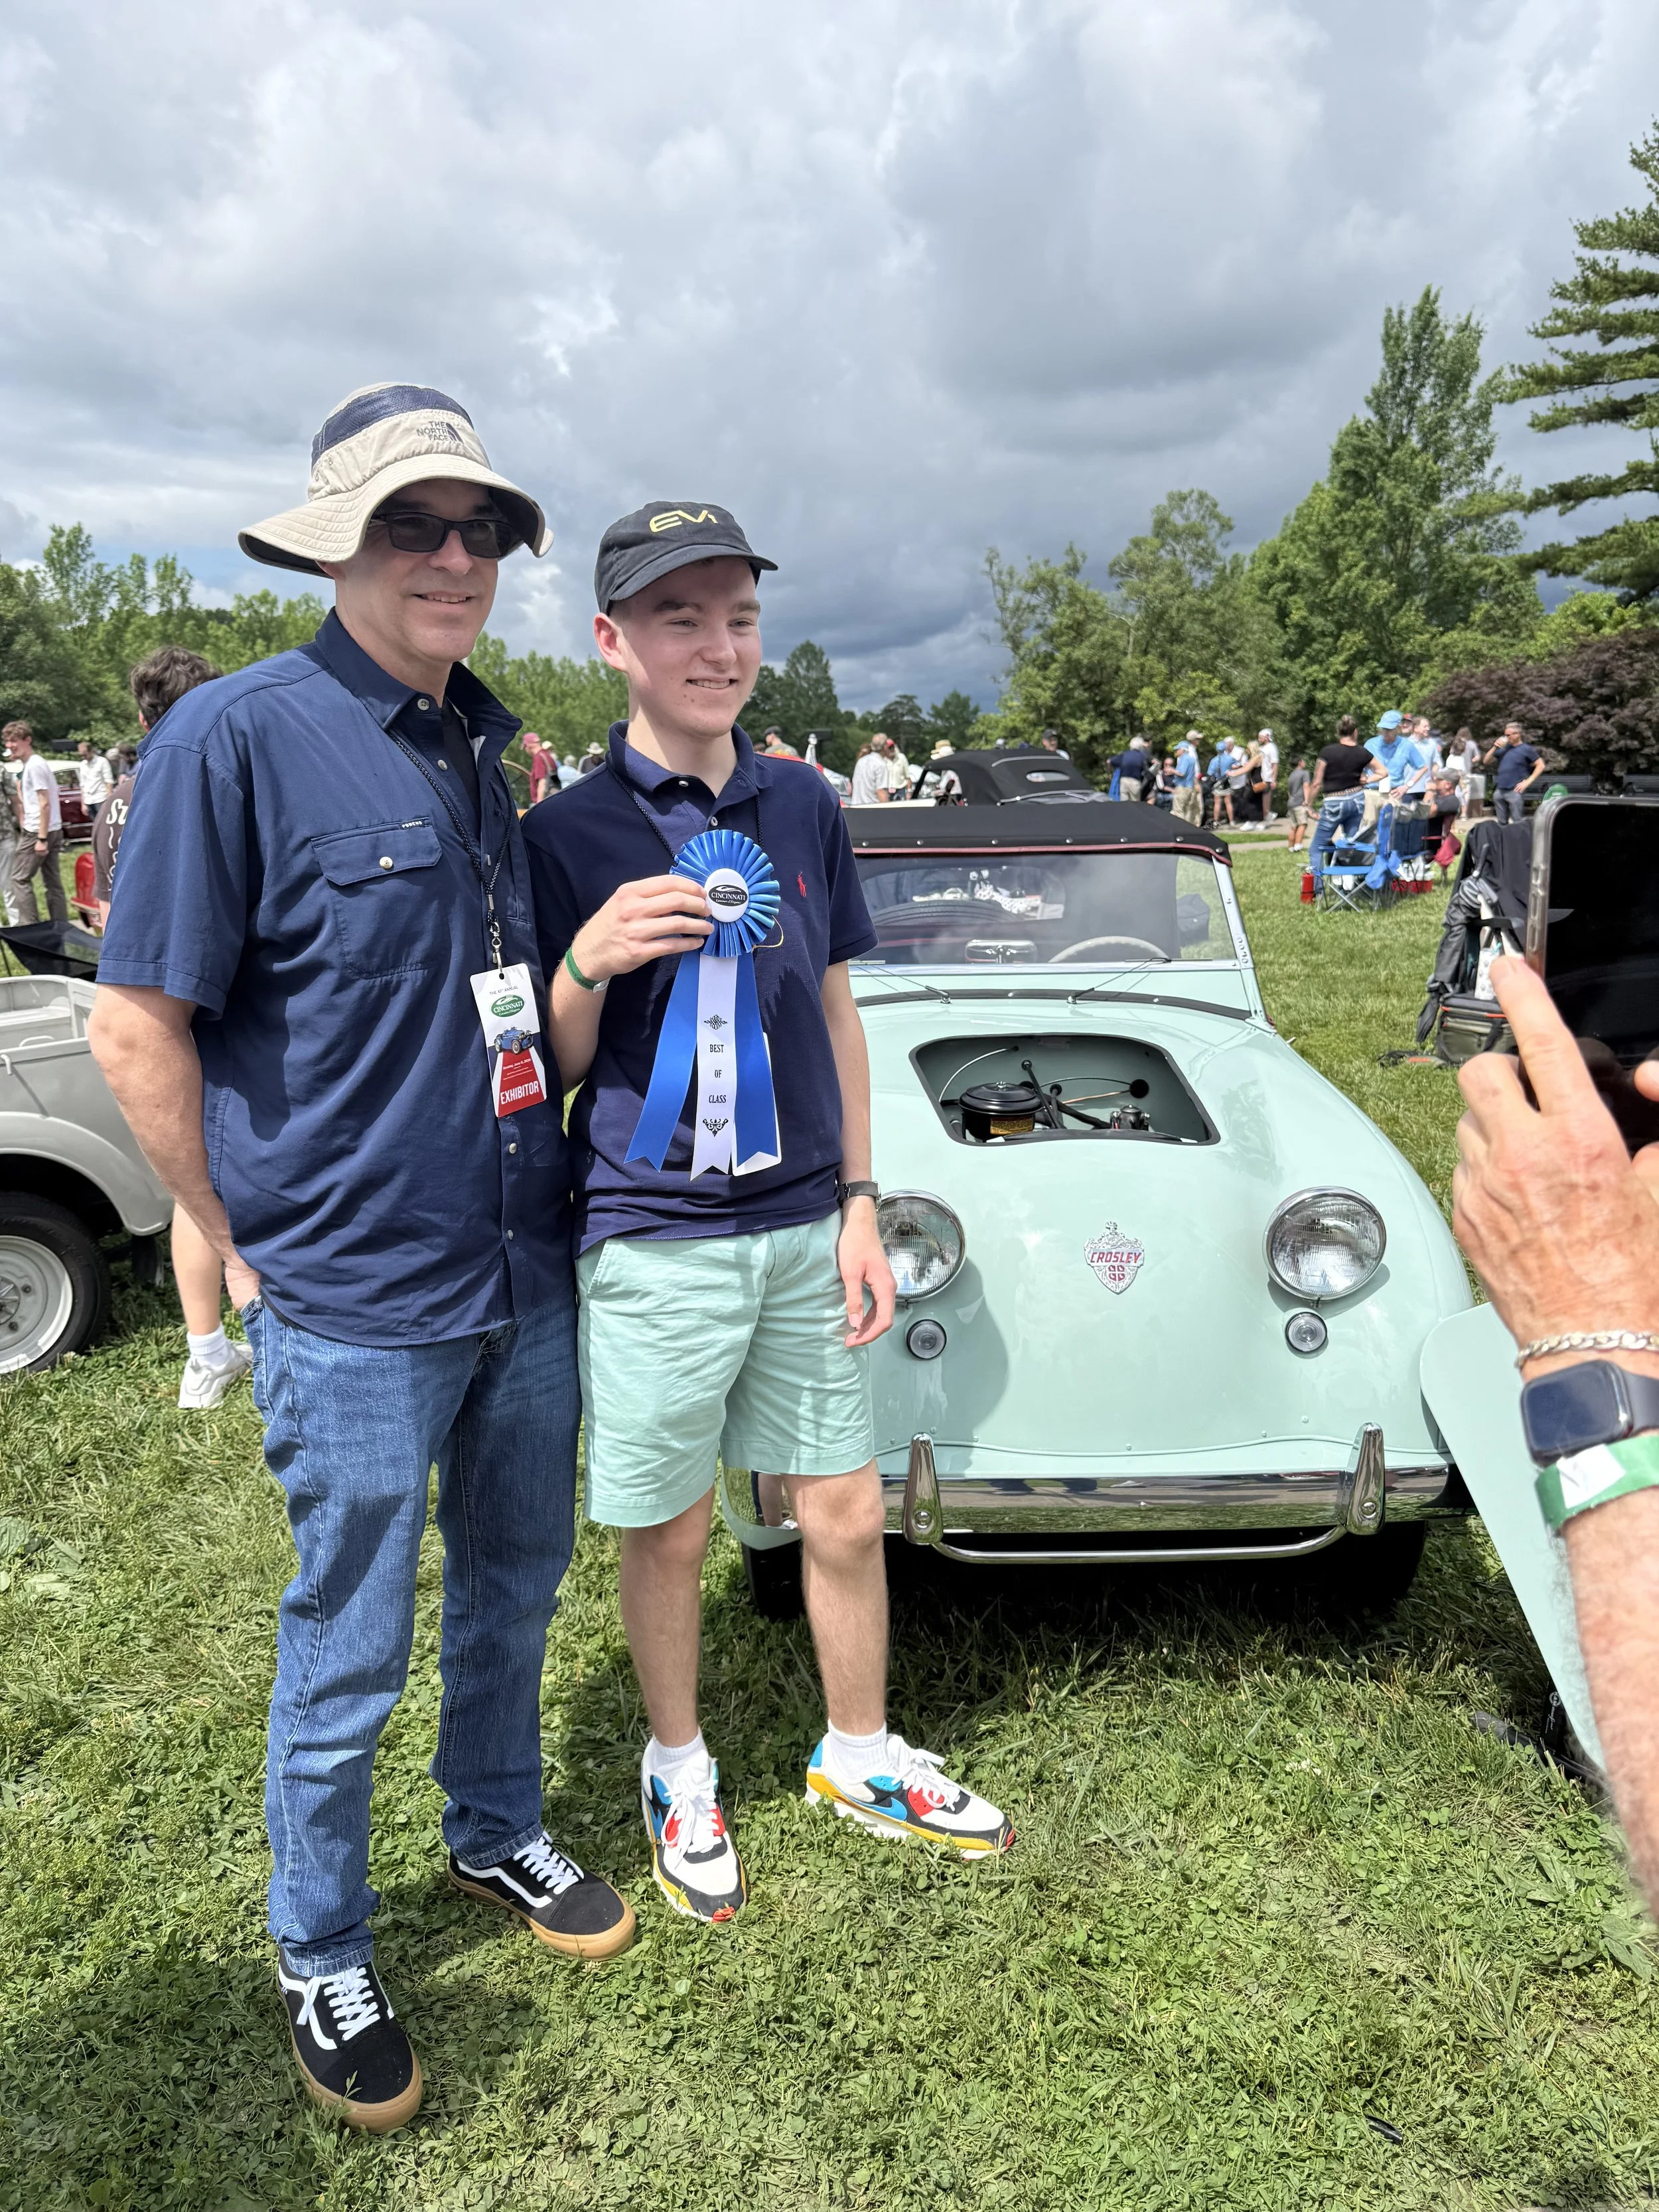
Proud award winners!
The size of a Crosley becomes apparent when in automotive company.
VIDEO
We got to drive around the center field at the end of the show to accept our trophy. It had rained on and off the whole day, but thankfully the rain had lightened up for the awards presentation. We were thankful that we had finished the top in time!
Interior
We used the remade seats that came with our car and some original ones as templates for new seats. We were able to conserve some of the original padding, using a layer of new foam on top. For the cockpit trim, we were able to use our originals as templates, and used quilt batting as a substitute for the original cotton material that was inside.

My dad sewed while I traced sewing lines from templates that I had made the day before. Then, my grandma and I clipped on the burgundy trim with ‘alligator clips‘ while he kept sewing. By the end of the day, we had finished all of the interior trim!
We took the completed interior to our shop and installed the snaps in the car body and in the upholstery, ensuring a perfect fit. Then it was time to take the car home and figure out the seats!

Unlike the other interior trim, we did not have perfectly preserved seats, so making templates proved very difficult. It took lots of fiddling, but eventually we ended up with the pieces for two seats.

The ‘alligator clips‘ also came in handy for the seats, sandwiching the edge bead between the faces wile sewing. The original seats used round plastic trim on the edges, but we had to make our own to ensure a color match. We wrapped thin cord with a strip of red fabric, holding it together with contact adhesive.
The interior all came together! The cardboard material for the seat bases and the foam padding proved to be challenging pieces to source locally, but my mom was able to find cardboard and my Aunt Paula was able to find foam, just in time. Making the interior was definitely a family affair!
Our steering wheel had gray paint under the black it was when we got it, so we were removed the black and found a close match to paint it with. Factory photos and other reference showed that the shifter knob was also gray, so we painted it too.
Ready for the show! Wait, something is missing… the top!
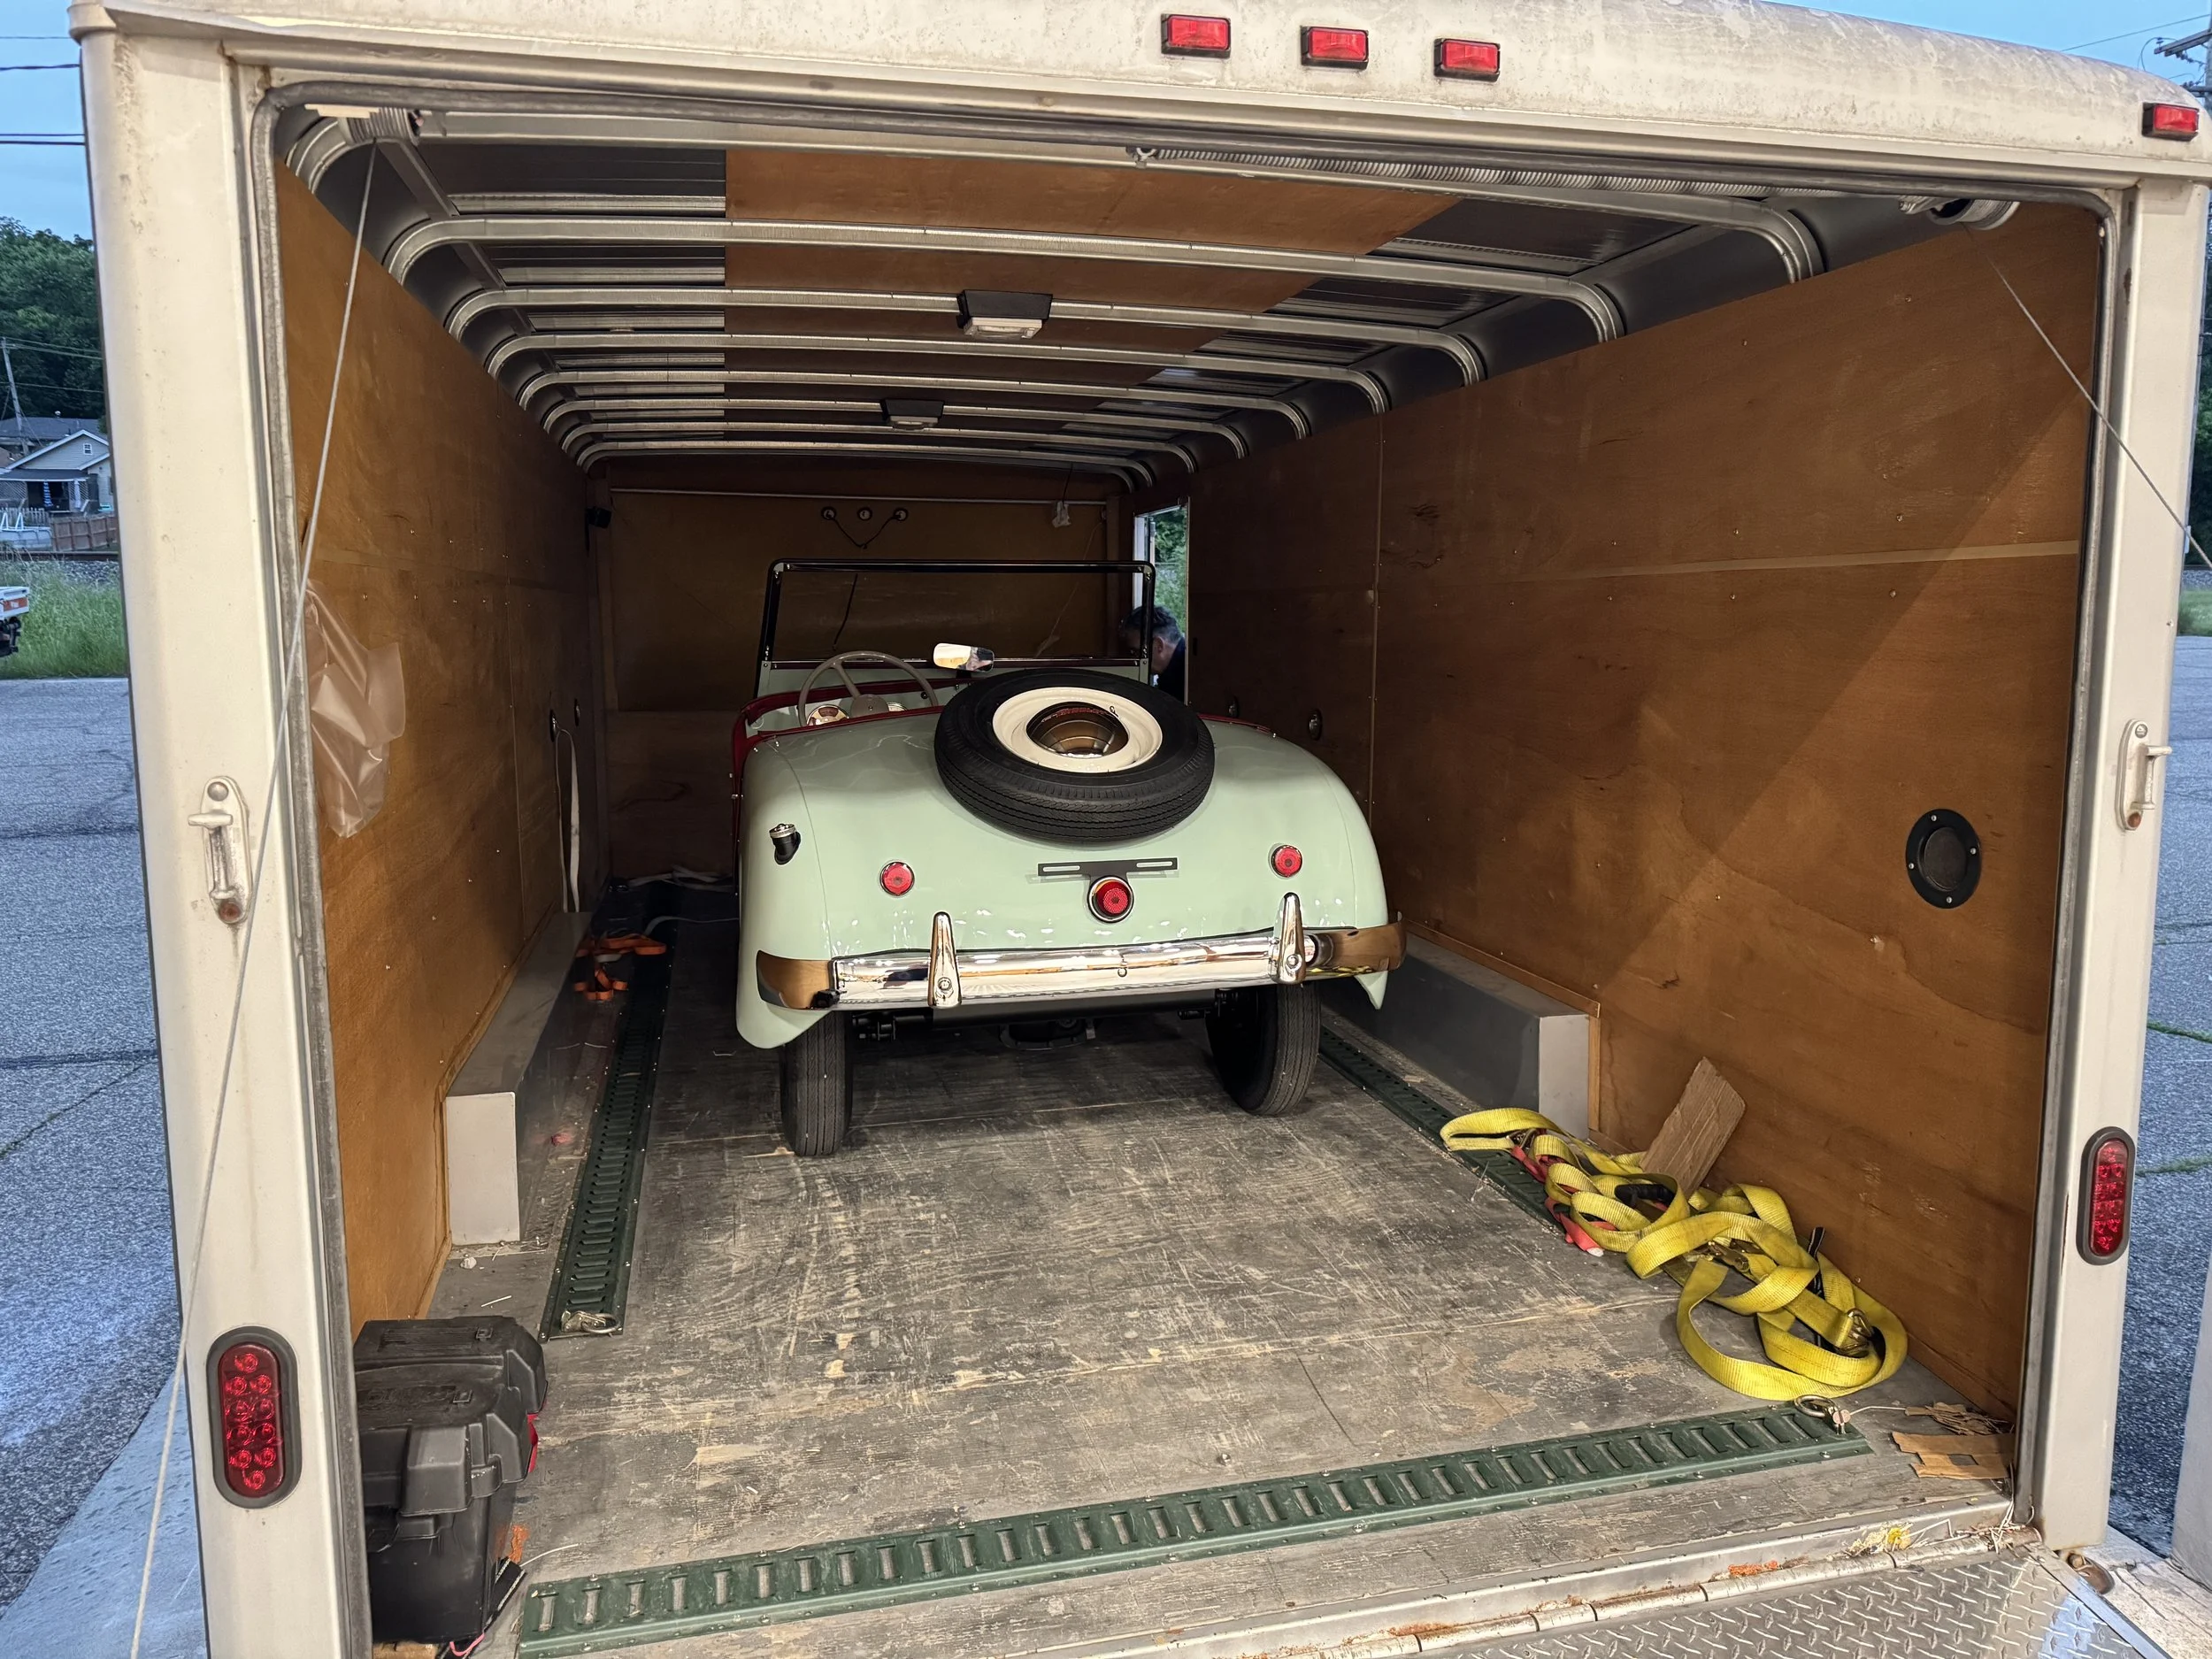
The last step - the convertible top! At this point, we only had a day before the Cincinnati Concours d’Elegance, and were very tired, but pushed through to make a top (sans doors). We could not have made the top without the invaluable help of two family friends, who spent the whole day cutting, sewing, and templating the top with us. Thanks a million Matt and Lynn! We finished installing the top around 4 o’clock in the morning the day of the show. After a 1-hour nap, it was show time, and we trailered the Crosley to Ault Park!
Final assembly
We continued assembly, installing the wiring harness, dash items, and chrome trim. Next step - interior!

We secured the engine bay opening rubber trim with adhesive and used binder clips to hold it in place while it was drying. We installed our 1950 plate on the front of the car, but we later moved it to the back while we waited for our actual plates.
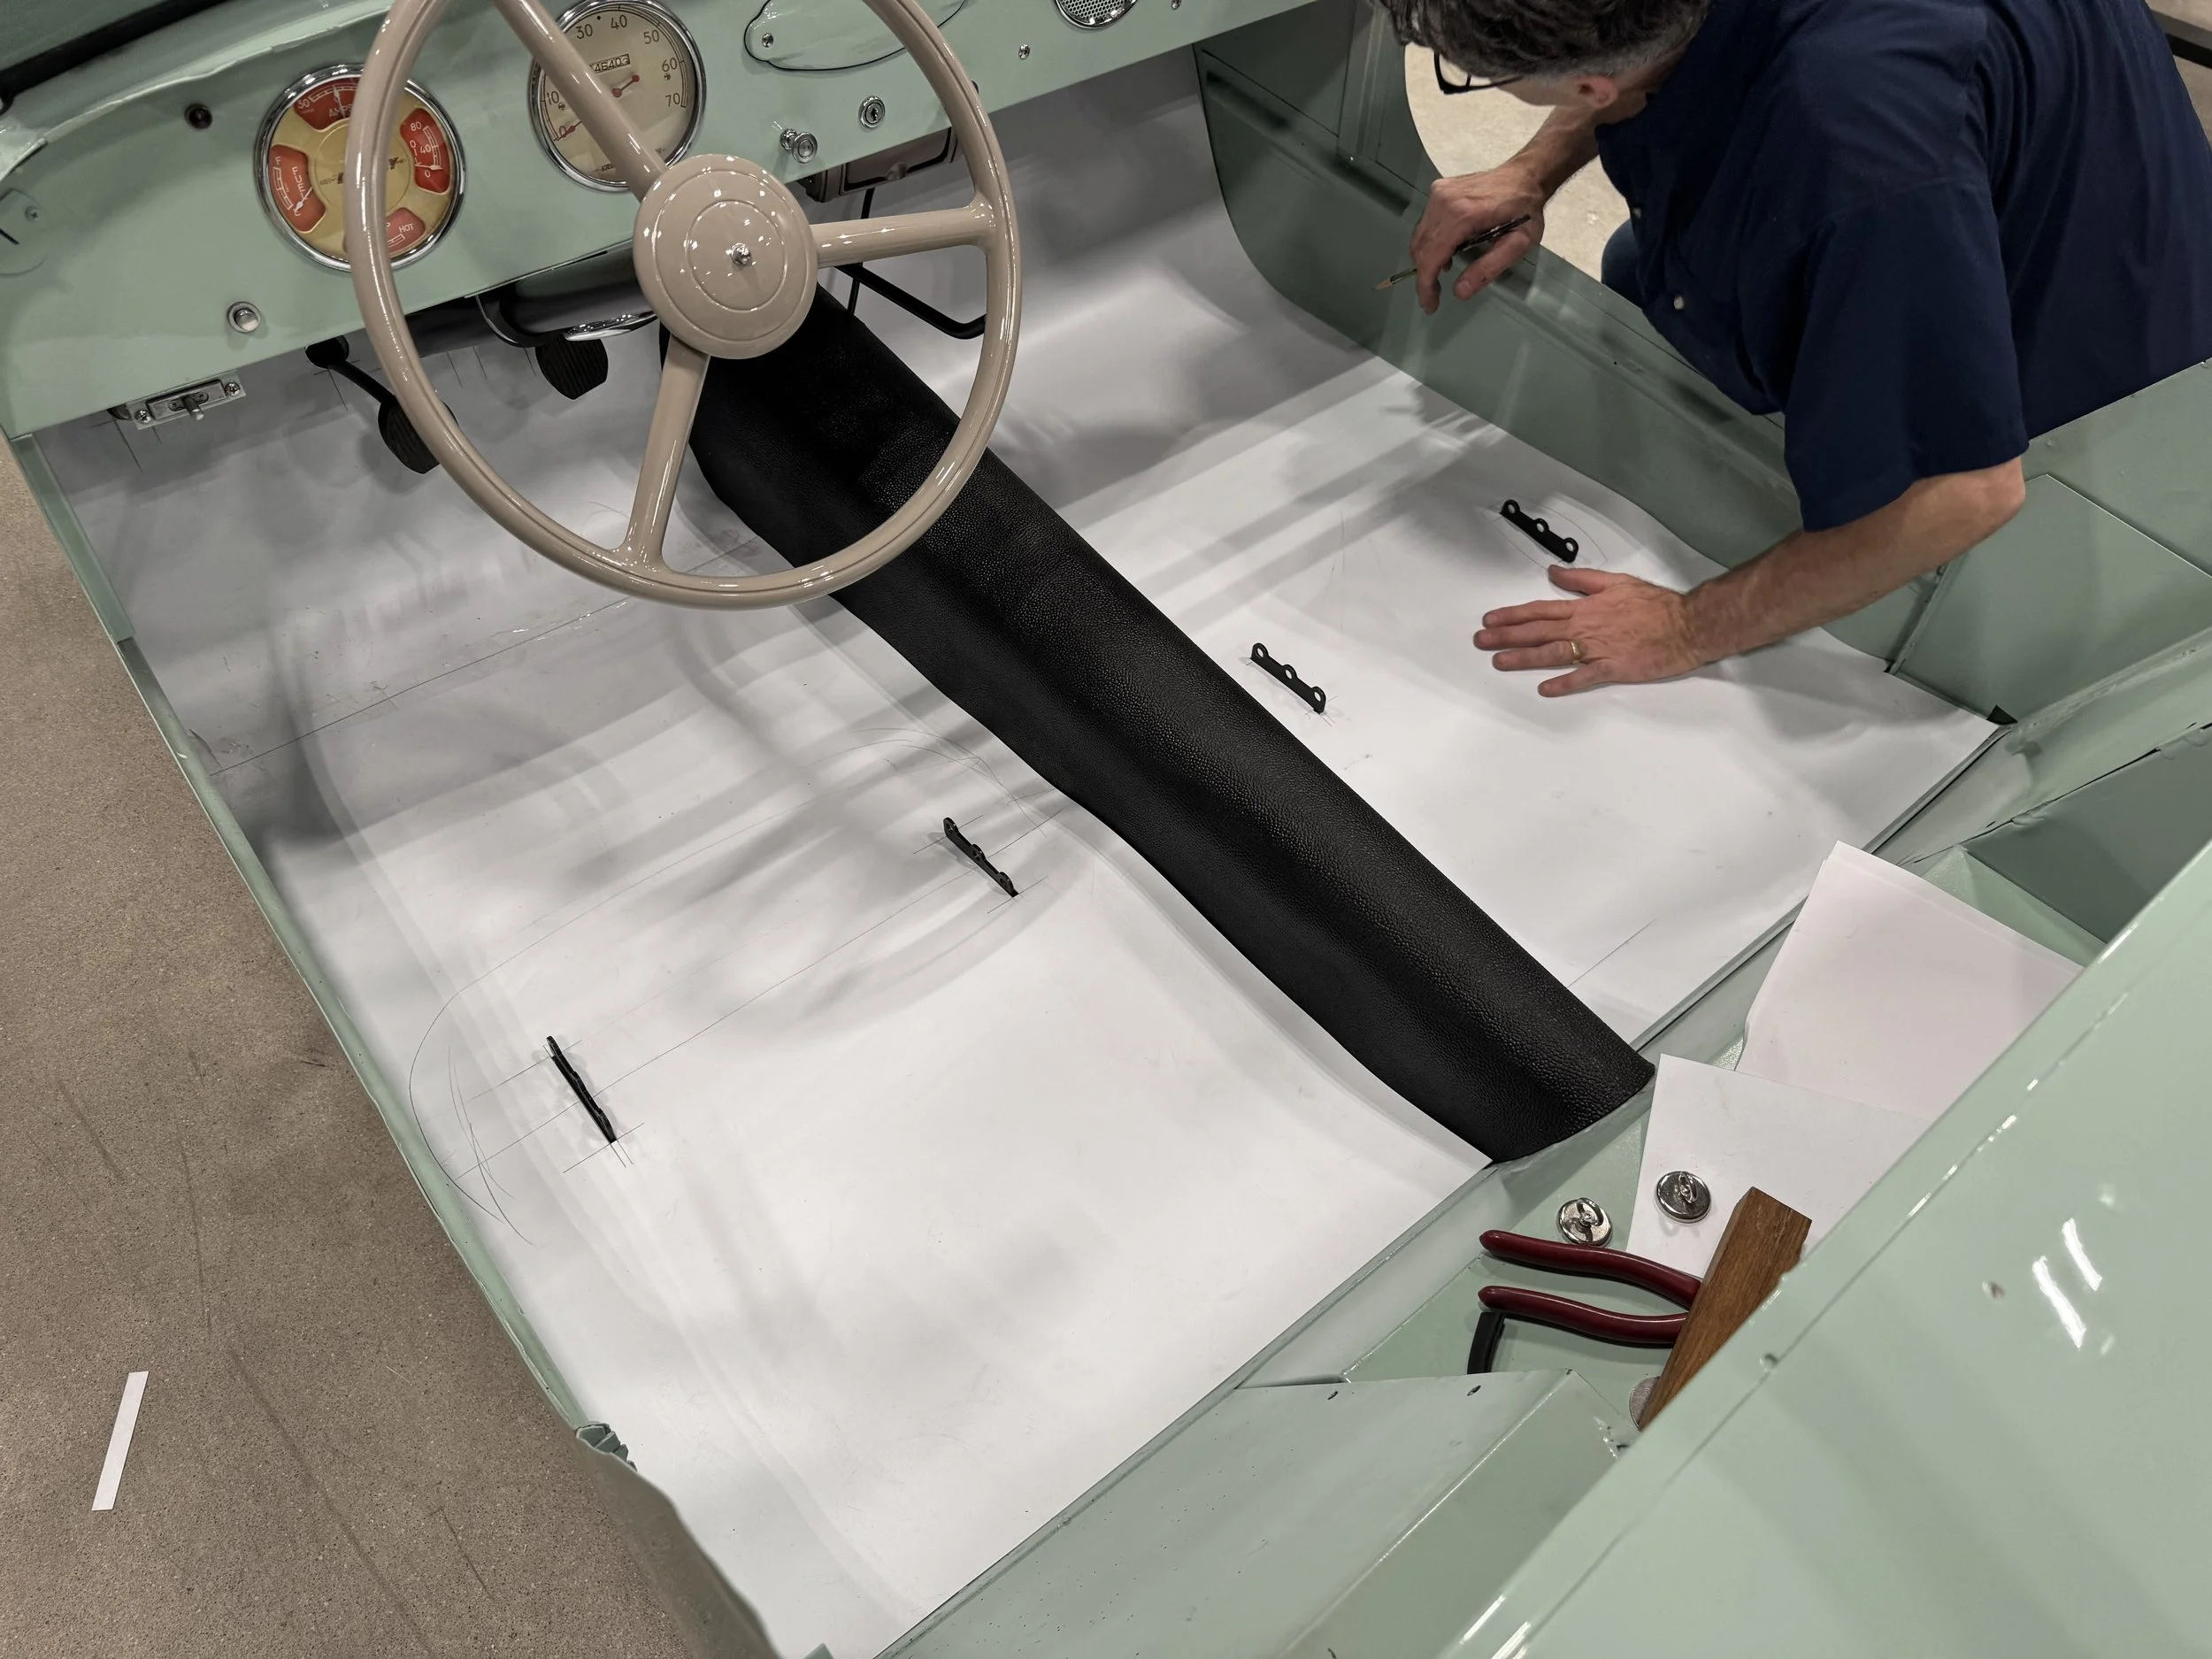
Although the original floor mat was one piece, the closest material we could find was not large enough, so we were forced to make it in three sections. We made templates and then cut the mat with a knife, using a hole saw for the pedal openings.

Ready for upholstery!
Body assembly part 2
We installed the wheels, windshield, steering column, and more!


The windshield was especially scary to install because the brackets fit so poorly. Thankfully, we test fit it before painting, so we knew what to expect!

The engine bay filled up fast!

We decided to install the gas filler tube after the body was installed. It had just barely enough room to swing into the gas tank opening, but we were able to install it without removing the gas tank. Look at the shiny bumper!
Body assembly part 1
We installed the front gravel pan, headlights, and minor frame components before joining the body and the frame.
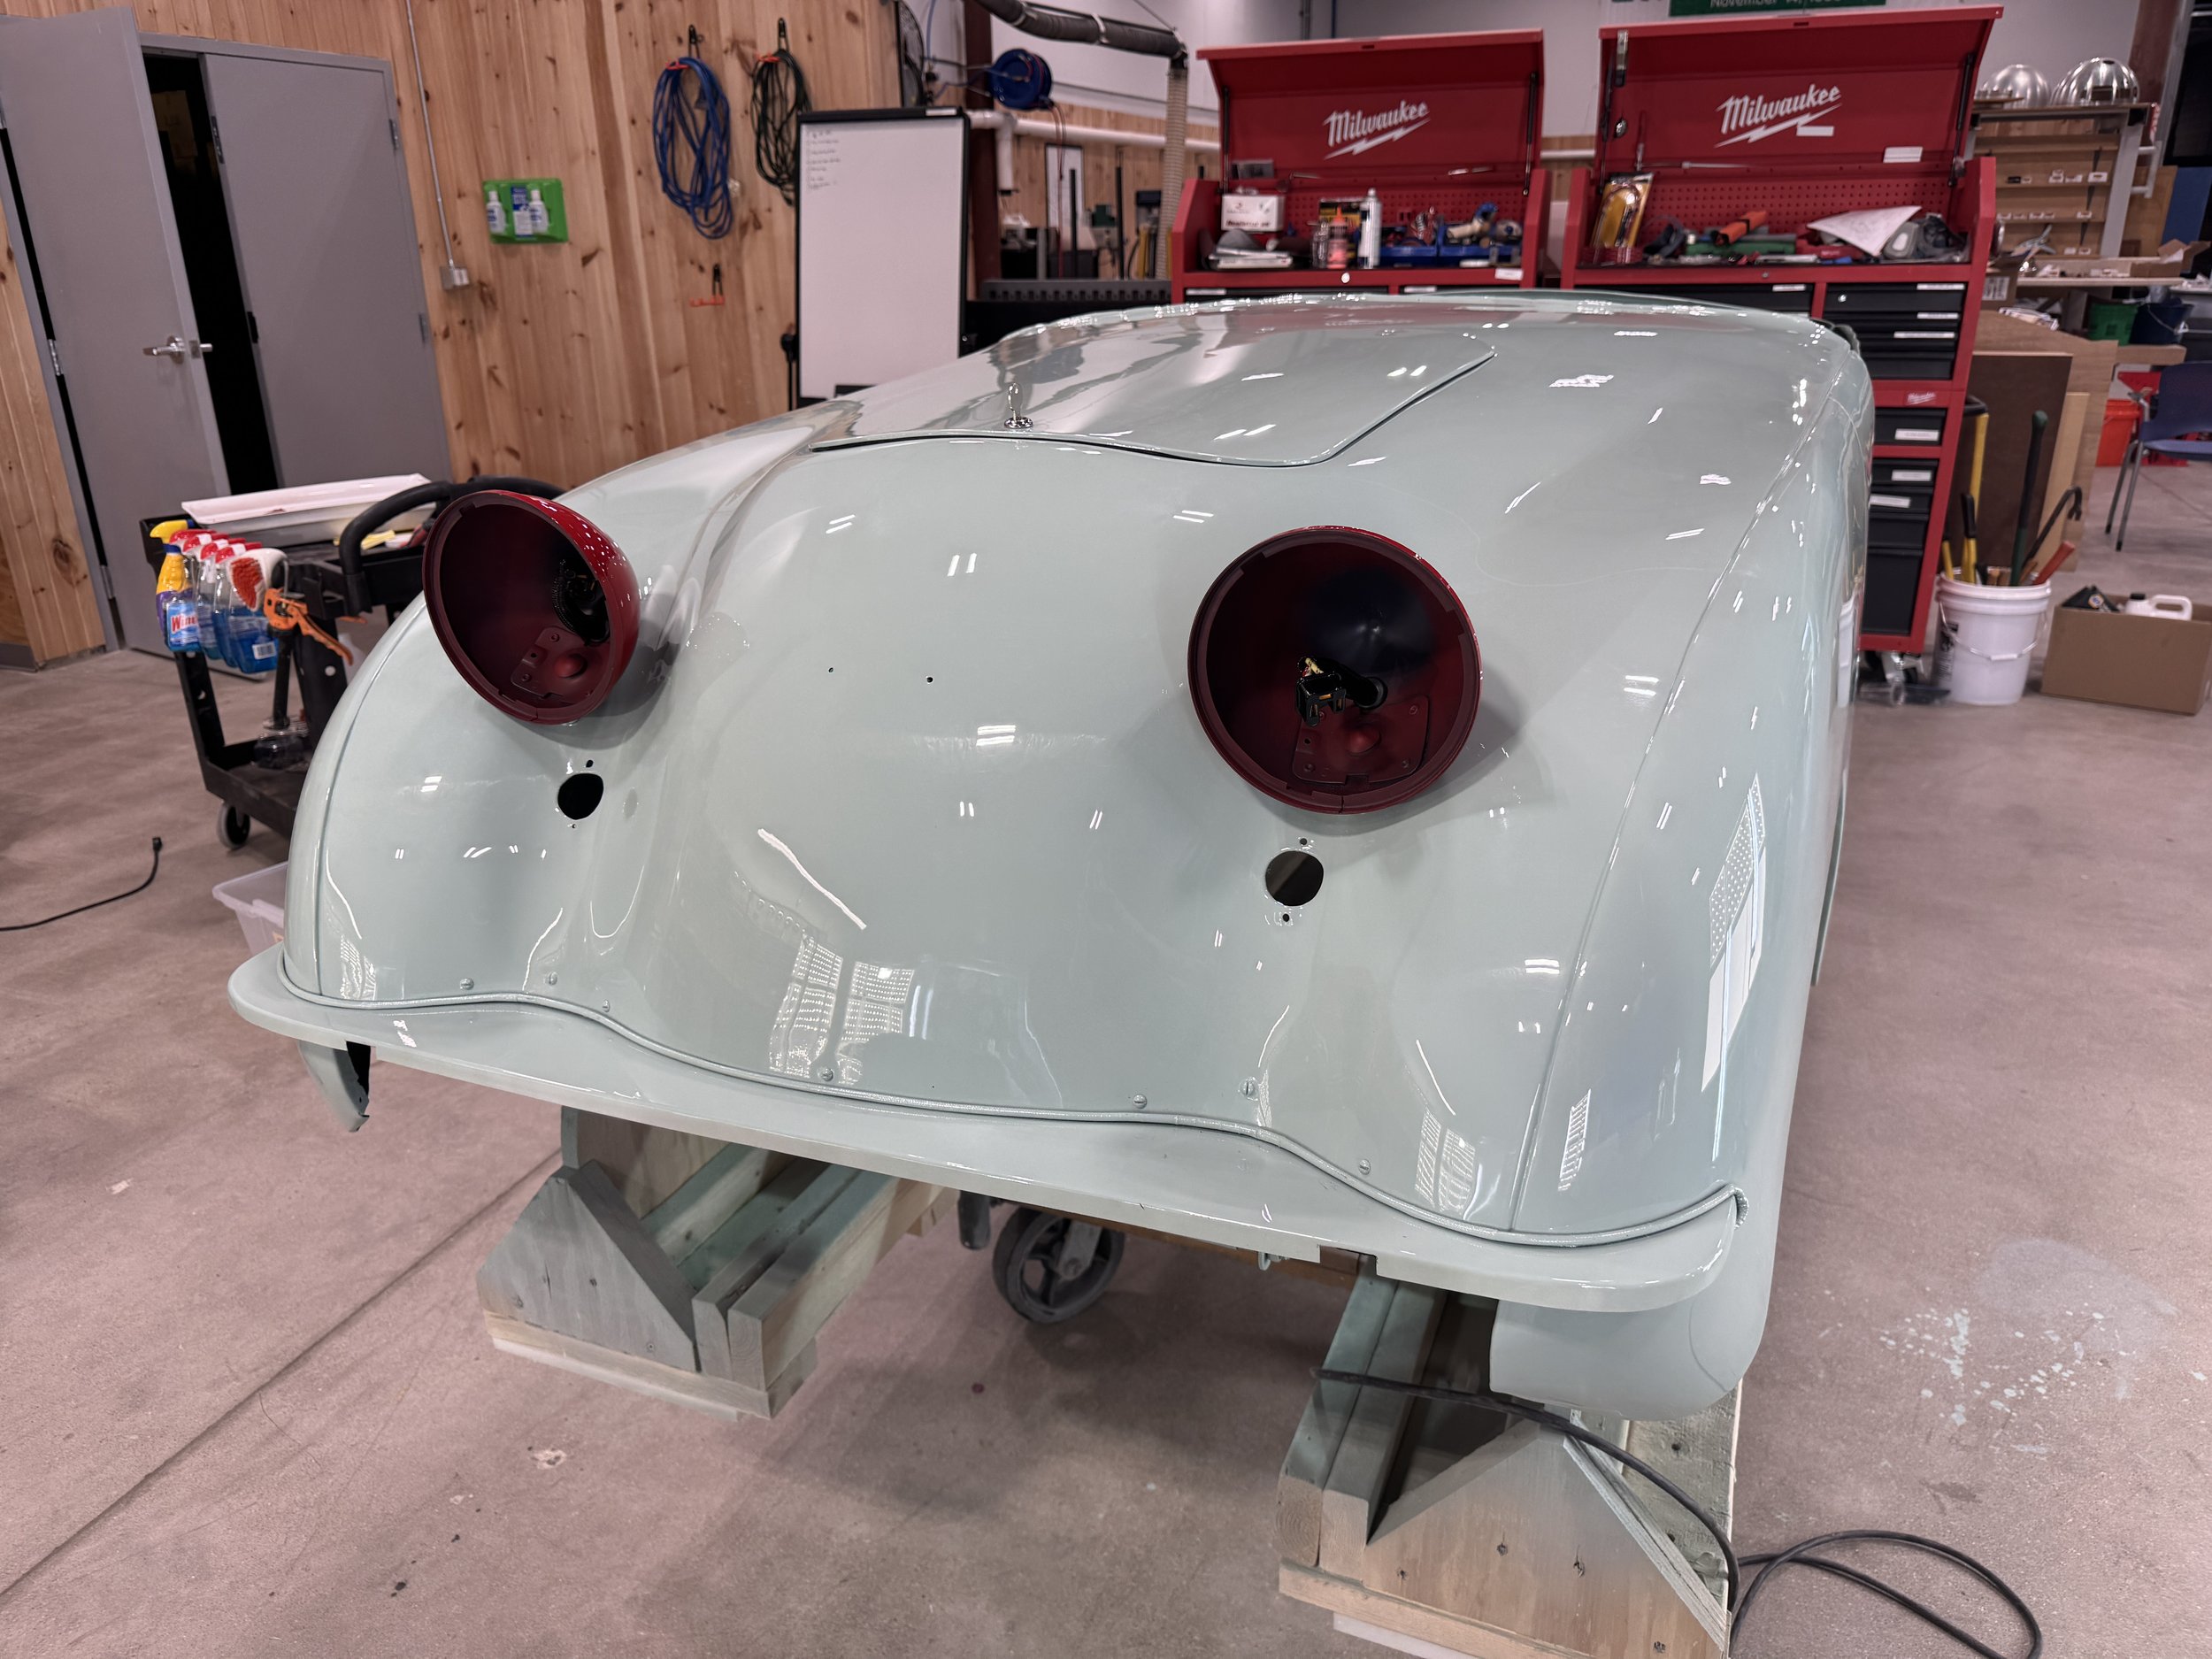
We very carefully installed the headlight buckets and front gravel pan. Our headlight trim rings needed some work to make them perfect, so we could not install the bulbs just yet.

The frame was ready after we mounted the front air intake, bumper brackets, pedals linkage, emergency brake cable, and the strips of fabric between the body and frame. The previous owner of our car fabricated an incredible air intake to replace the original cardboards using sheet metal and aviation engine baffle material, so we decided to reuse it even though it was not original.

I 3D printed battery caps and a side plate with authentic Auto-Lite logos to make our battery look more vintage-y.

We used our car lift to raise the body before connecting it to the frame.

Body and frame combined!

Lots of room for engine bay accessories, just need to install them!
Engine testing
After installing the rest of the engine and frame components, we temporarily mounted our gauge cluster and electrical system to test the engine!

We started by installing our beautifully restored generator from Service Motors.

After the generator, we installed the fuel pump, and the fan and belt, followed by our shiny red valve cover…

…which we then removed so we did not risk damaging it while testing! We also installed the starter, recored radiator, and hooked up the spark plugs to the distributor.

Finally came the transmission cover, exhaust, and our temporary firewall. We also decided to remove the air filter for testing. The last step was to add oil to the engine, water to the radiator, and mount our gauge and electrical components.
VIDEO
Runs good as new, all it needed was a little idle adjustment!
Frame assembly part 2
After reassembling the engine, we were able to mate it with the frame, which was mostly assembled. We first had to install the rear end, torque tube, and rear coil springs before installing the engine and transmission. We were also able to assemble and bleed the brakes.

Almost ready to install!

We masked the “CROSLEY“ text and carefully used a paint roller to apply the red paint.

Although our car originally had a 6 bolt water pump, ours was completely rusted out, and we had already rebuilt the 4 bolt water pump from our first car, so we installed the 4 bolt pump.

After adding the exhaust manifold, temporary valve cover, generator bracket, and transmission, it was time to lower onto the frame.

Engine and frame together again!

Although we painted our valve cover gray, further research made us decide that our valve cover was likely originally red, so we later repainted it.

I used waterslide decal paper to exactly reproduce the original air filter decal. The hardest part to make was the bird on the top… and it is almost completely hidden when viewing from the top!

The body is next!
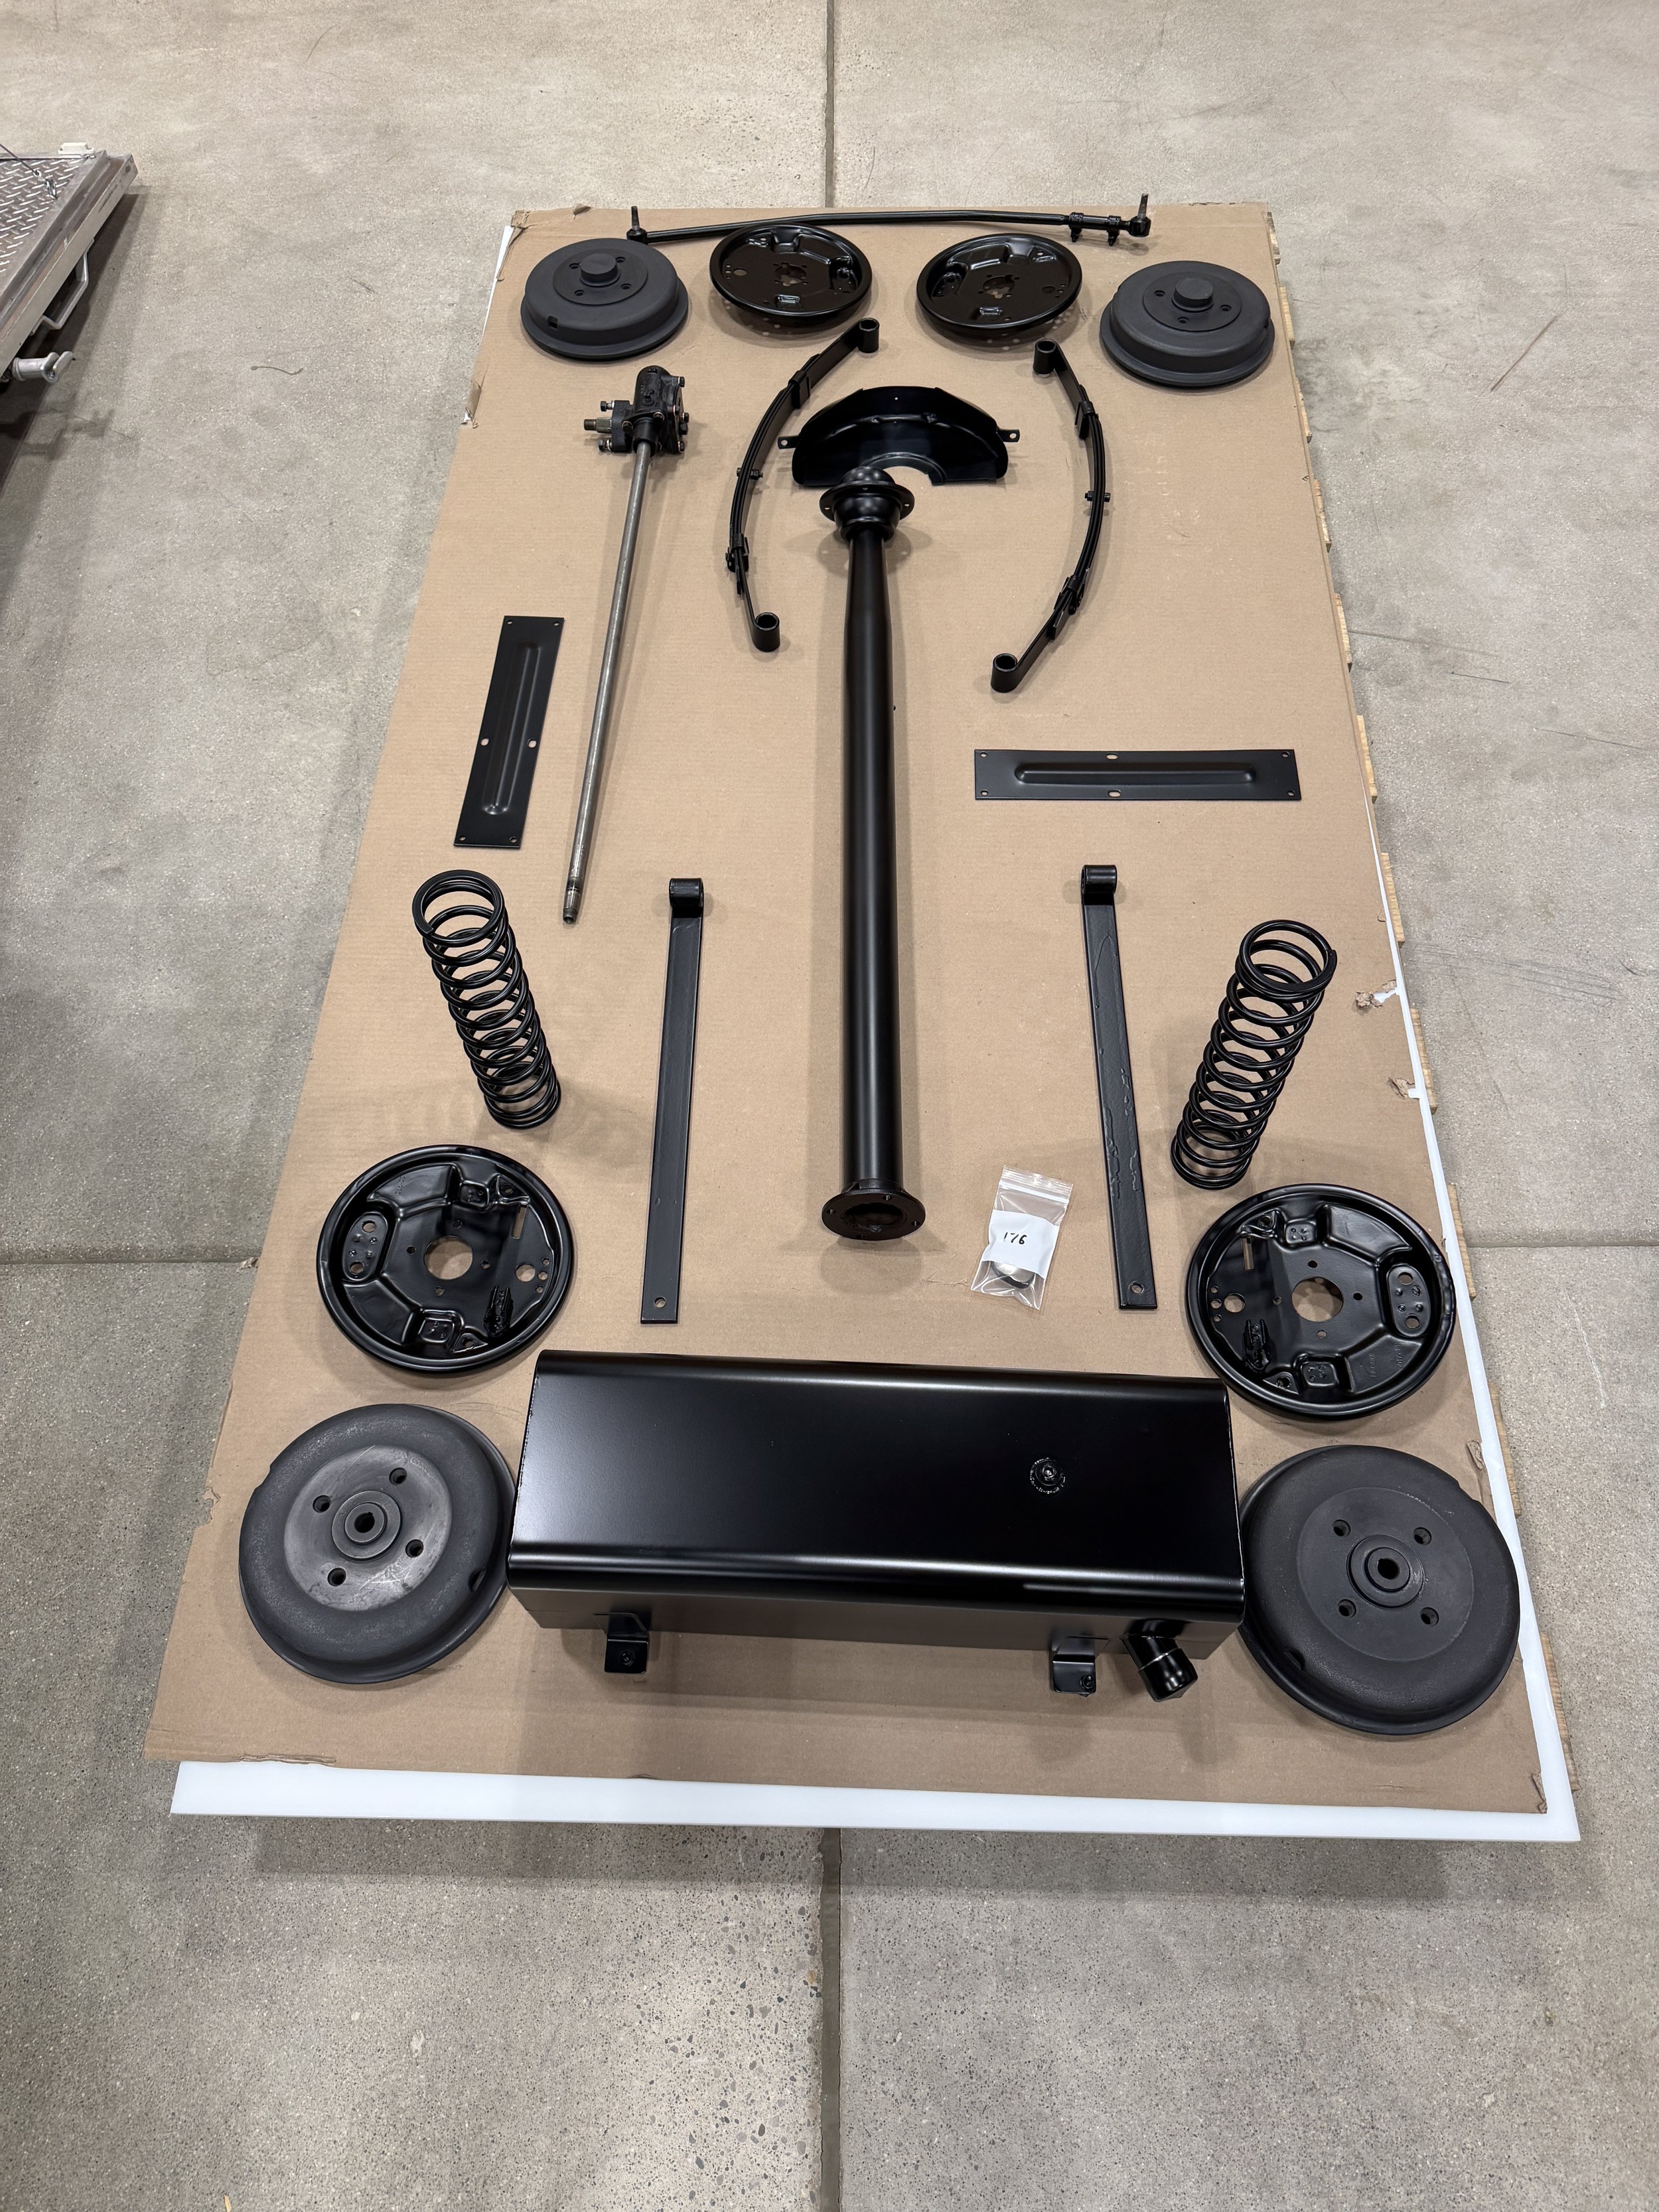
Frame assembly part 1
We took all of our black painted front suspension parts and installed them on the frame. We left most of the rear suspension and rear end out until we were ready to install the engine.

Lots of painted parts!

Shiny axles!

Our ‘finished parts pile‘ started small…
…then more parts were added…

…until it was full and we started to mount parts on the frame!
Undercoating
We used asphalt-based undercoating to mimic the original undercoating used on our car.

We thoroughly masked the car and lifted it with a forklift to access the underside.
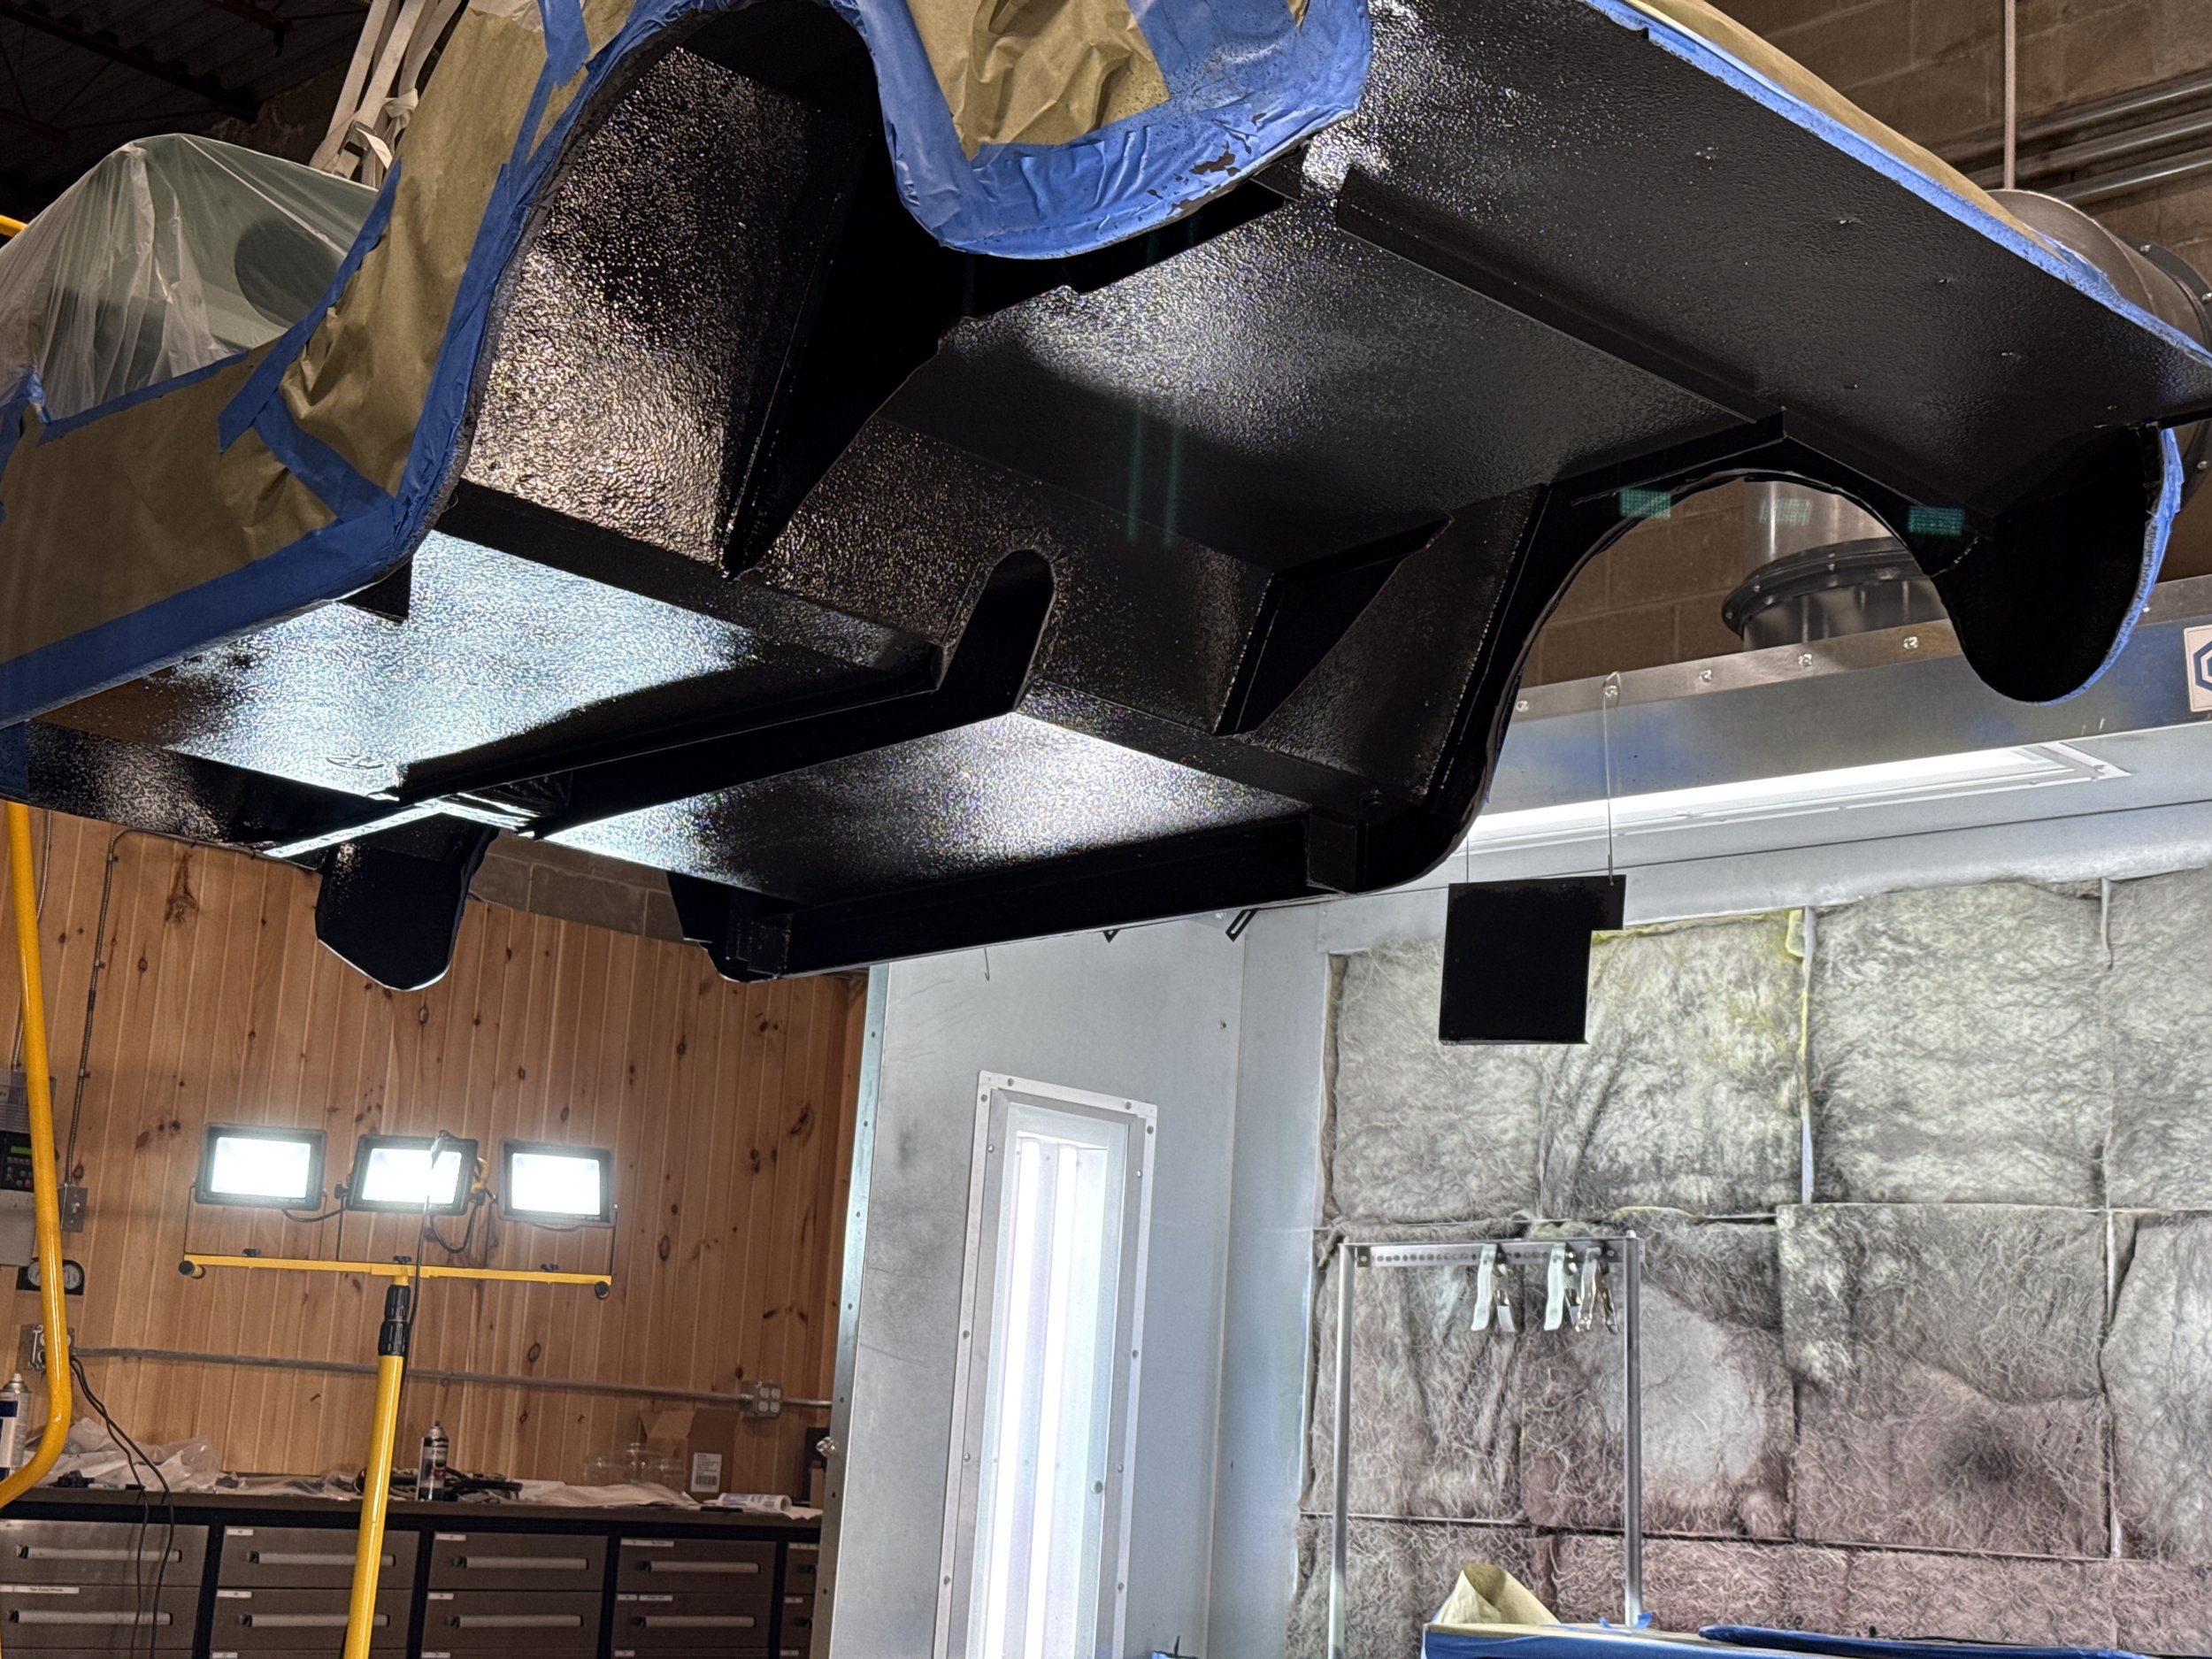
We sprayed the entire underside of the car and select areas in the engine bay. The thick texture of the new undercoating was a nice match to the original undercoating, which also had a very thick and splattery texture.
Although the finish dulled out after drying, the texture remained.

After much debate, we decided to undercoat the upright bars after looking at original photos. We also sprayed over our mask lines and the top and sides of the fender wells to match the original sloppiness. Although hesitant at first, we thought it looked much more original than before!

This photo shows an example of original undercoating on the upright bars and the sides of the fender.

This photo shows how inconsistent and sloppy the original undercoating was. Look at how all-over-the-place the firewall undercoating is!
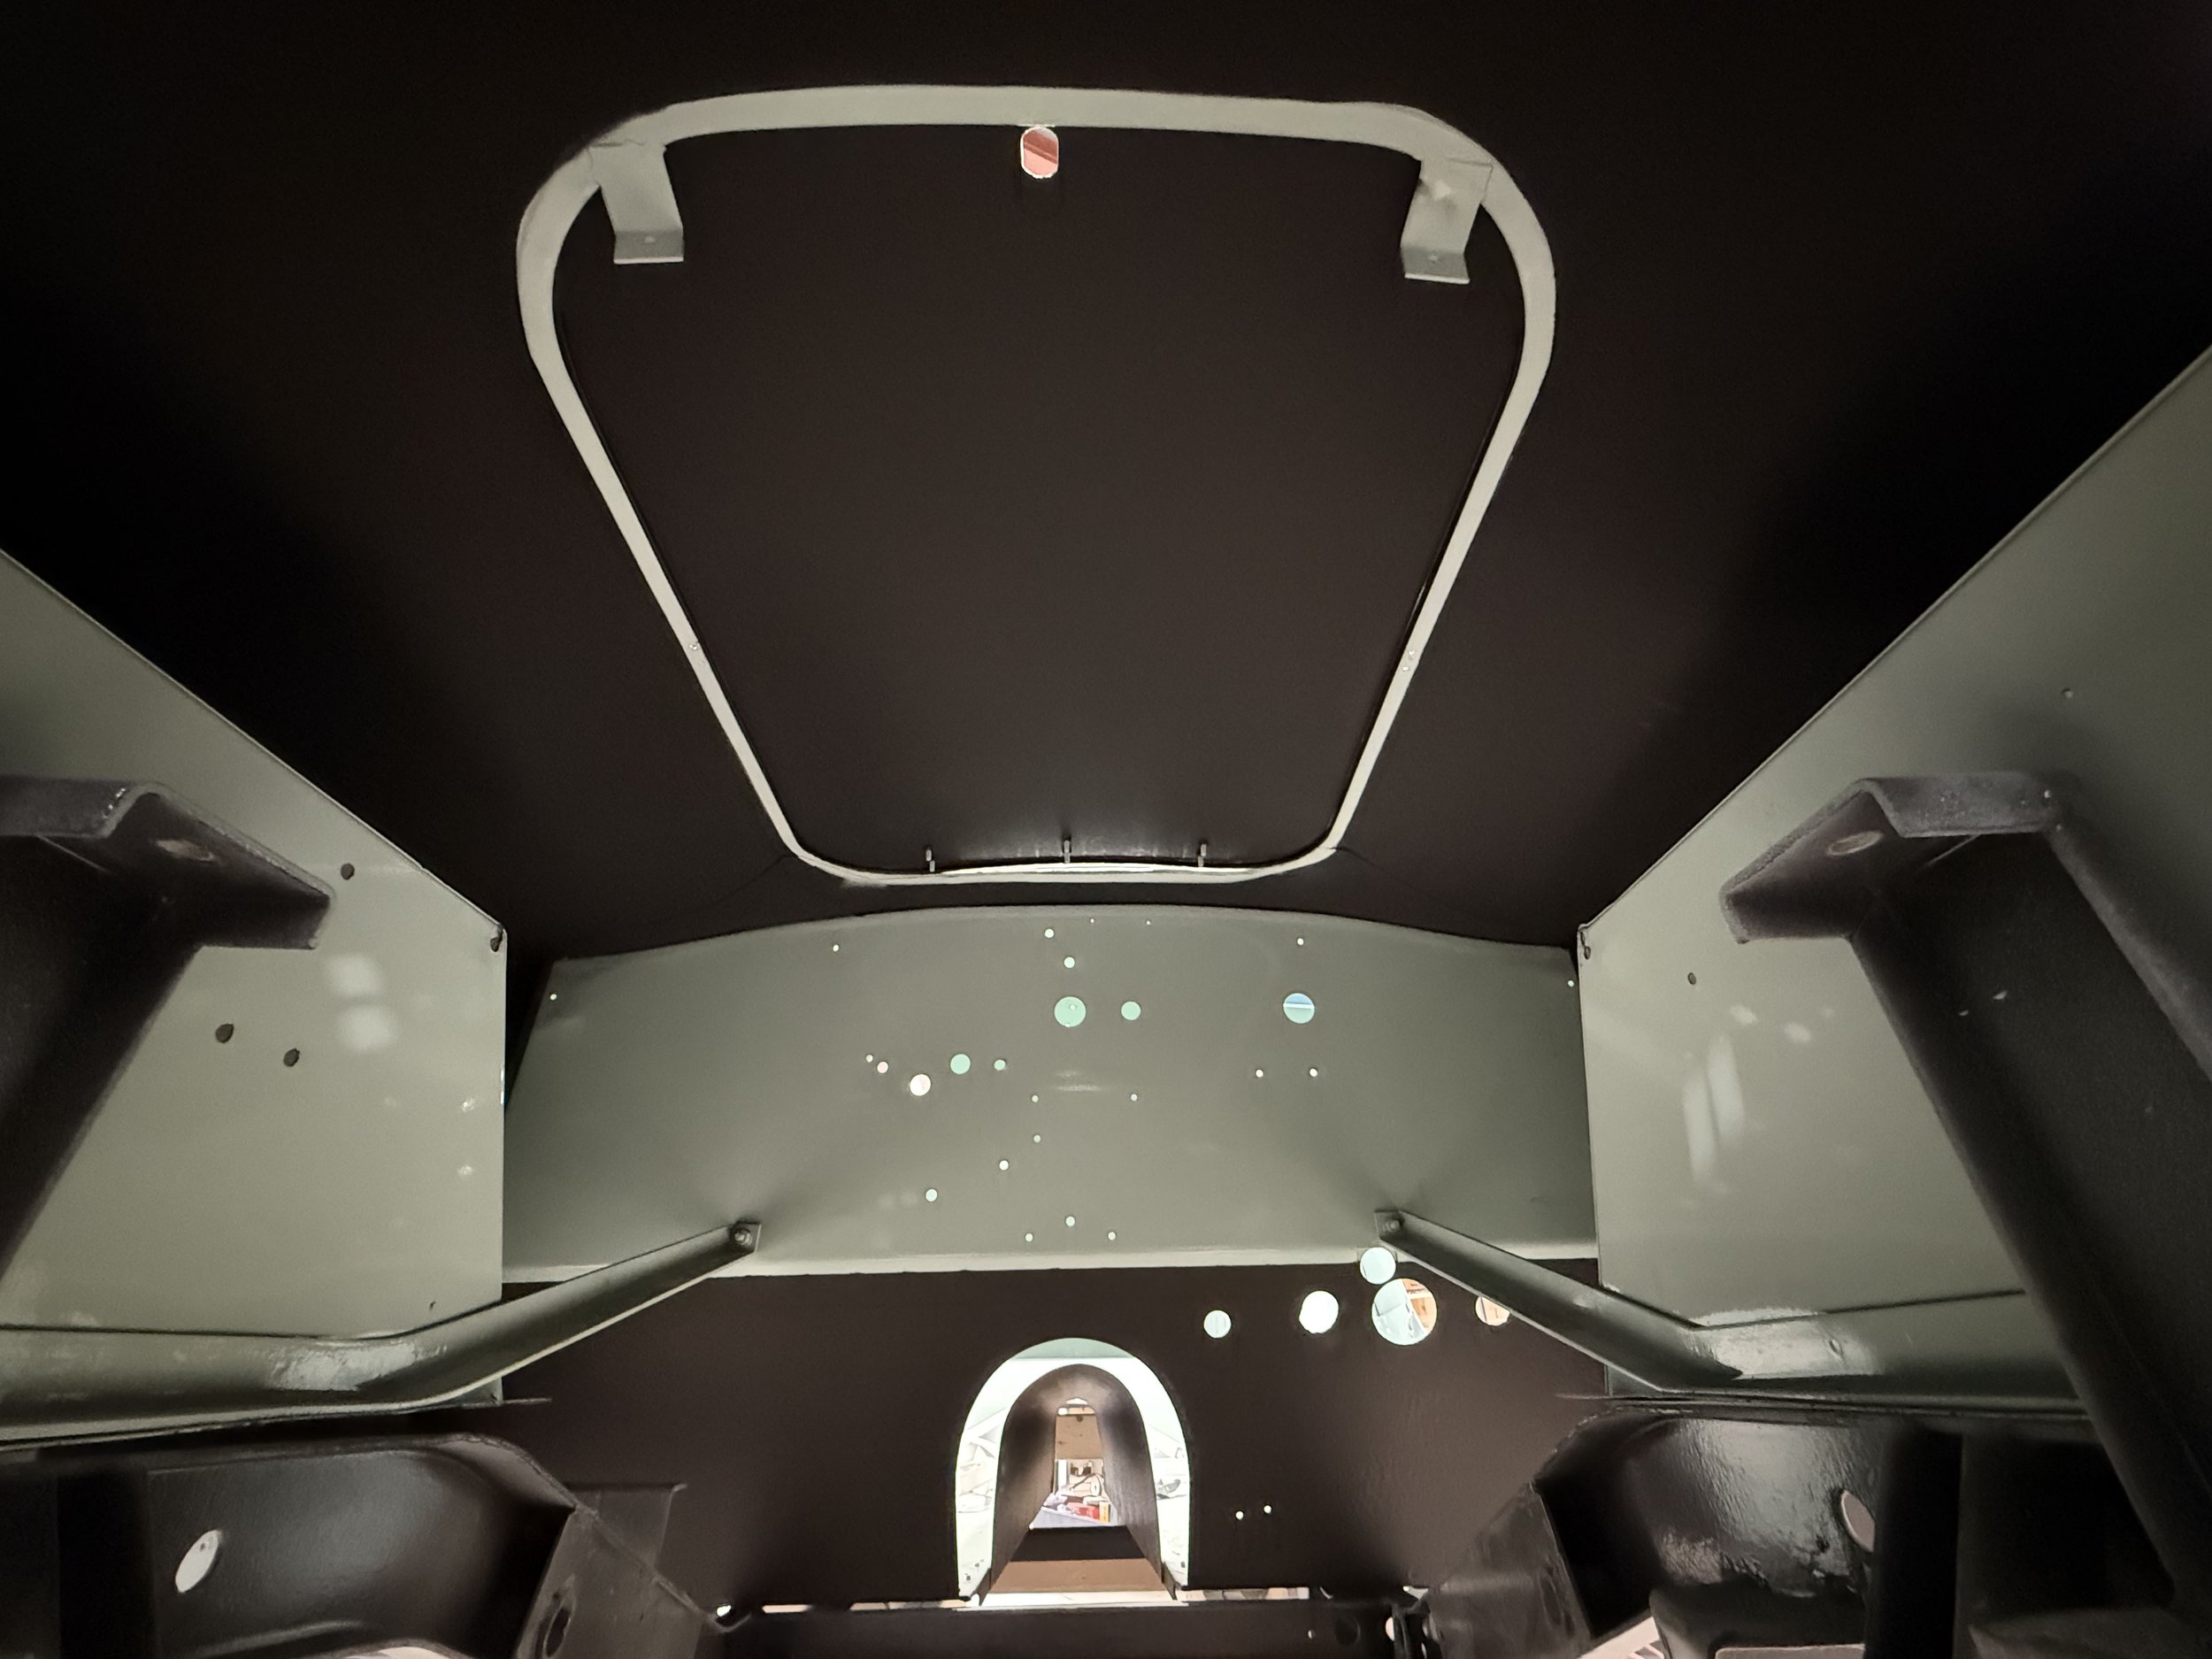
Bodywork part 2
We painted the body and other parts Ocean Foam Green base coat followed by clear coat. Finally, we buffed and polished the body.
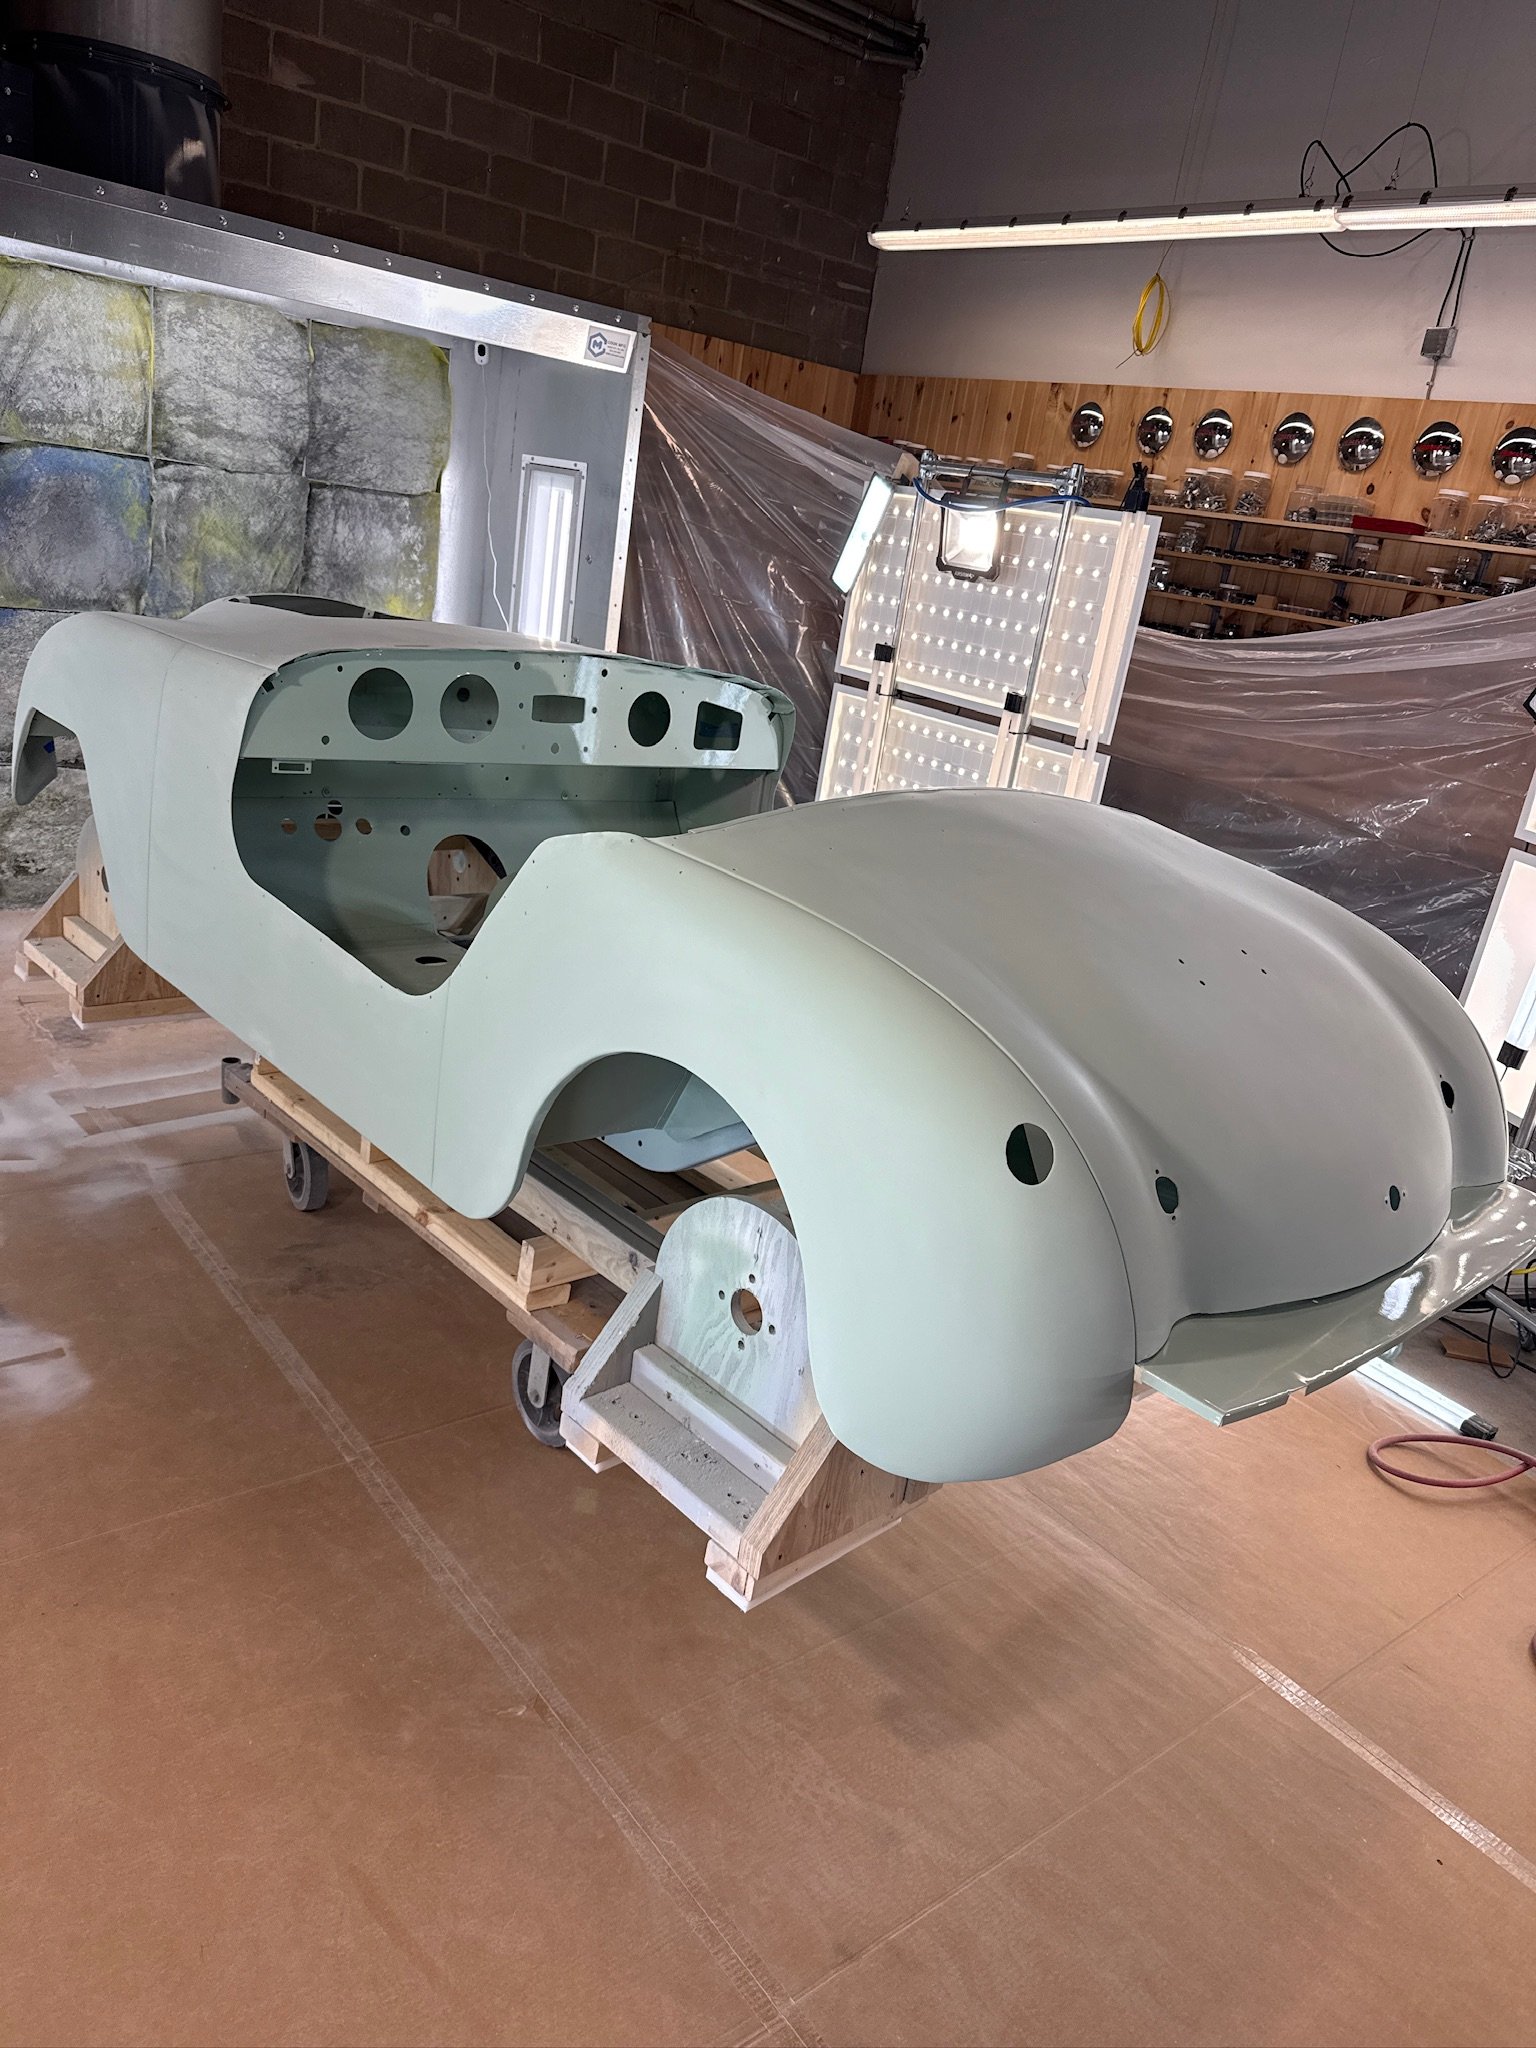
We started with sanding the sealer primer, then painted two coats of base coat.

We followed the base coat with several coats of clear coat. It took several times of sanding and reshooting to get it just right, but we finally did!

End result - super shiny! We made it even shinier by sanding with 3000 grit DA and then polishing the whole body, which eliminated minor imperfections and removed some of the orange peel texture.

The trunk lid became even shiner after polishing!
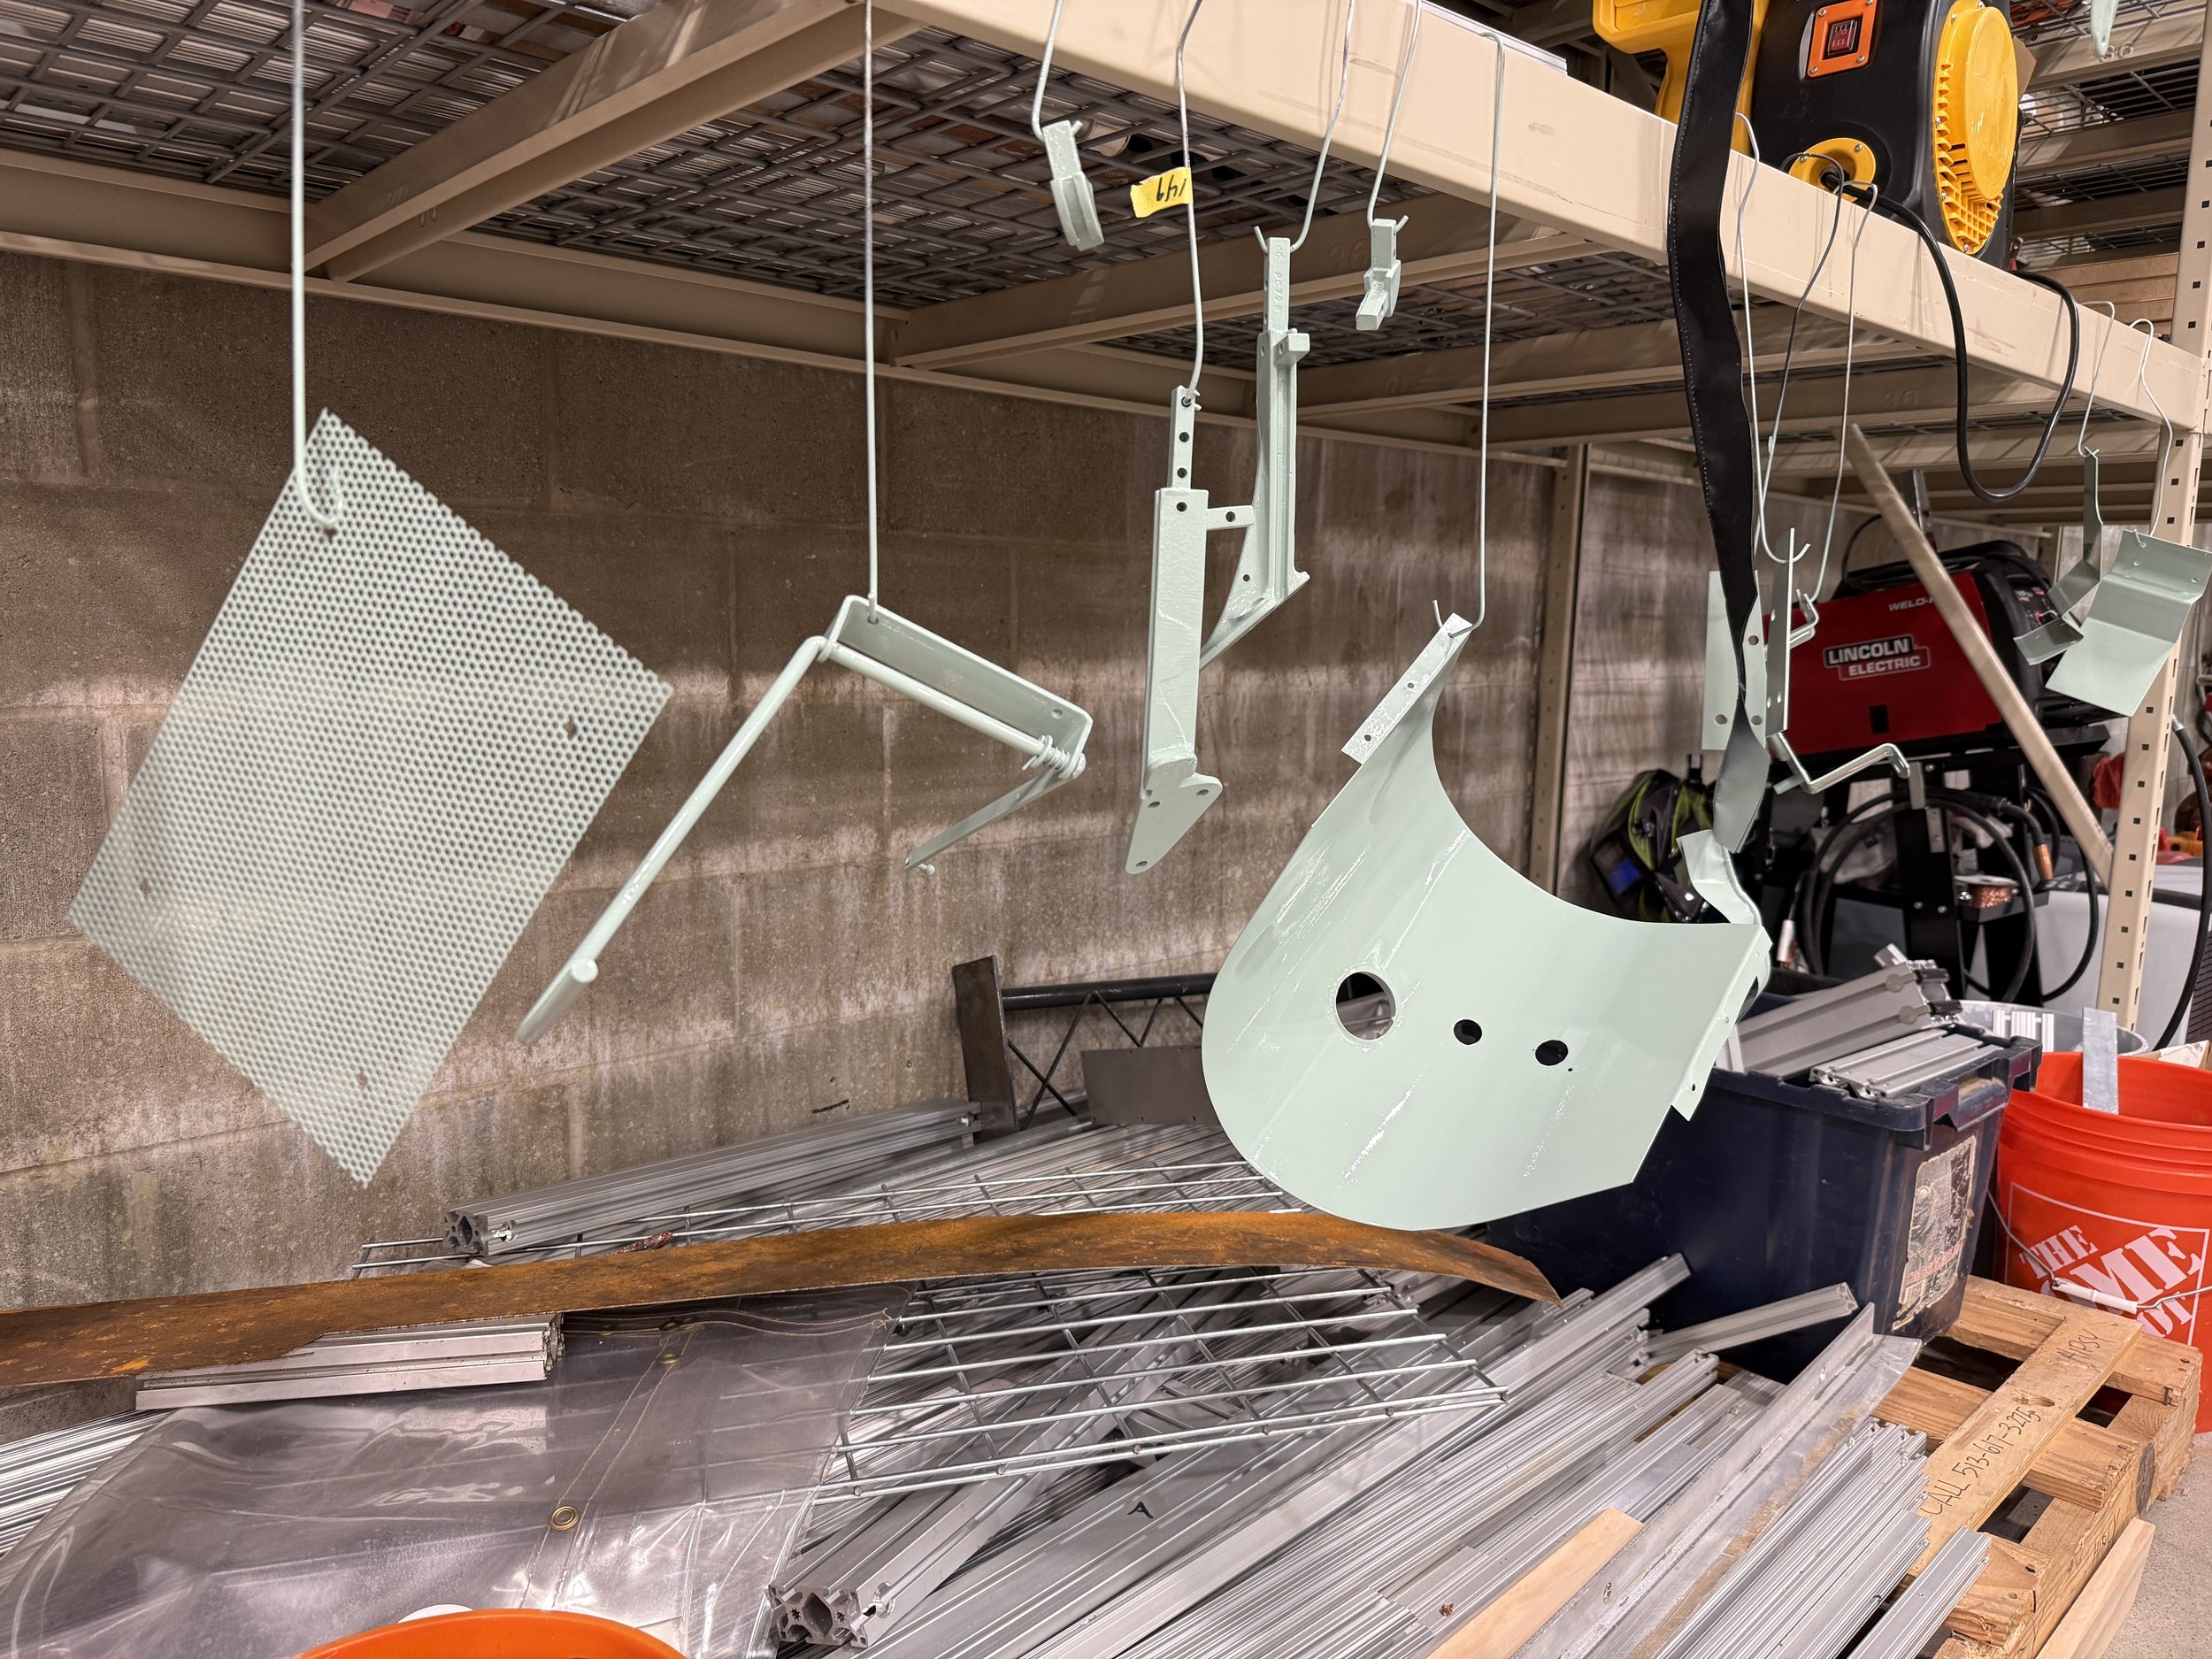
We also painted all of the other body color parts, including dash parts, windshield frame parts, and more.


We also painted lots of screws and bolts that were originally body color separate from the body, so we could install parts like the gravel pan and headlight brackets after painting the rest of the body.

Reviewing factory photos revealed that the front body welting was originally painted with the body. Because we did not want to paint the body and gravel pan as one, which could result in cracking paint on the welting, we replaced the cardboard tube in the welting with a metal bar, which we then formed around the gravel pan and body to fit perfectly. Finally, we painted the welting with the rest of the body color parts. We also painted the screws used to hold the gravel pan on, and then carefully installed it. The paint has not cracked yet!

In this photo of a Hotshot with 1948 NY dealer plates, the front welting appears to be painted.

This period photo of a 1950 Crosmobile in Japan also shows painted welting and screws, painted in original Mariner Blue.

This brand new Super Sports at the 1951 New York Auto Show also appears to have painted welting and screws.

Although we found overwhelming evidence of the front welting being painted, all reference photos we had showed black rear welting, so we decided to leave it unpainted.